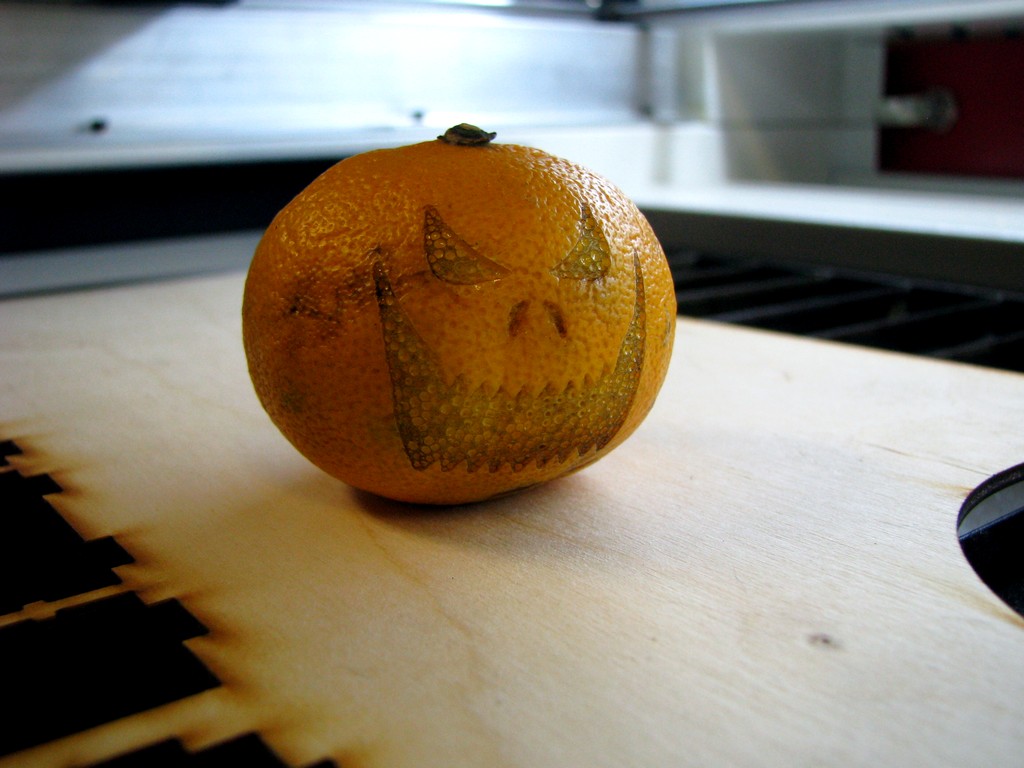
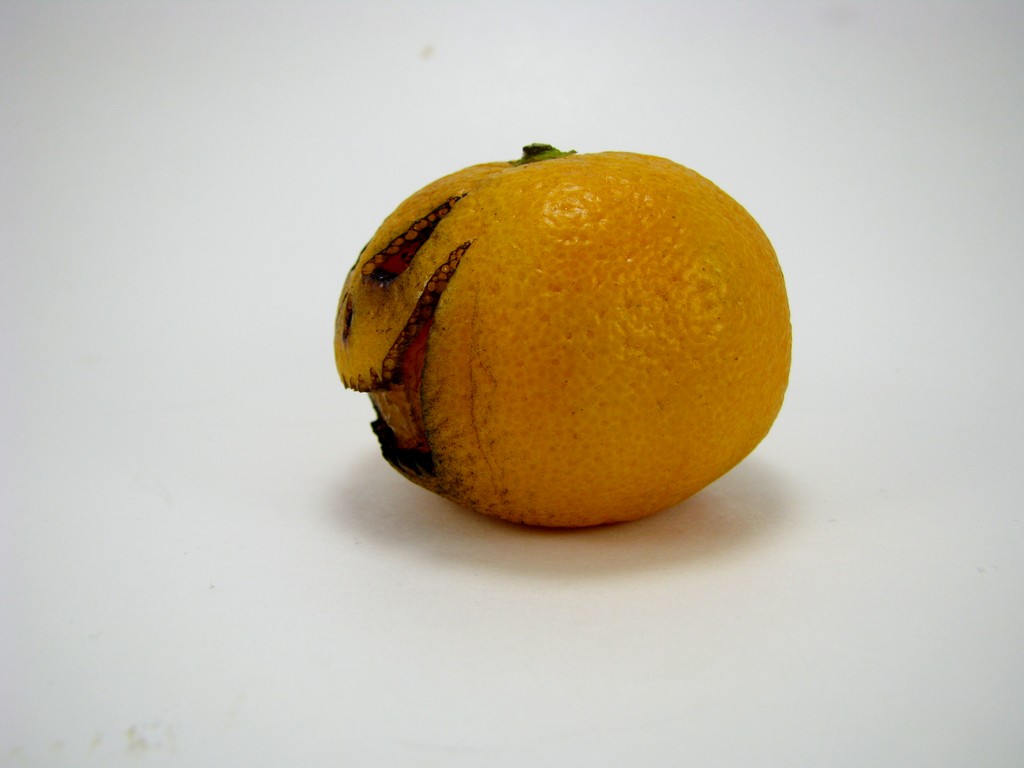
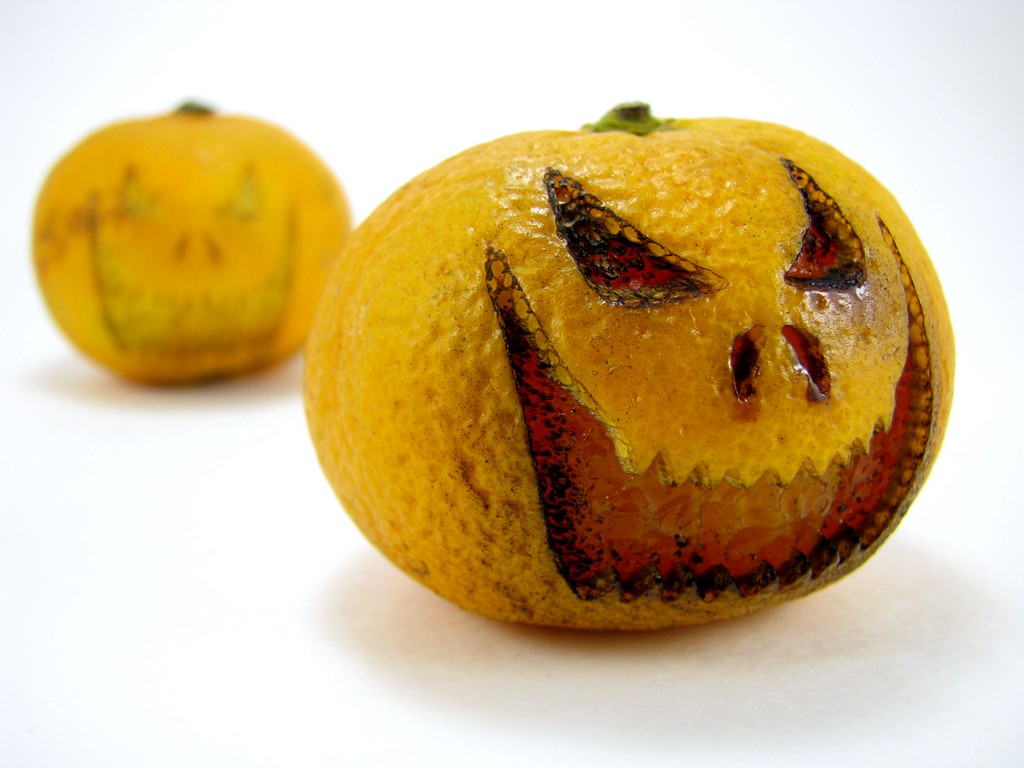
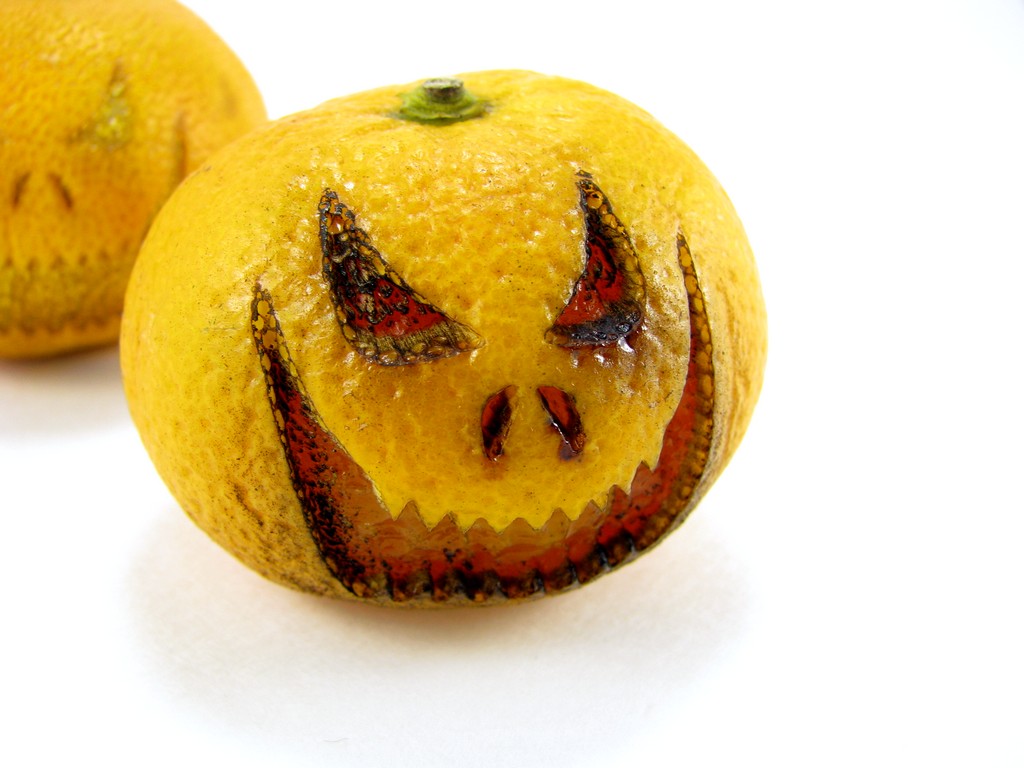
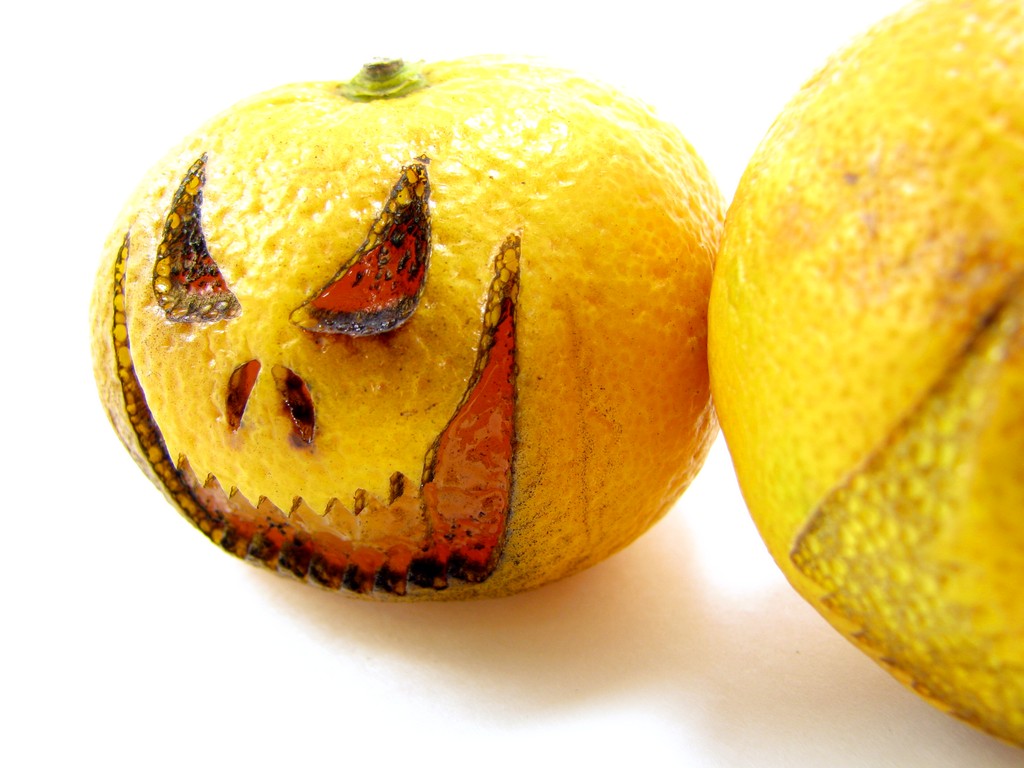
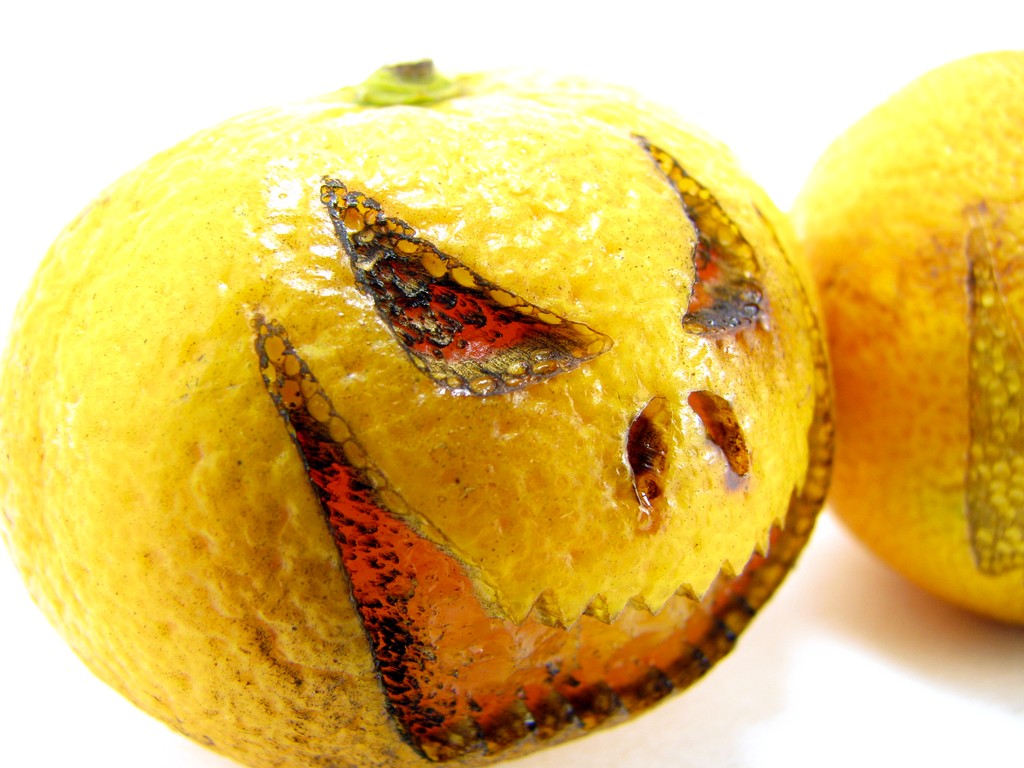
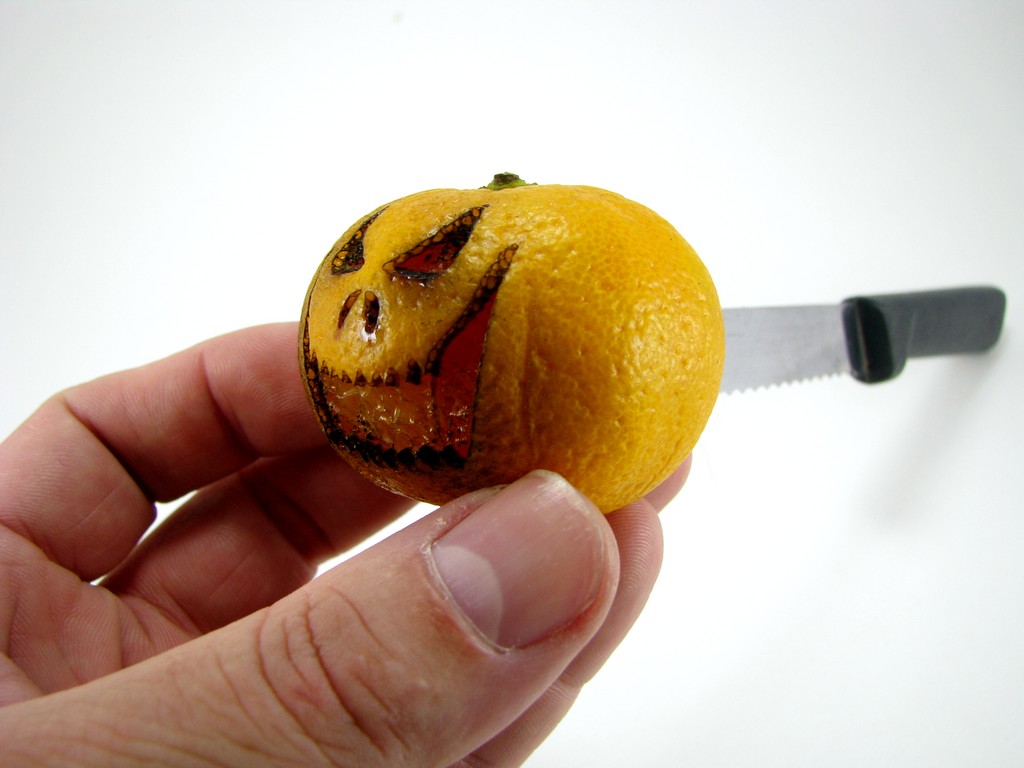
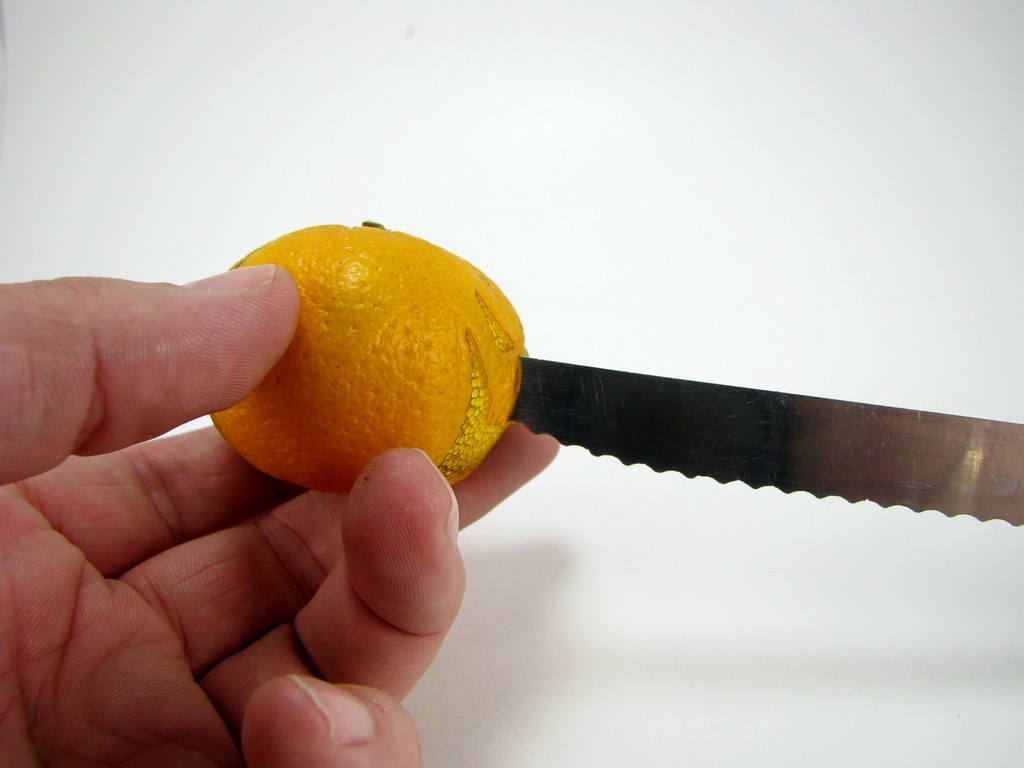
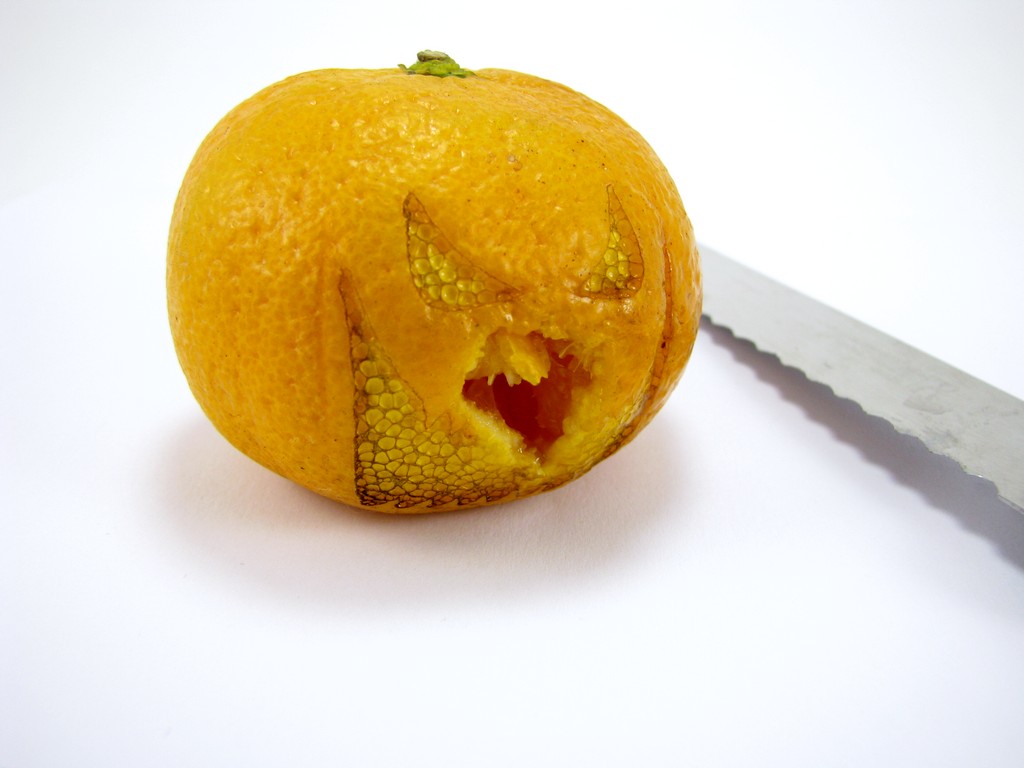
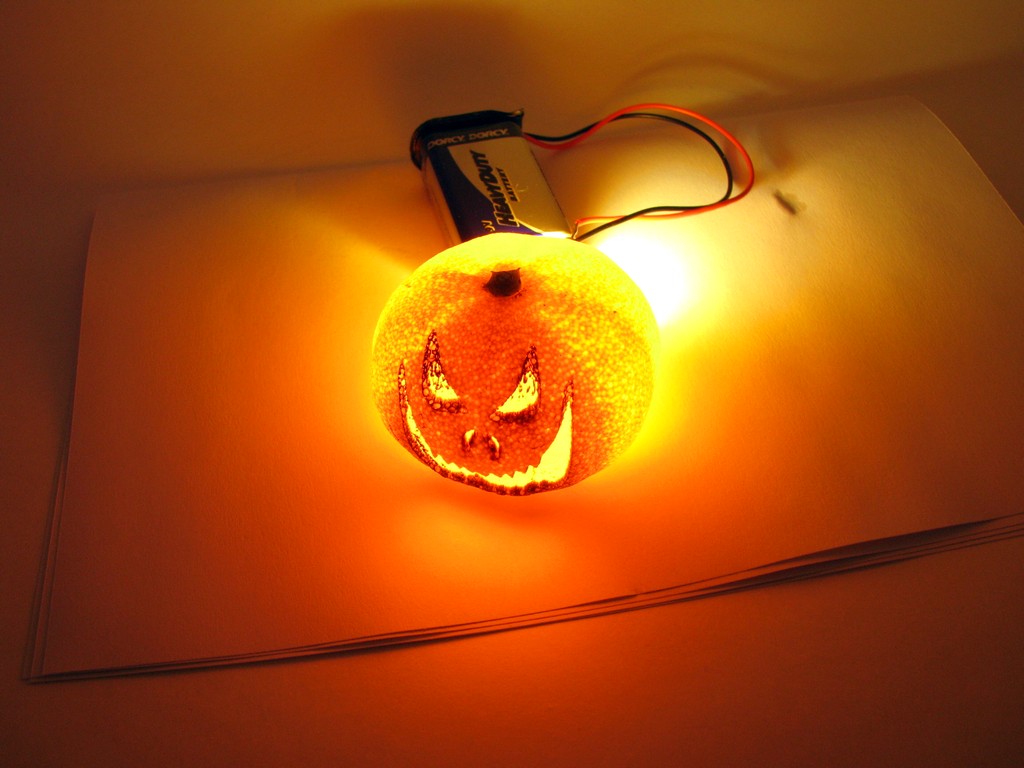
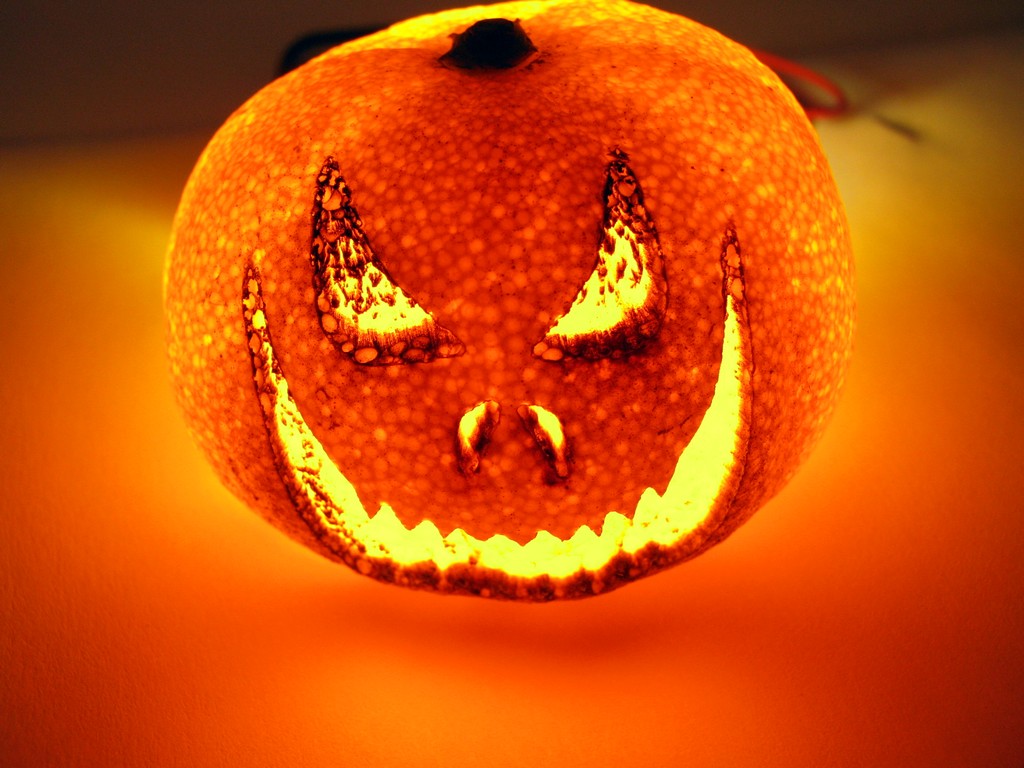
When you squint a bit and loose scale these mandarin oranges look a bit like small pumpkins. I wanted to rev up the Halloween spirit around the house and without a real pumpkin to carve I settled for the next best thing. That is of course a laser etched pumpkin carving onto a mini orange which is lit from the inside using an LED.
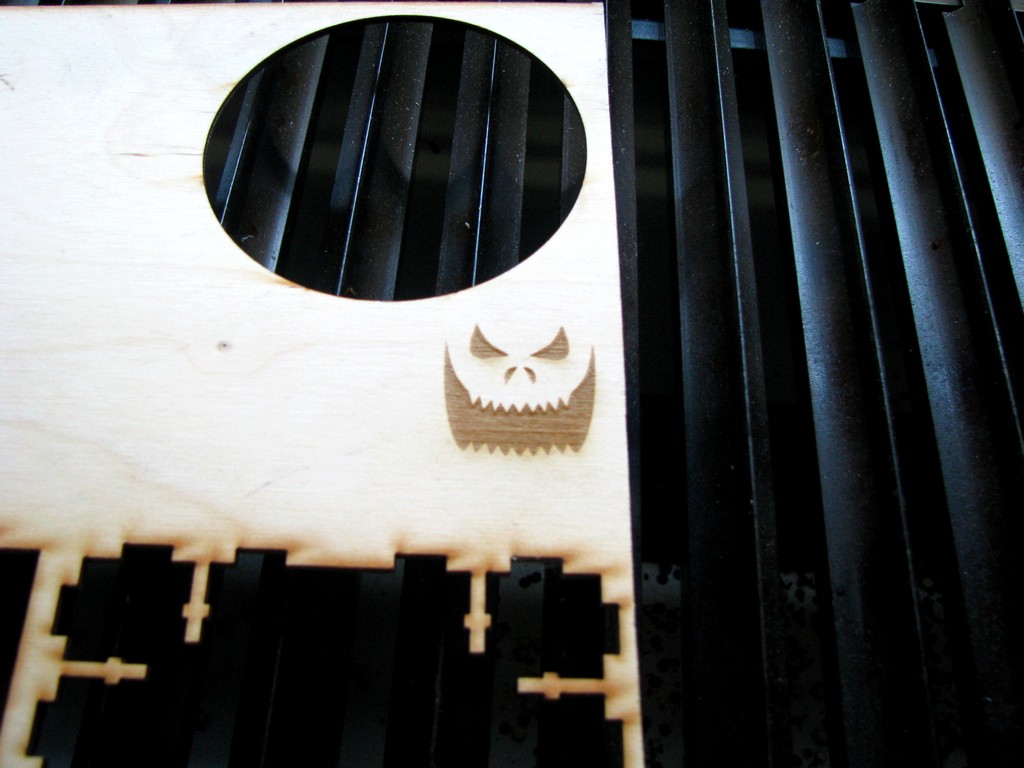
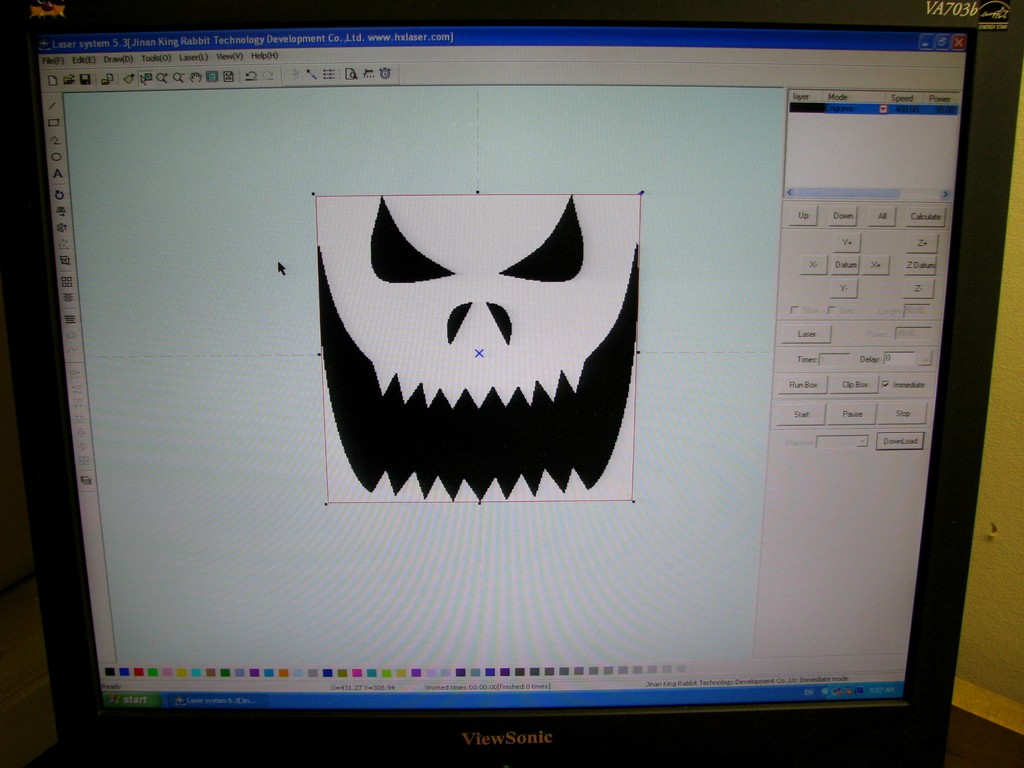
I wasn’t sure how it would turn out since there is so much water content in an orange, I thought it might not even remove any material because of this. Thankfully I was wrong and the fruit etches quite well! I downloaded the image from this Halloween carving site. I used trial and error on the 60 watt laser machine to see what speed and power would work the best to etch the orange. Turns out that a speed of 400 and a power of 40 works great to remove the outer orange color and leave the white inner part of the peel. With a speed of 100 and a power of 95, three passes is what it took to blast away the entire peel right to the flesh of the fruit. There is a bit of inconsistent cutting since the small fruits have a very curved surface making it impossible to keep the entire etching area in focus. A rotary unit could be used to solve one axis of curvature but the results were good enough without adding any more complexity…
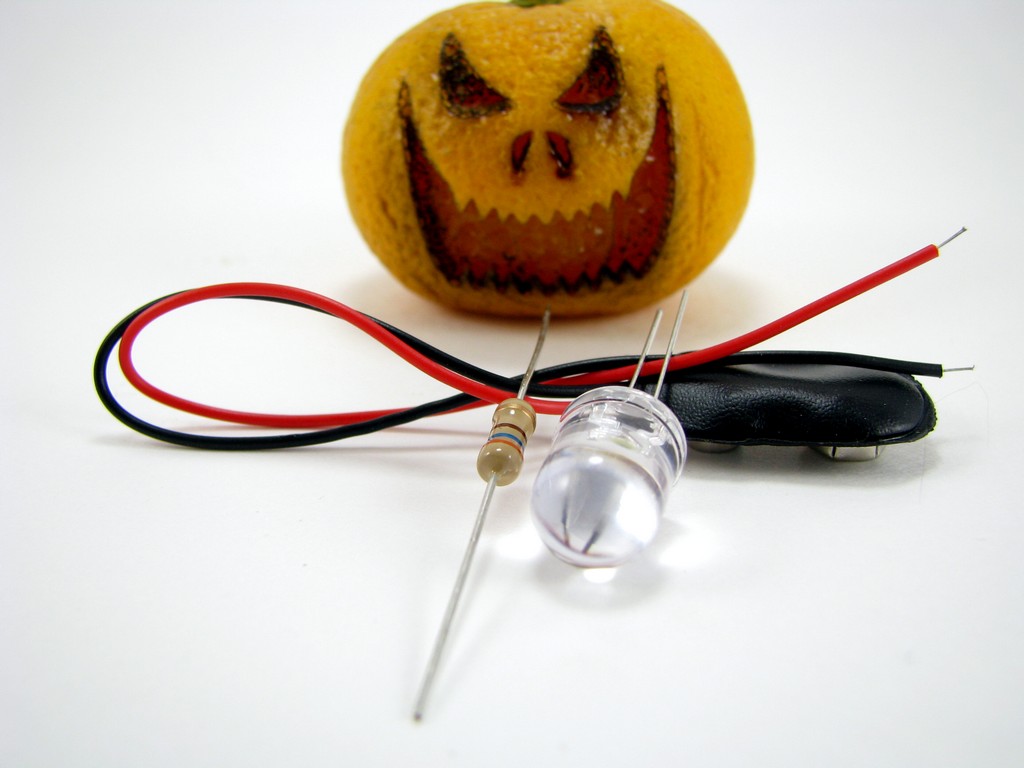
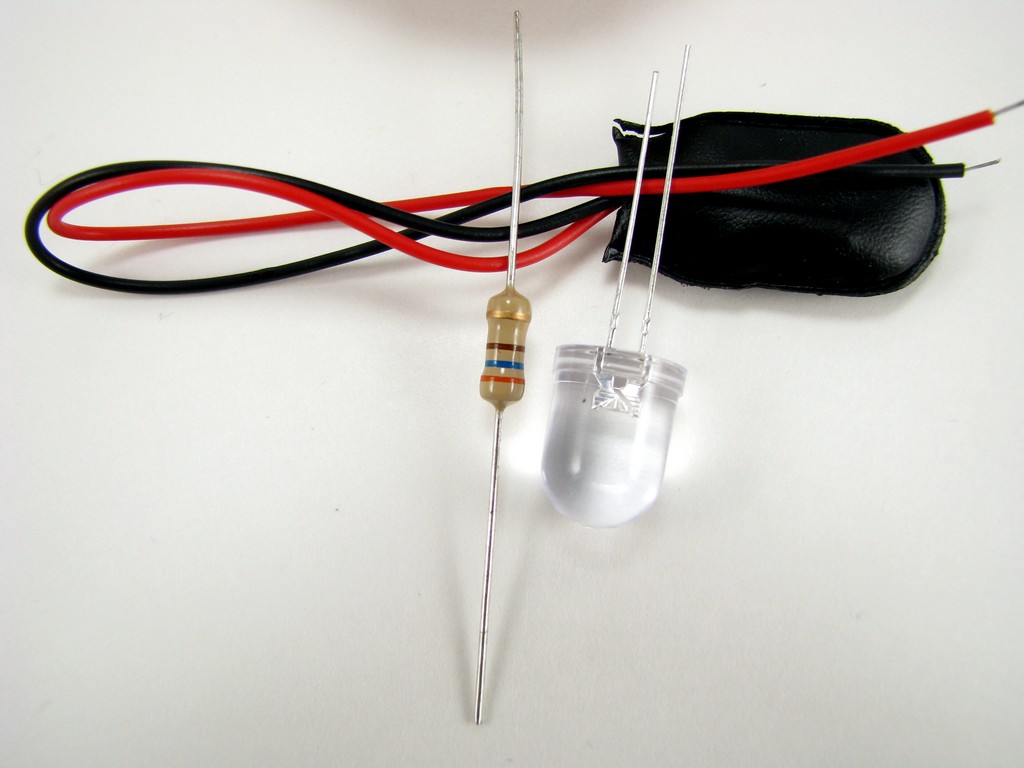
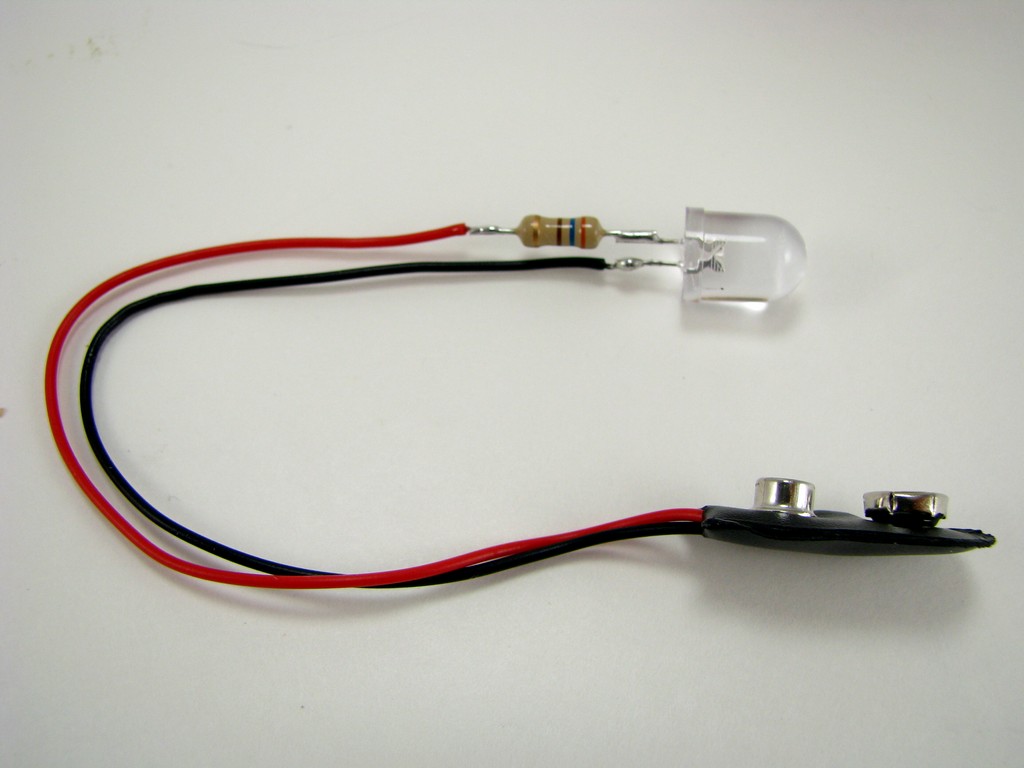
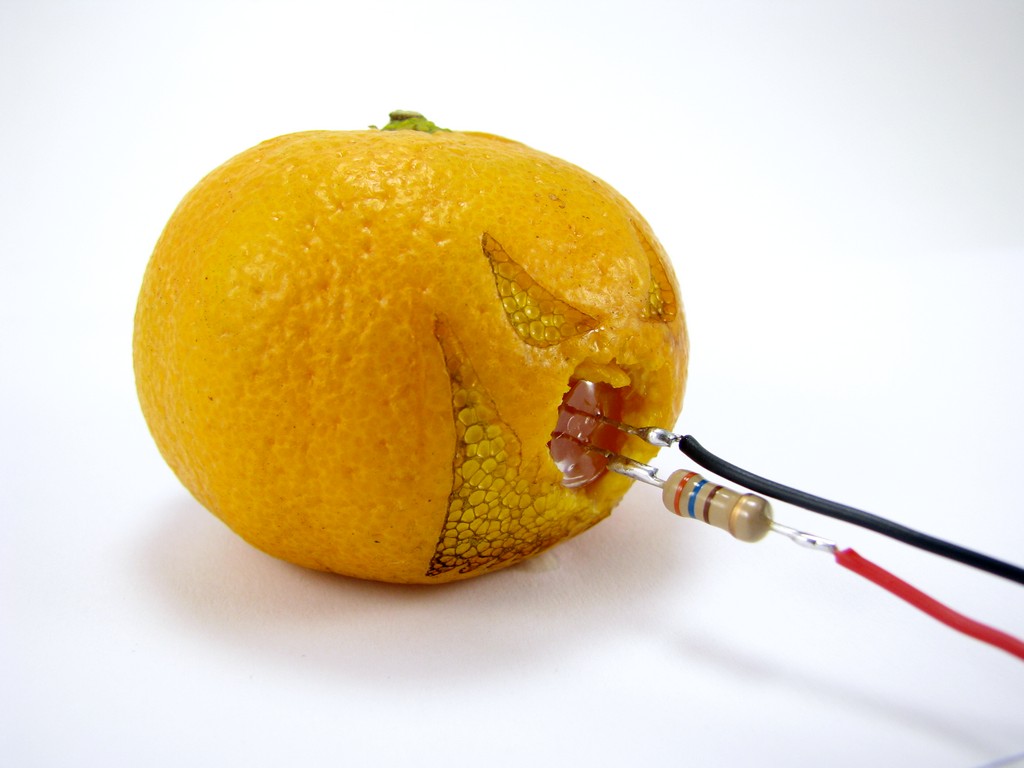
The following components were used to light the guts of the orange (that wants to be a pumpkin):
- 10mm white LED
- 360 ohm resistor
- 9 volt battery snap
- 9 volt battery
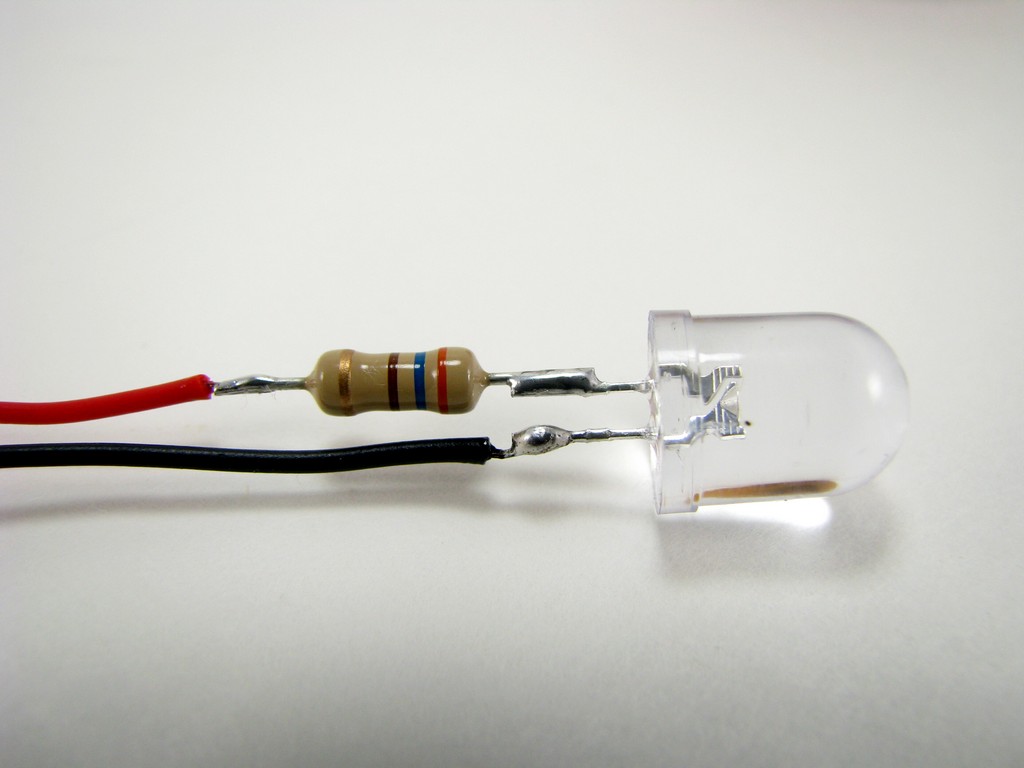
To make the circuit simply solder the resistor to the long lead of the LED, then connect the red battery snap wire to the free end of the resistor. Finally solder the black wire to the short lead of the LED. Now when a battery is connected your LED will light. Look at the completed circuit in the picture gallery below.
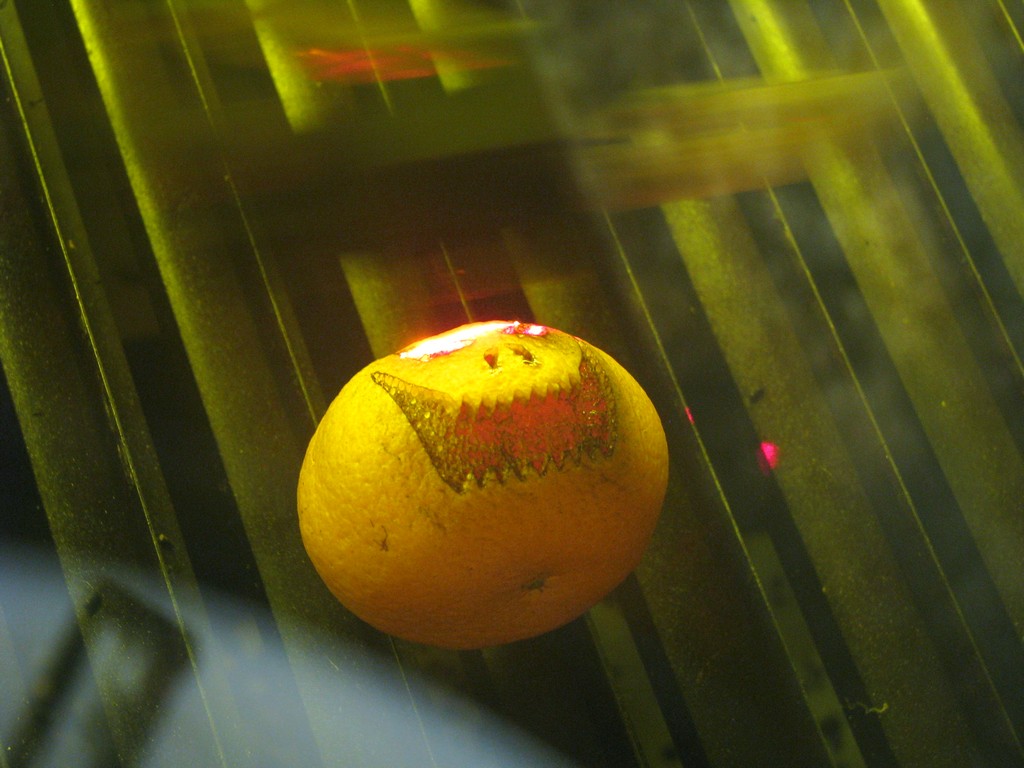
Please note that the LED shining through the mini orange has been exaggerated by using a long shutter speed. It does produce a nice glow with the room lights out but it doesn’t look like the very bright orange picture to the naked eye.