Â
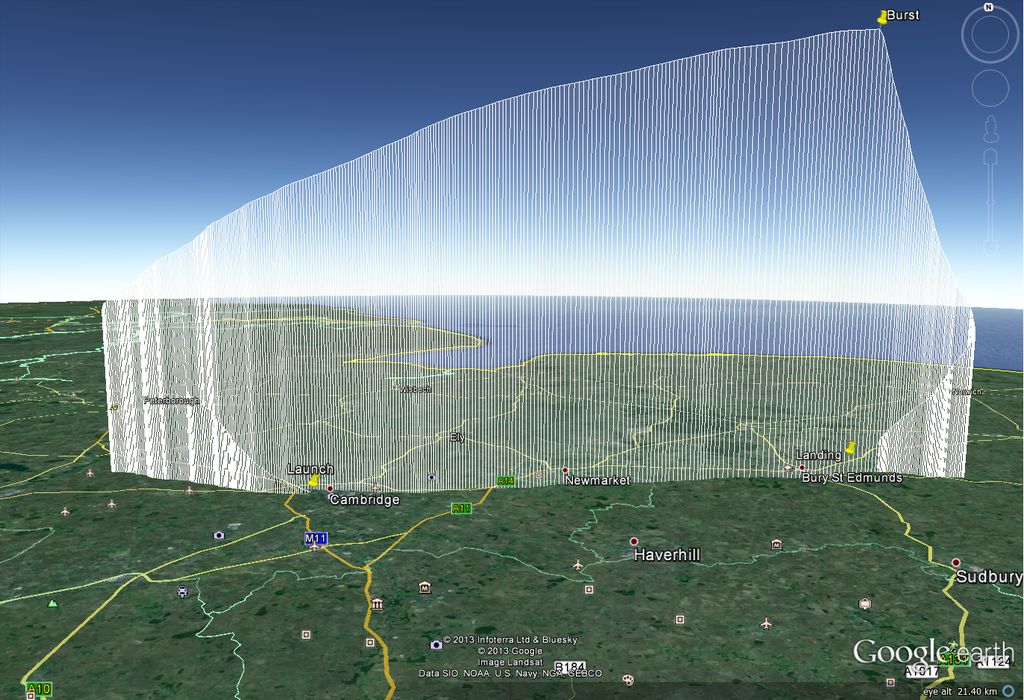
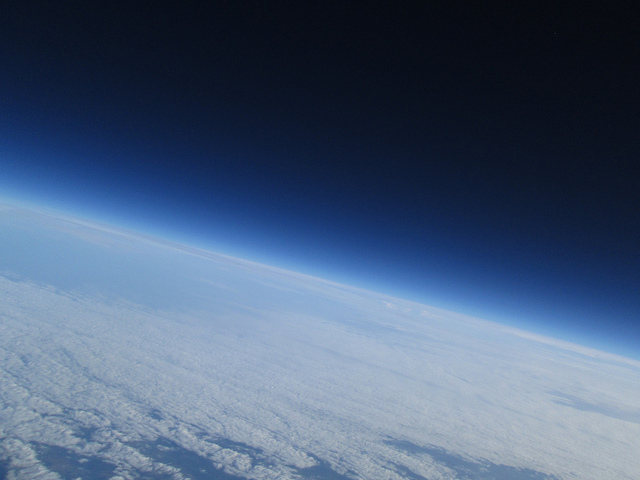
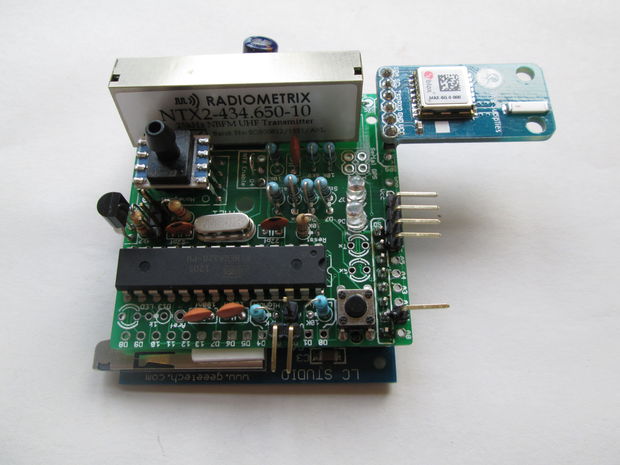
 send this box of electronics 124,000 feet in the air. The view sure looks great from that height! To track the balloon he used the Space Near Us tracking system, a custom PCB was created to keep the circuit as robust and compact as possible.Â
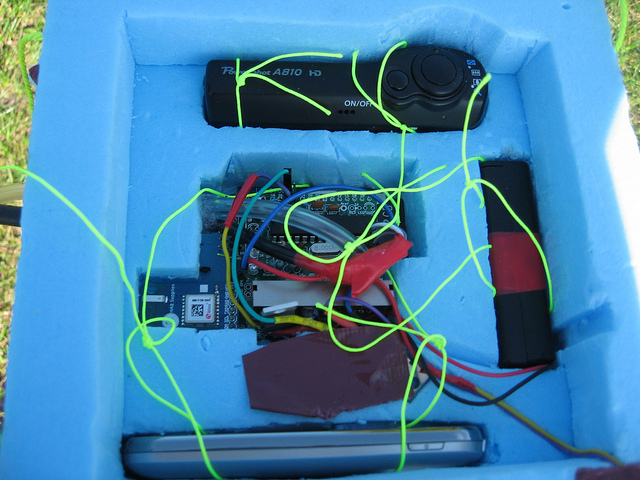
“Radio – in the UK there are only a few narrow frequencies you can use from the air and even then you are only allowed 10mW. The NTX2 is one of the few viable options for radio modules.
GPS – layout of a GPS module can be difficult and ideally you would keep it away from everything else. I opted for a pre-made module that could be soldered above and off to the side from the main board. It’s important to note also that many GPSs don’t operate above 14km height. Ublox GPSs have a flight mode that does work. For any others you will need to do your research before you buy/use.
Microcontroller – the ATMega 328 is a great option because it can be programmed from the very easy Arduino IDE. It will also run on 3v3 but only a 8MHz. However that’s plenty of processing power for reading a GPS and running a low baud-rate radio.
Temperature – a temperature sensor provides interesting data but many are not rated down to the -50’C that we could encounter at the tropopause. The DS18B20 is a good option because they are pretty cheap and are rated to low temperatures. You can get “external” ones which are sealed in a stainless tube for added protection. We’ll use one board-mounted one and one external.
Pressure – there are not too many “absolute” pressure sensors that I have found. The Honeywell HSCDANN001BA2A3 supposedly goes down to “0” mBar and in practice performed well down to 8mBar on the flight. Its i2c interface is pretty easy to handle. Honeywell make about a zillion variants but many are “relative” sensors – they measure the difference between a certain pressure and atmospheric. You need an “absolute” pressures sensor because it’s atmospheric pressure we are measuring.
SD card – you could potentially surface-mount your own SD card holder but that’s pretty fiddly and I didn’t have enough board area anyway. SD-card breakouts are cheap and easily available so I elected to solder one underneath the main board to be compact and easy. A lighter approach would be to solder wires to the pads of a micro-SD adaptor and use it as a socket for a micro-SD card.”