
Clocks are great, it is a nice way of making an electronic project that has natural changes in state. I have seen some wooden clocks before but this Wooden Clock project is a nice DIY version with full instructions so that you can make your own. 🙂
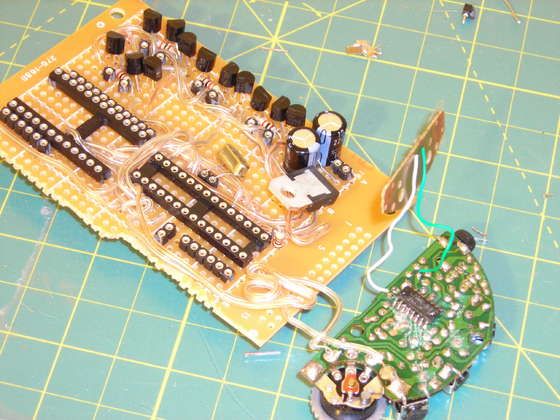
"The anodes of the LEDs are attached to a cluster of 3 transistors. This is so the 1st transistor has the power directly from the adapter attached to its collector pin, the corresponding anode pin(from the microcontroller) is attached to the gate. It also has the emitter going directly to the gate of the 2nd transistor, and using a 1kOhm resistor it is connected to the gate of the 3rd transistor. The 2nd transistor has its collector attached to the green pin (pin 1 on the arduino) and its emitter attached to the green(or your highest draw LED) row. The 3rd transistor then has its collector attached to the red pin (pin 0 on arduino) and its emitter attached to the corresponding LED row. It should be noted that I ordered the LED rows from 0 at the top to 4 at the bottom."
Permalink
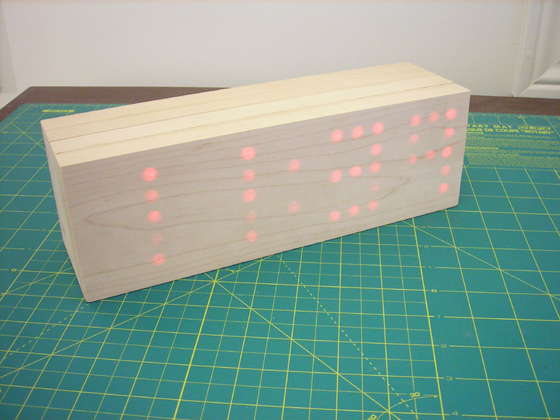
I love how it looks like an ordinary block of wood anywhere the LEDs aren’t illuminated.
Permalink
very nice…
Permalink
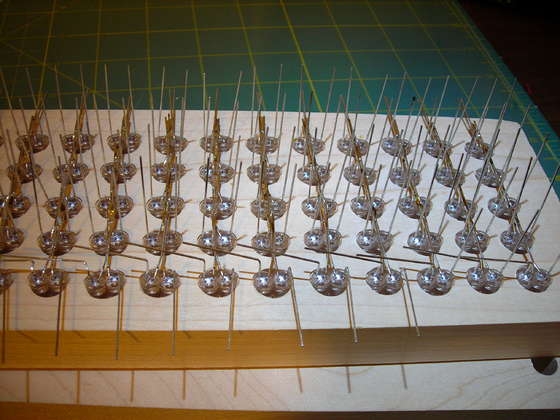
this looks like a very time consuming build, but would go great with any ikea furniture set 🙂