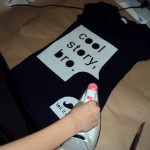
My daughter wanted to make a custom shirt, the first thought I had was to use the laser cutter to cut out the pattern and letters that she wanted on a piece of card stock to use as a template. The issue with that was the edges were hard to keep close to the shirt so that the painted edges were crisp. It also took a long time since the small centers of letters needed to be double side taped in place.Â
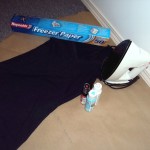
After looking at some craft sites we found out that there is a very cheap way to improve the process. The key thing to use is freezer paper. I didn’t know the difference between freezer paper and waxed paper before this, but there is a huge difference. Waxed paper is paper that has been treated on both sides with wax and freezer paper is paper that has been treated on one side with plastic. One interesting property that freezer paper has is that it can be ironed onto fabric and then peeled off with no residue. I needed to go to a few stores before I could find it, Super Store (Canadian food store chain) had one brand of it (unlike waxed paper or plastic wrap which had 5 or 6 different varieties). It was interesting to see on the back of the box that crafting and shirt making was one of the features shown.
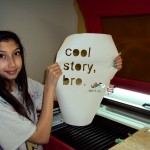
You can follow the simple steps below to make your custom shirt. I cut out the paper using a laser cutter since I have one handy but you can simply use an exacto knife to cut out the pattern. Some of the crafting sites say the removed design can be reused but it is quite delicate and ours ripped apart at a number of places when it was being removed. If we were a bit more careful removing it or if the design was simpler reuse might have been possible but difficult.
You can see the steps we took below, click on the images to see it full size.
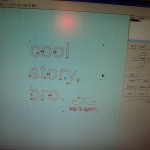 |
This is the text and vector image to be cut out. In this case a laser cutter will be used to cut everything out but if you don’t have a laser cutter this could be done by hand with an exacto knife. |
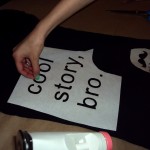 |
The center portions of the letters that fell out during cutting now need to be ironed in place. The scrap cutout piece can be used to align these pieces properly. |
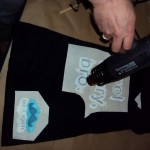 |
A heat gun or blow dryer can be used to dry the paint quickly between coats of paint. This is optional since this fabric paint will natural dry in a few hours. |
 |
Once the paint is dry you can simply peel off the the freezer paper. You will need to use you nails or tweezers to pick out the center portions that were ironed on separately. |

