Â
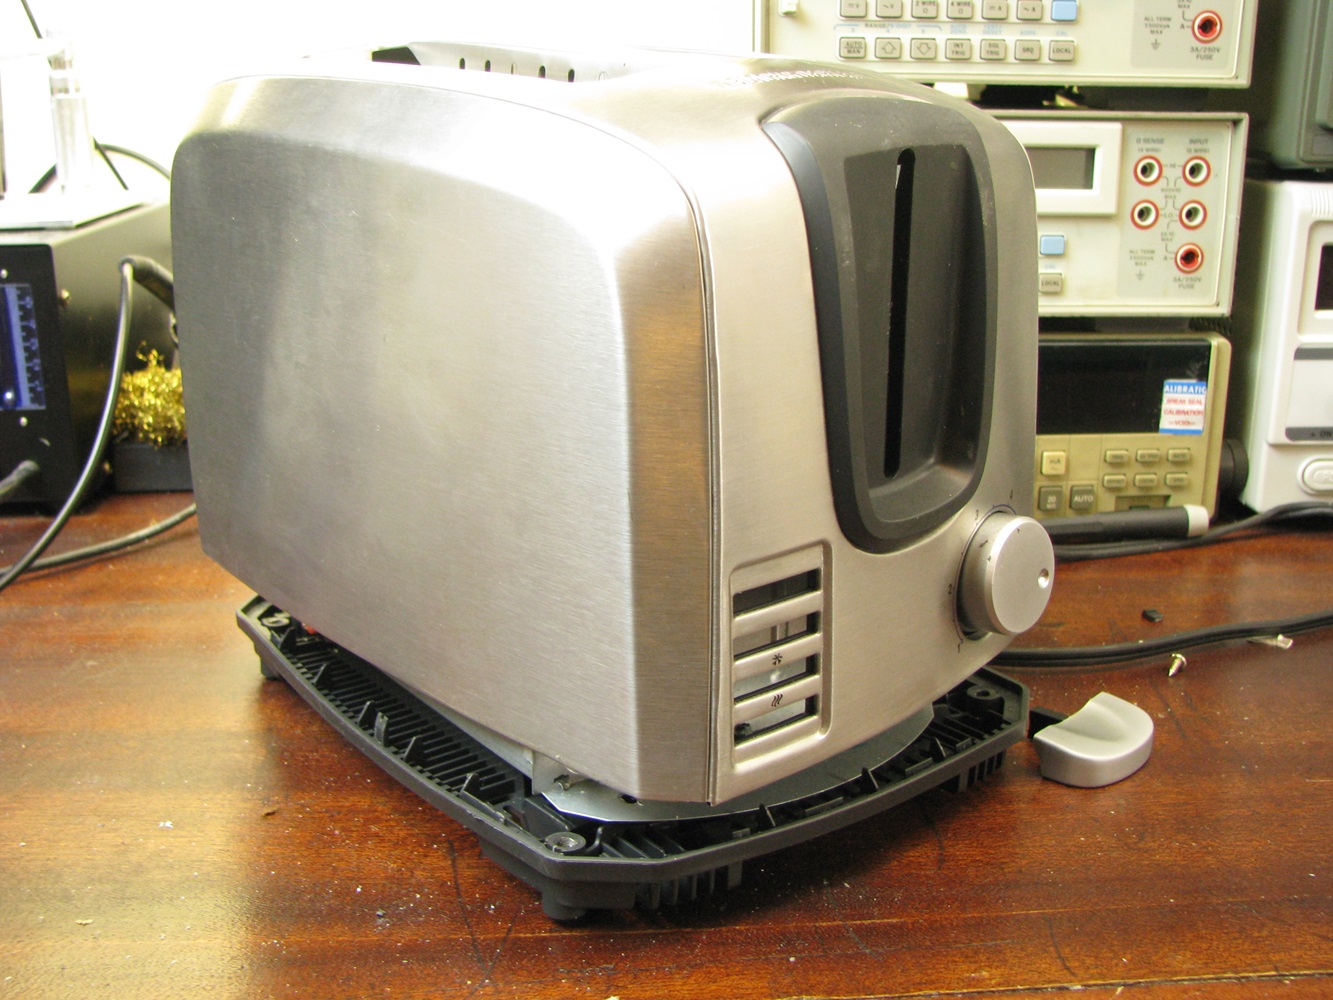
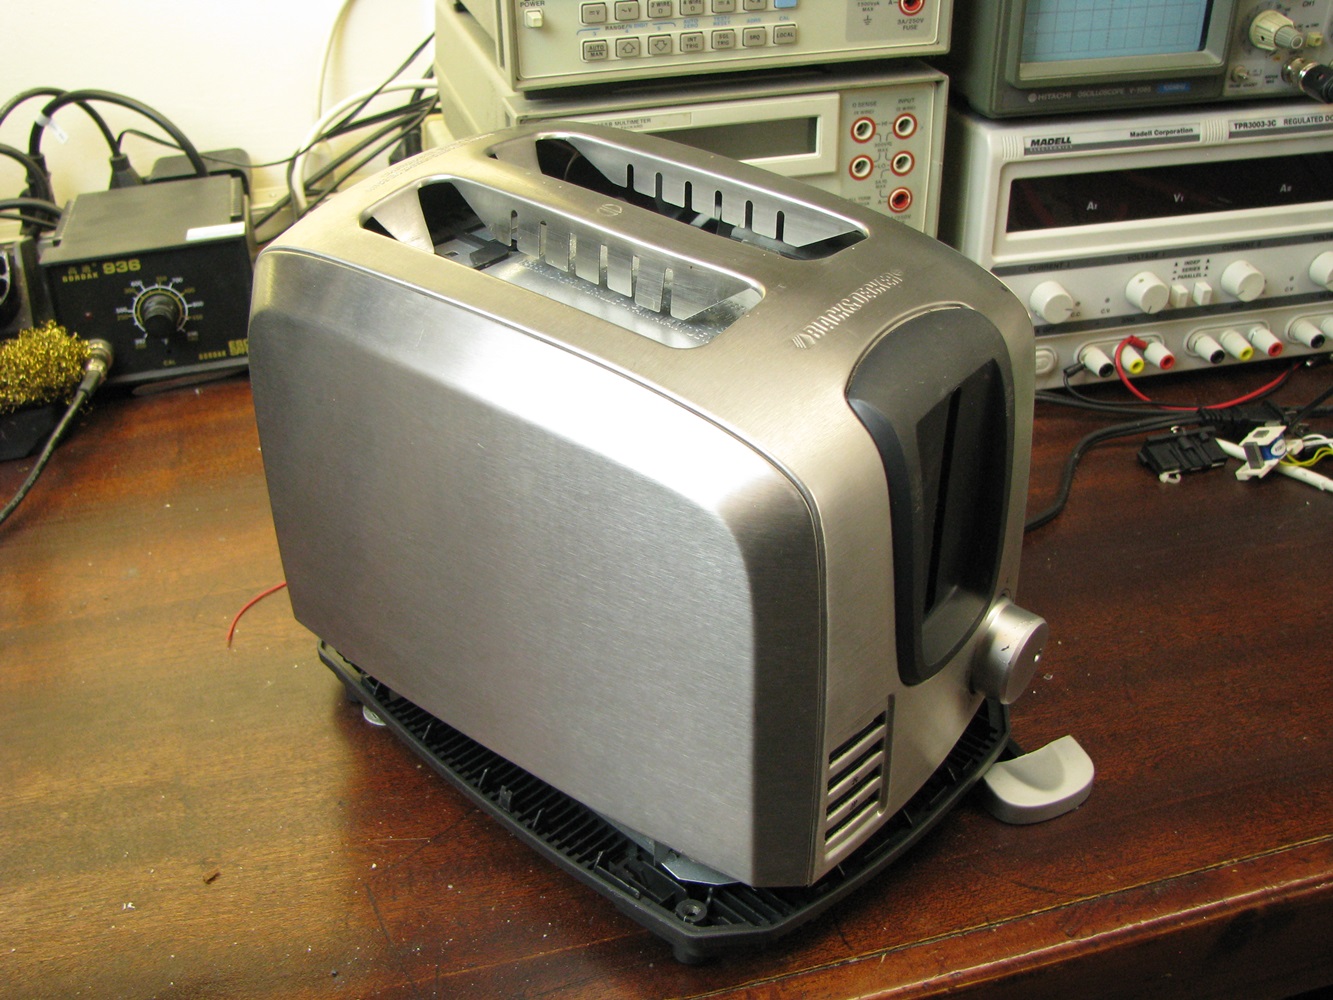
This time we will be taking a look at a Black and Decker model T2707SKT Toaster. Not that I was looking for a toaster to teardown but I just happened to stumble across it at my local XS Cargo store. It was a factory reconditioned unit that was then returned. The issue listed on the ticket was that one side didn’t heat properly. The regular price was around $30 or so and it was sitting on the discount shelf for $2. I figured it would make for a good teardown and possibly repair video.
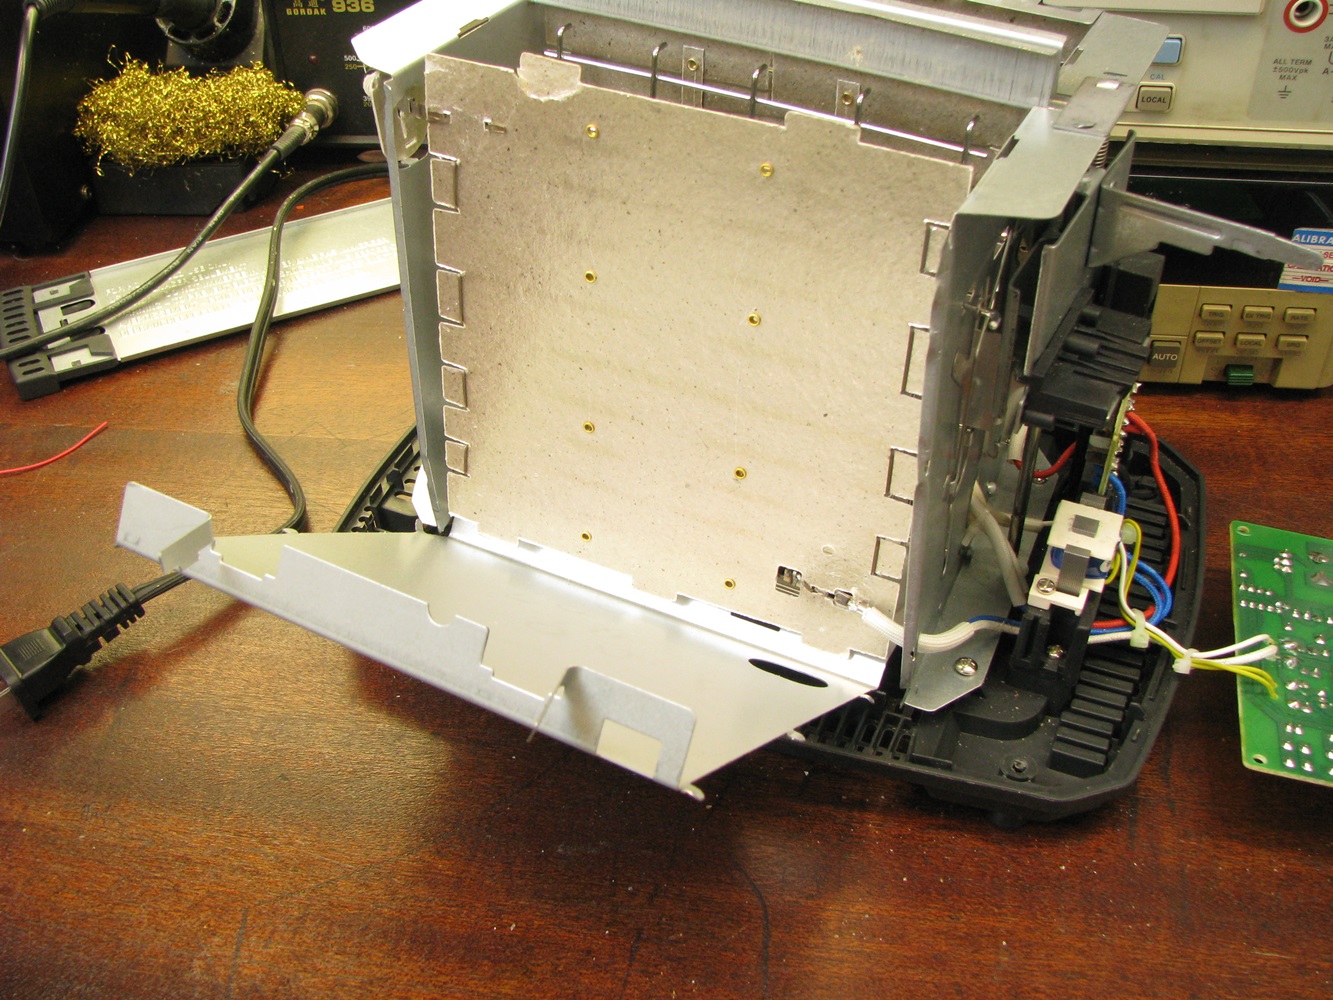
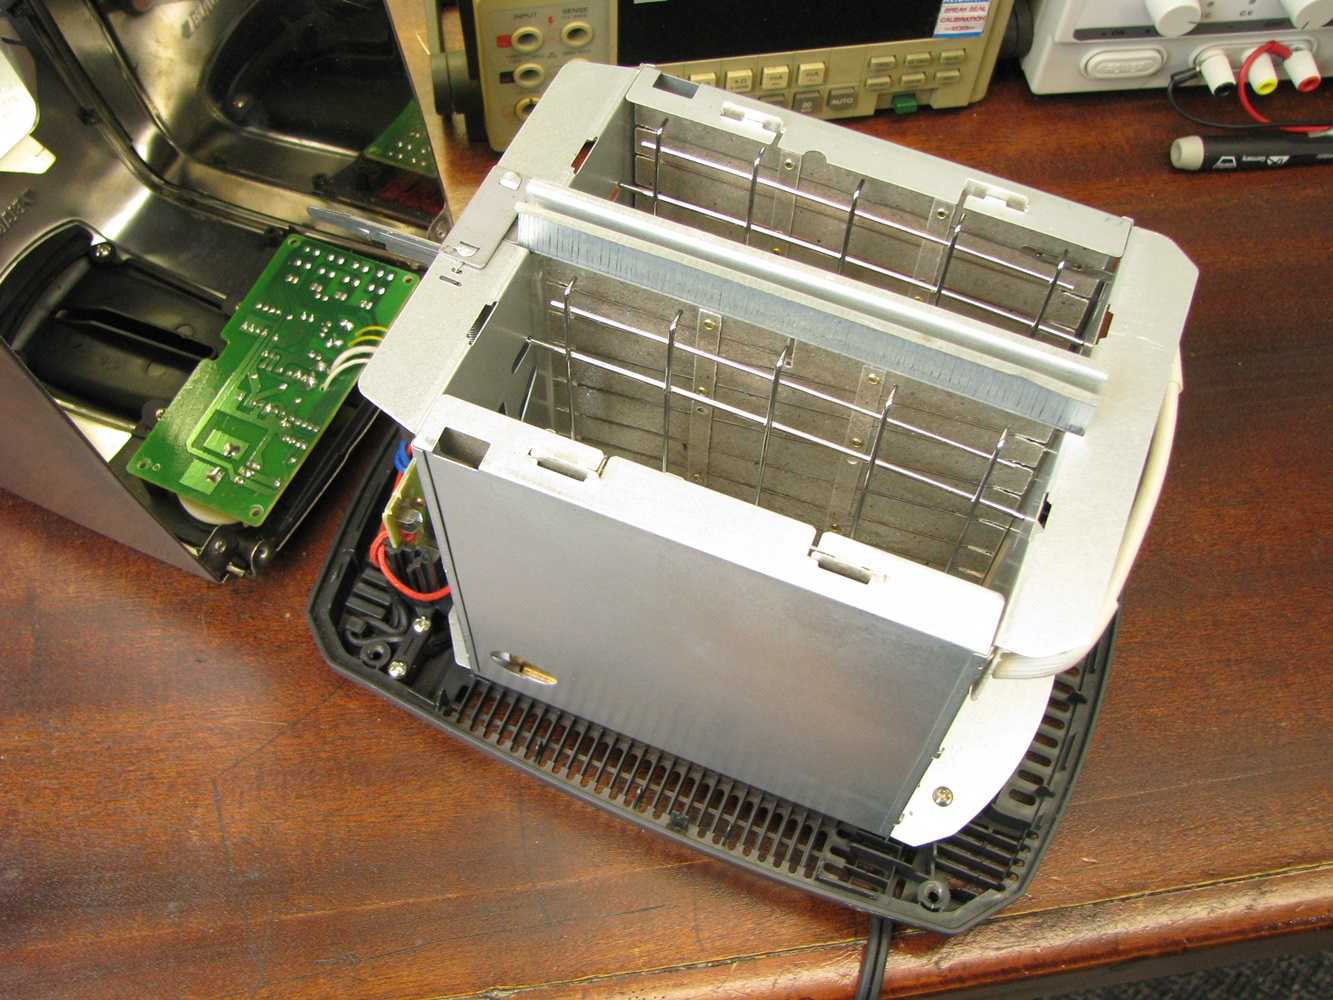
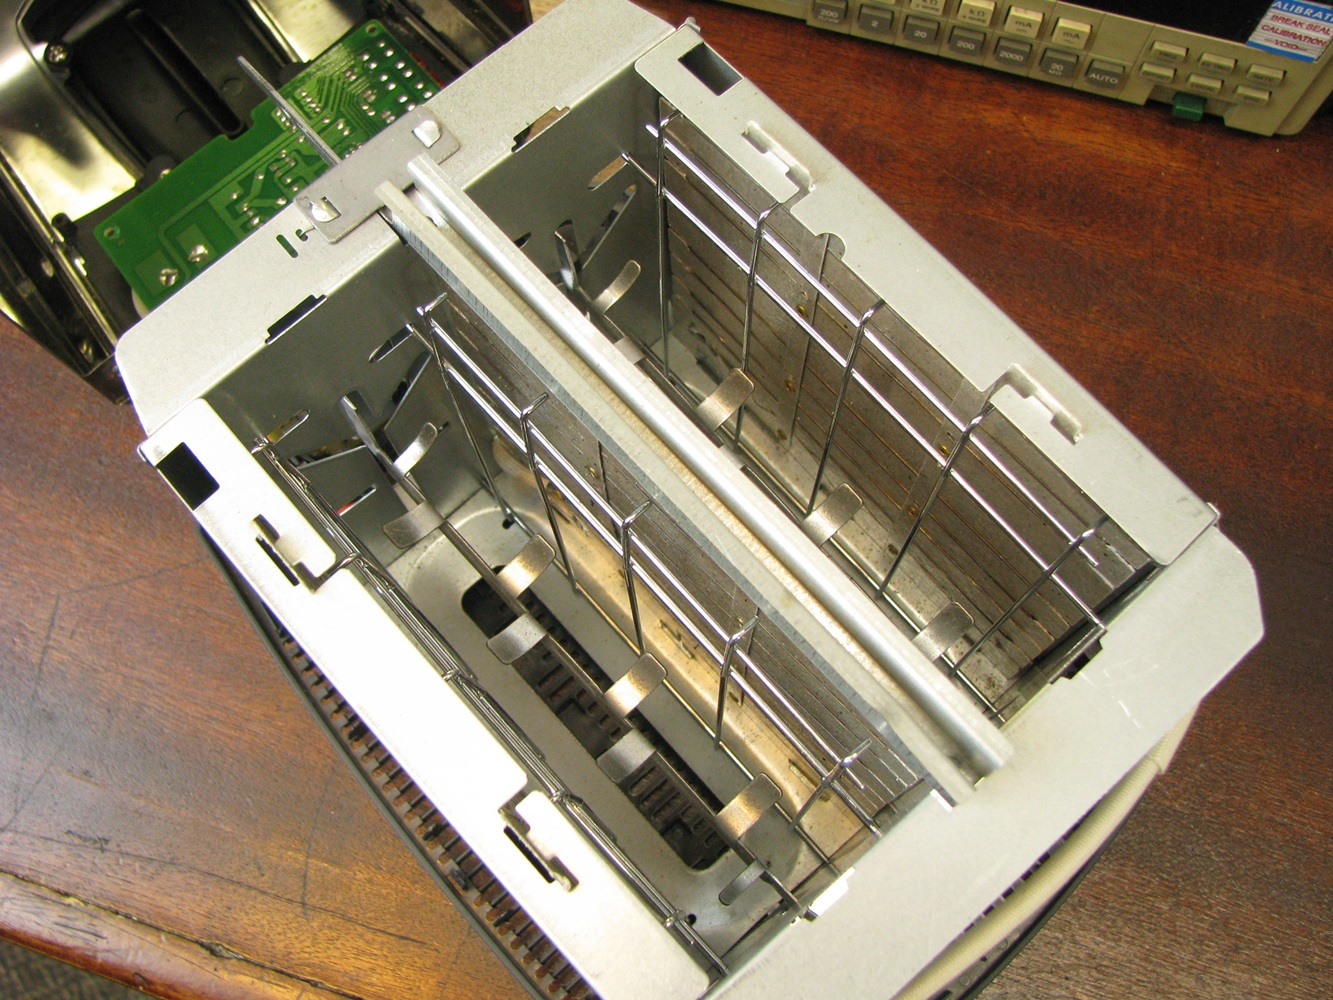
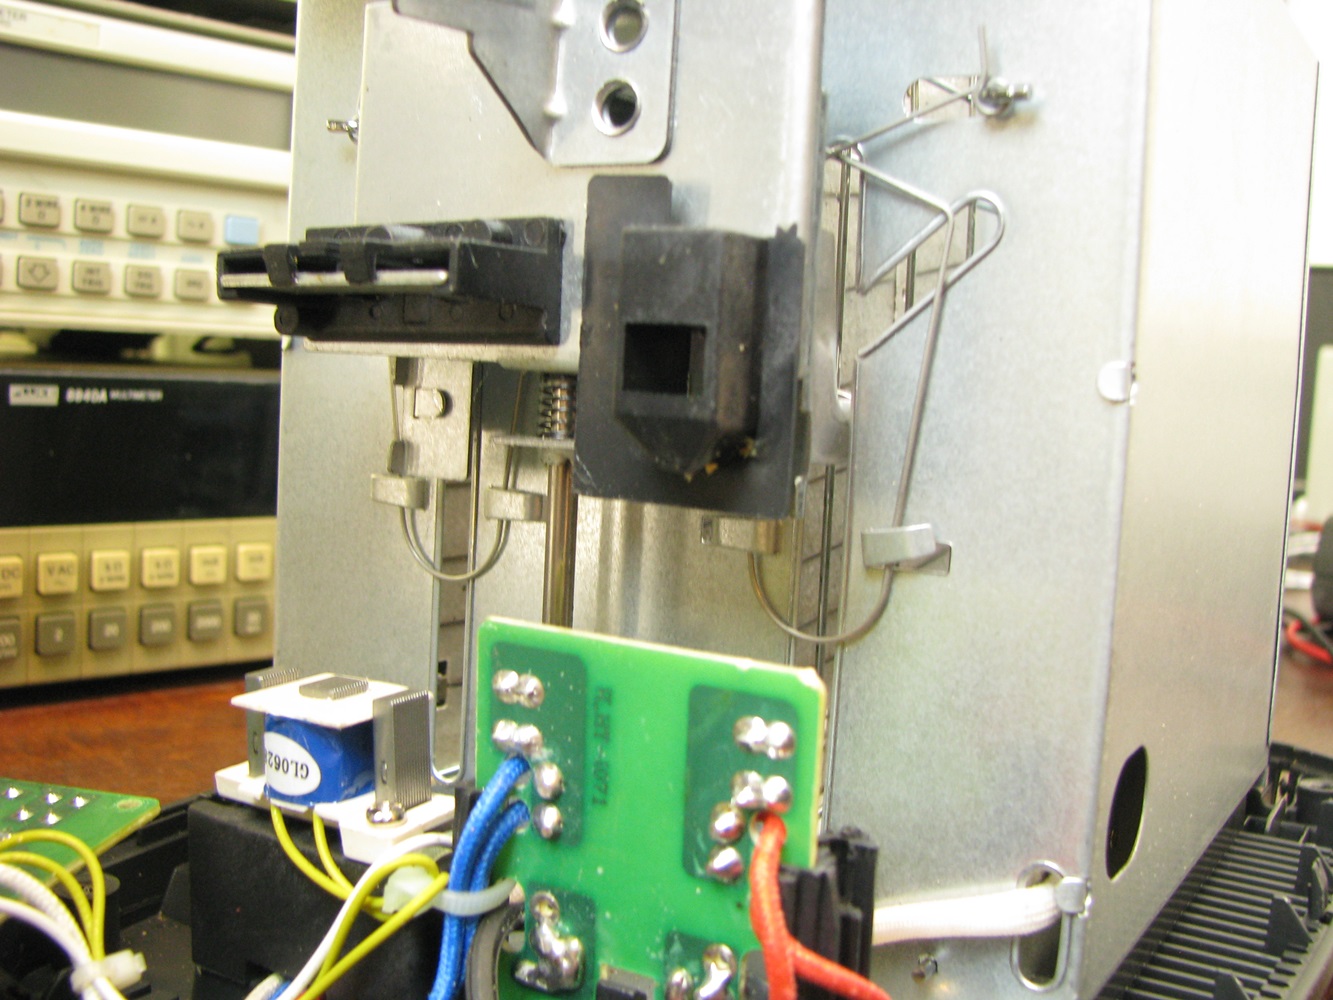
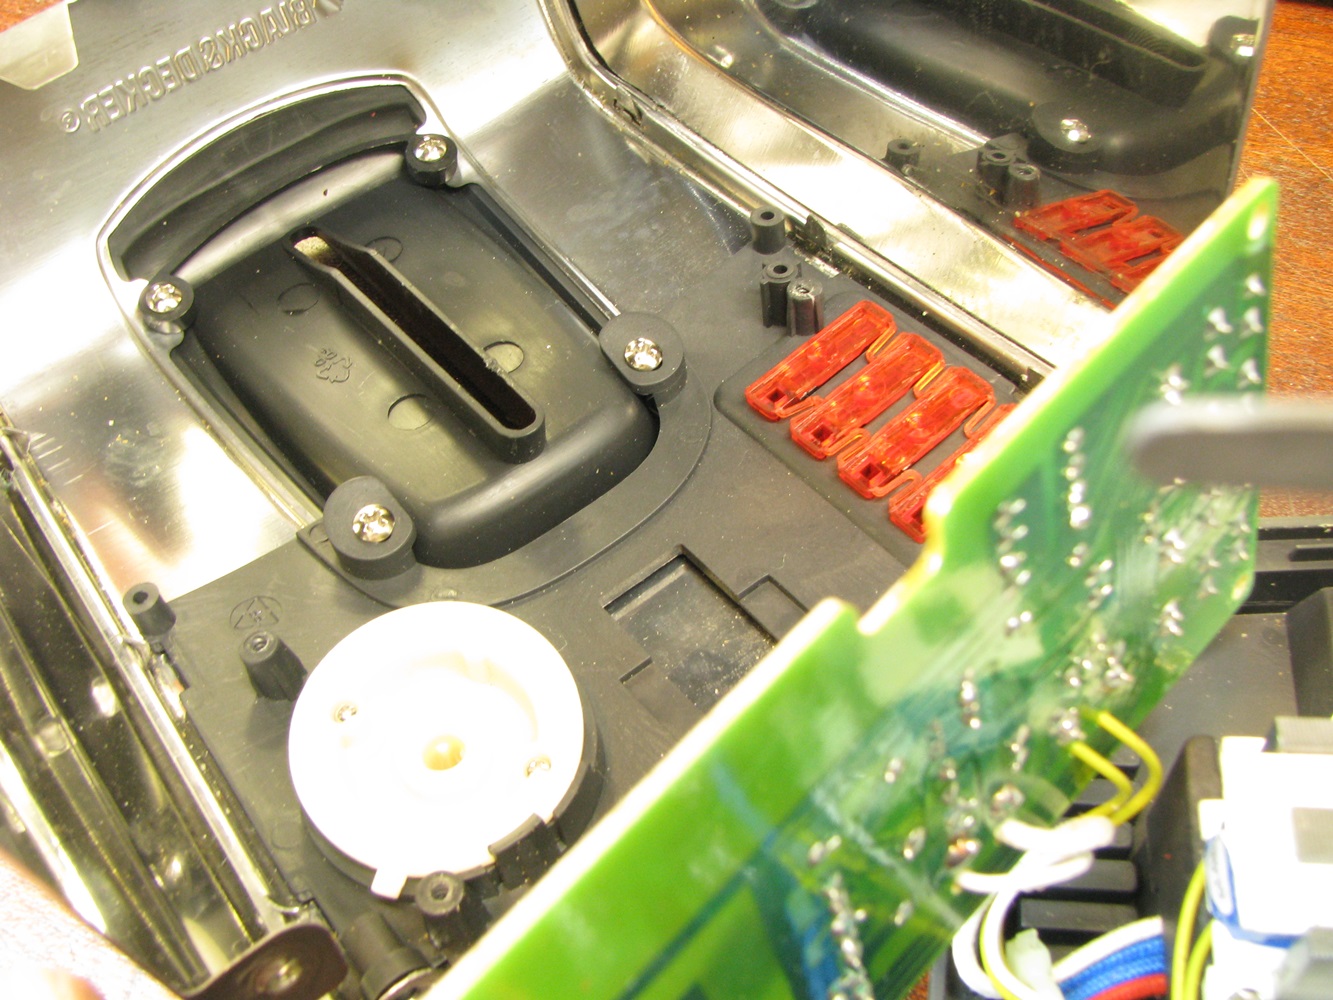
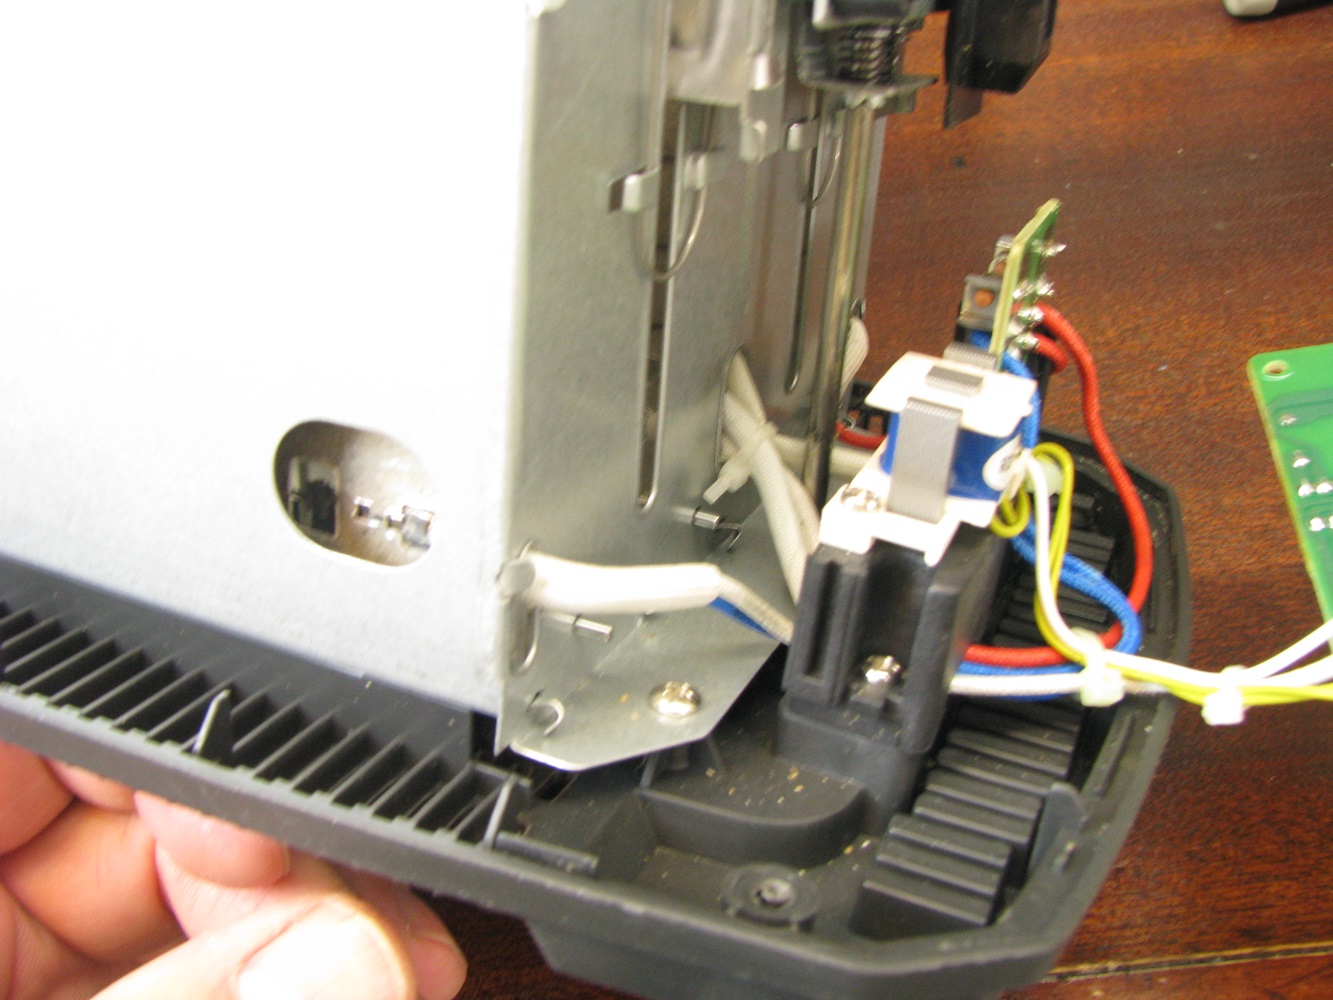
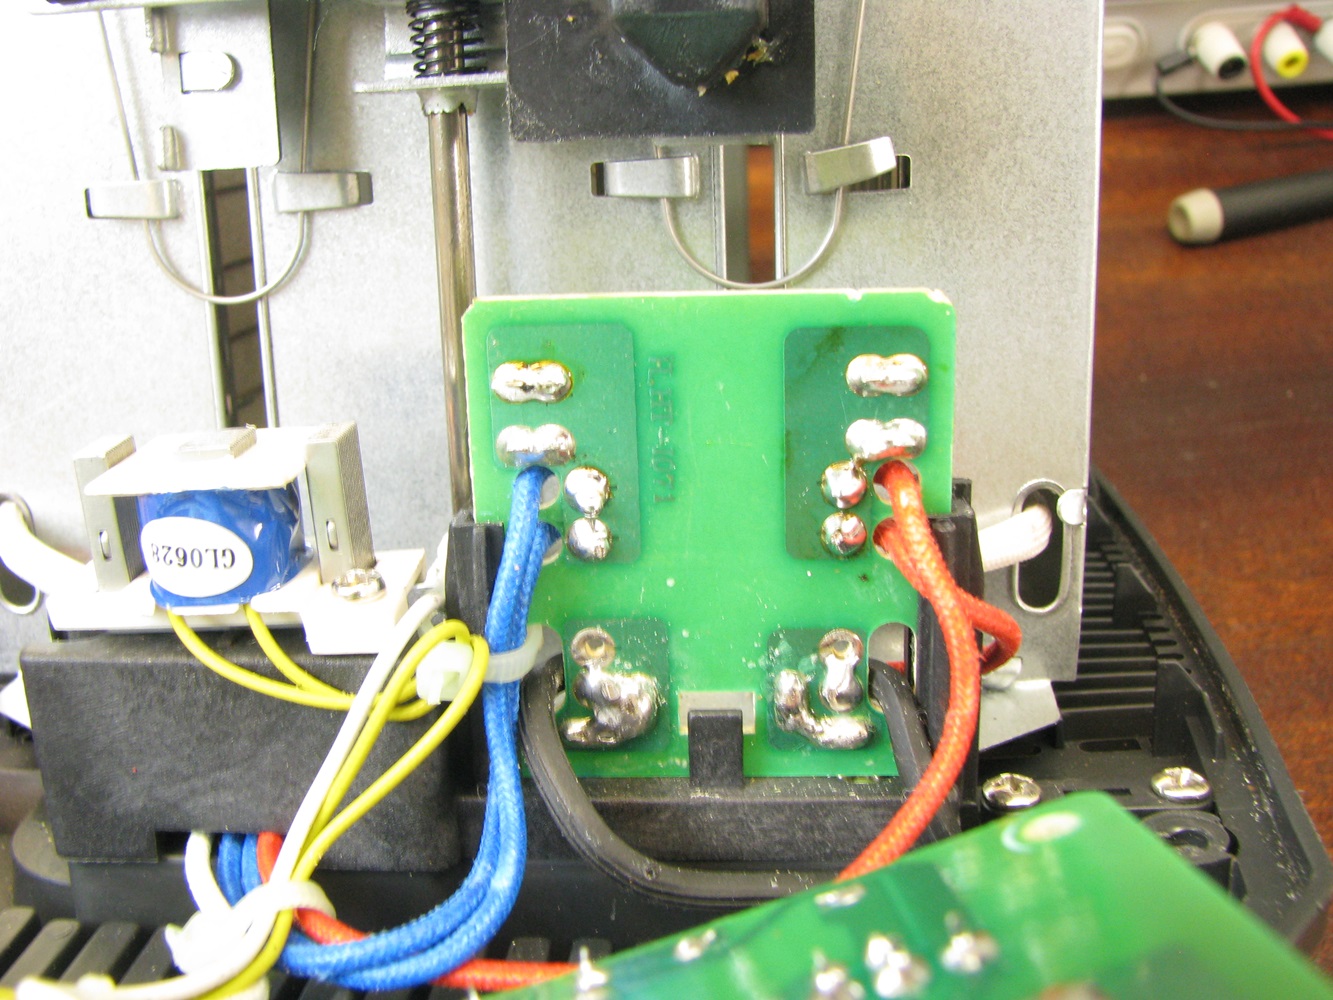
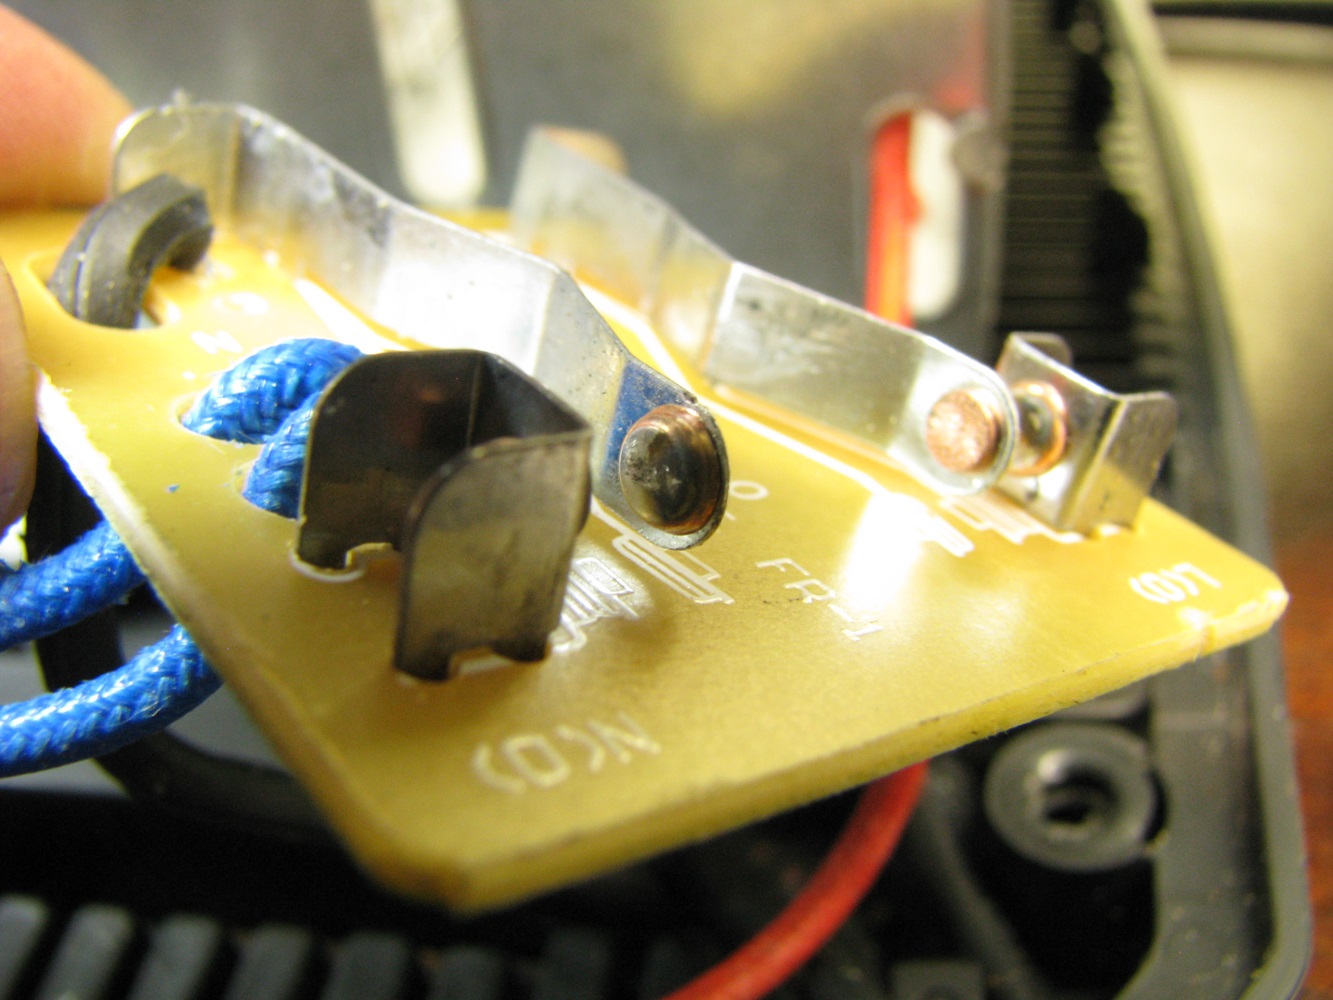
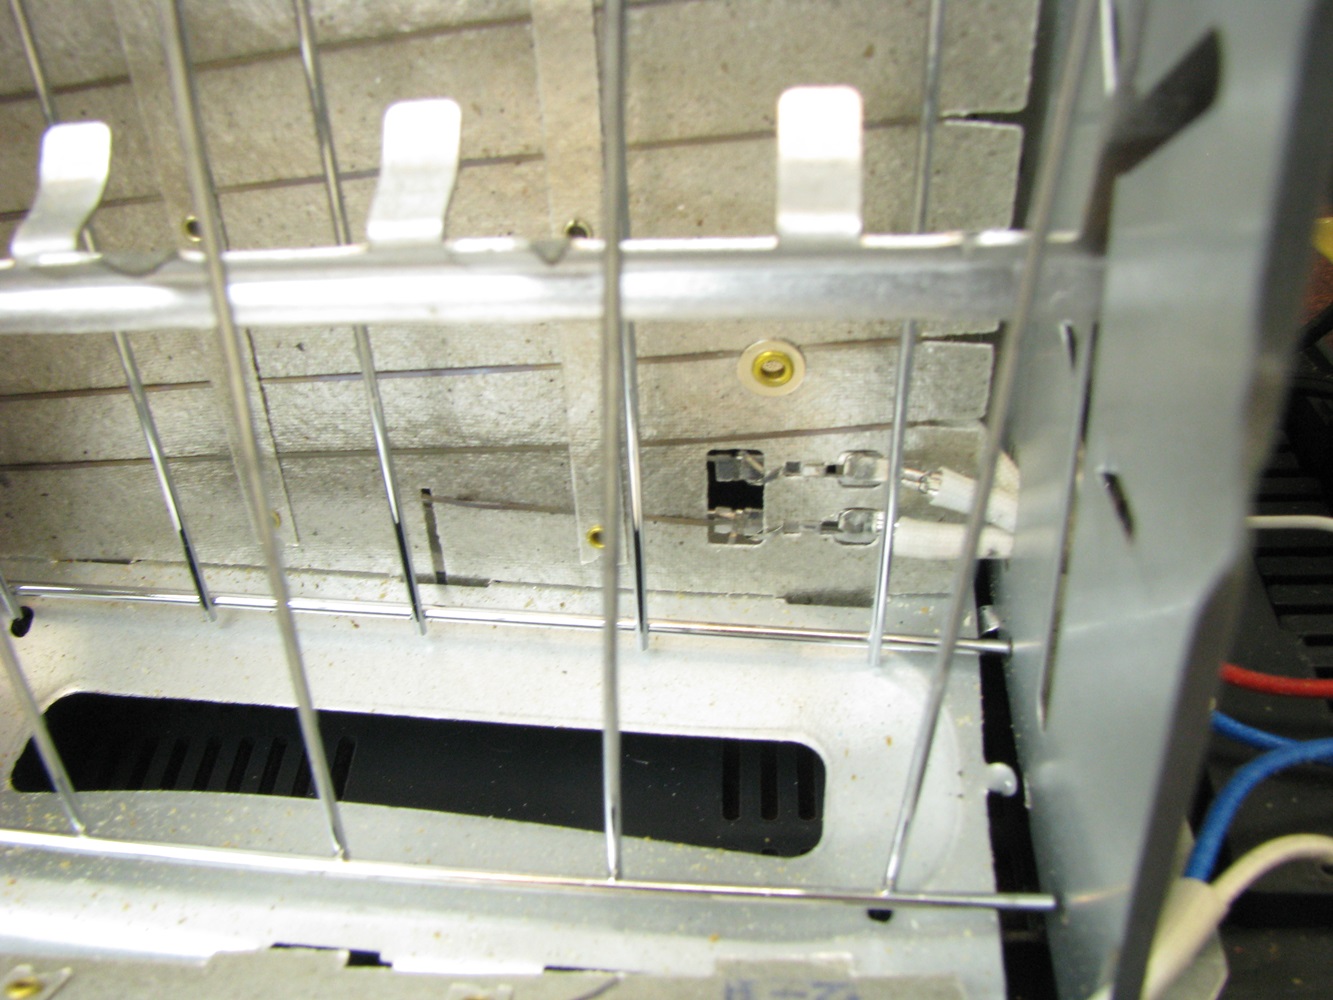
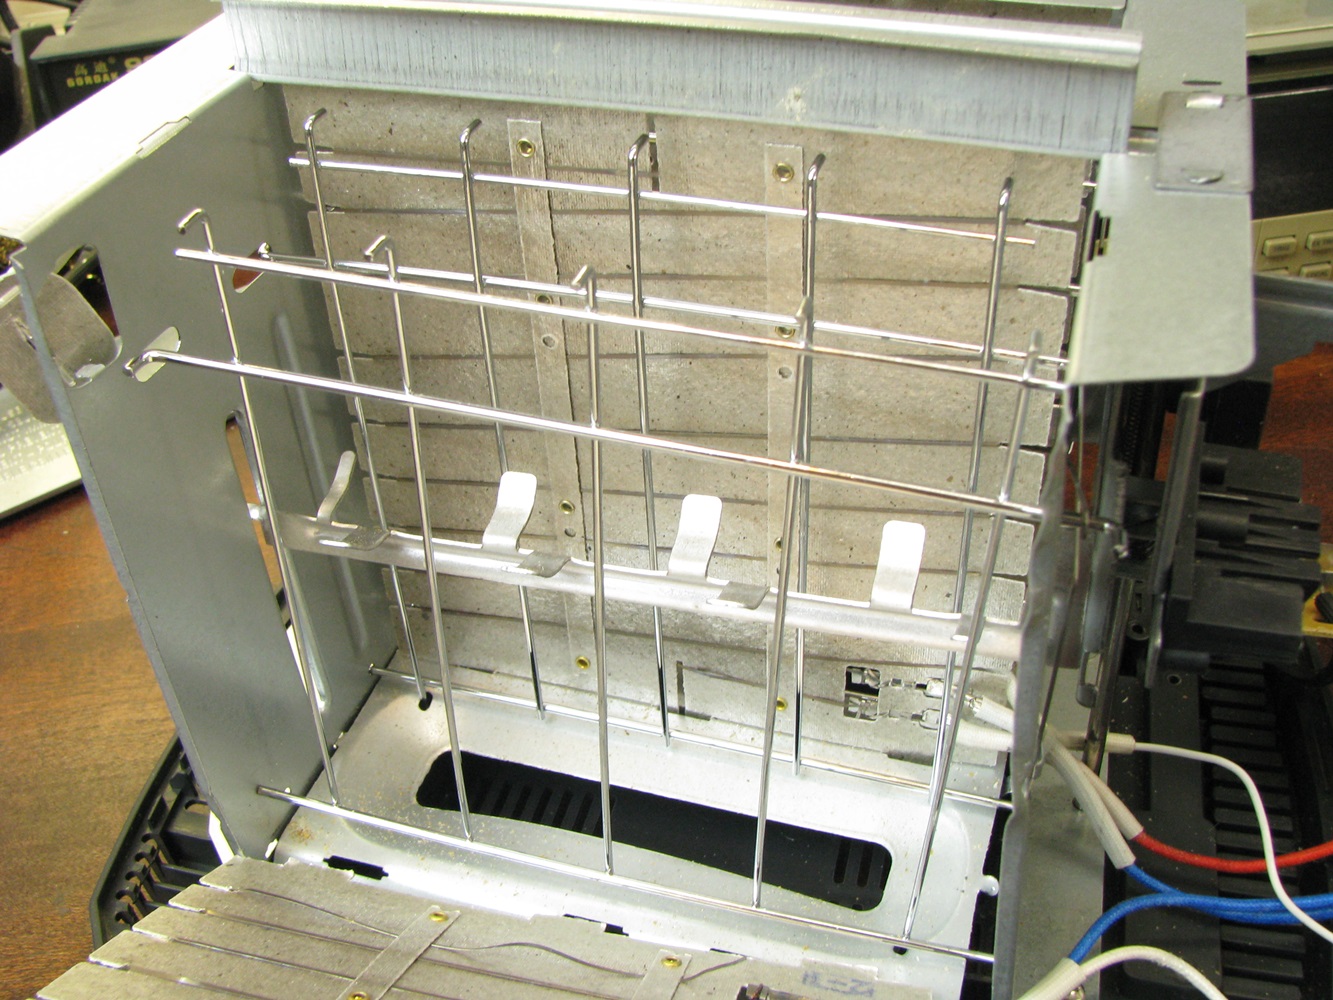
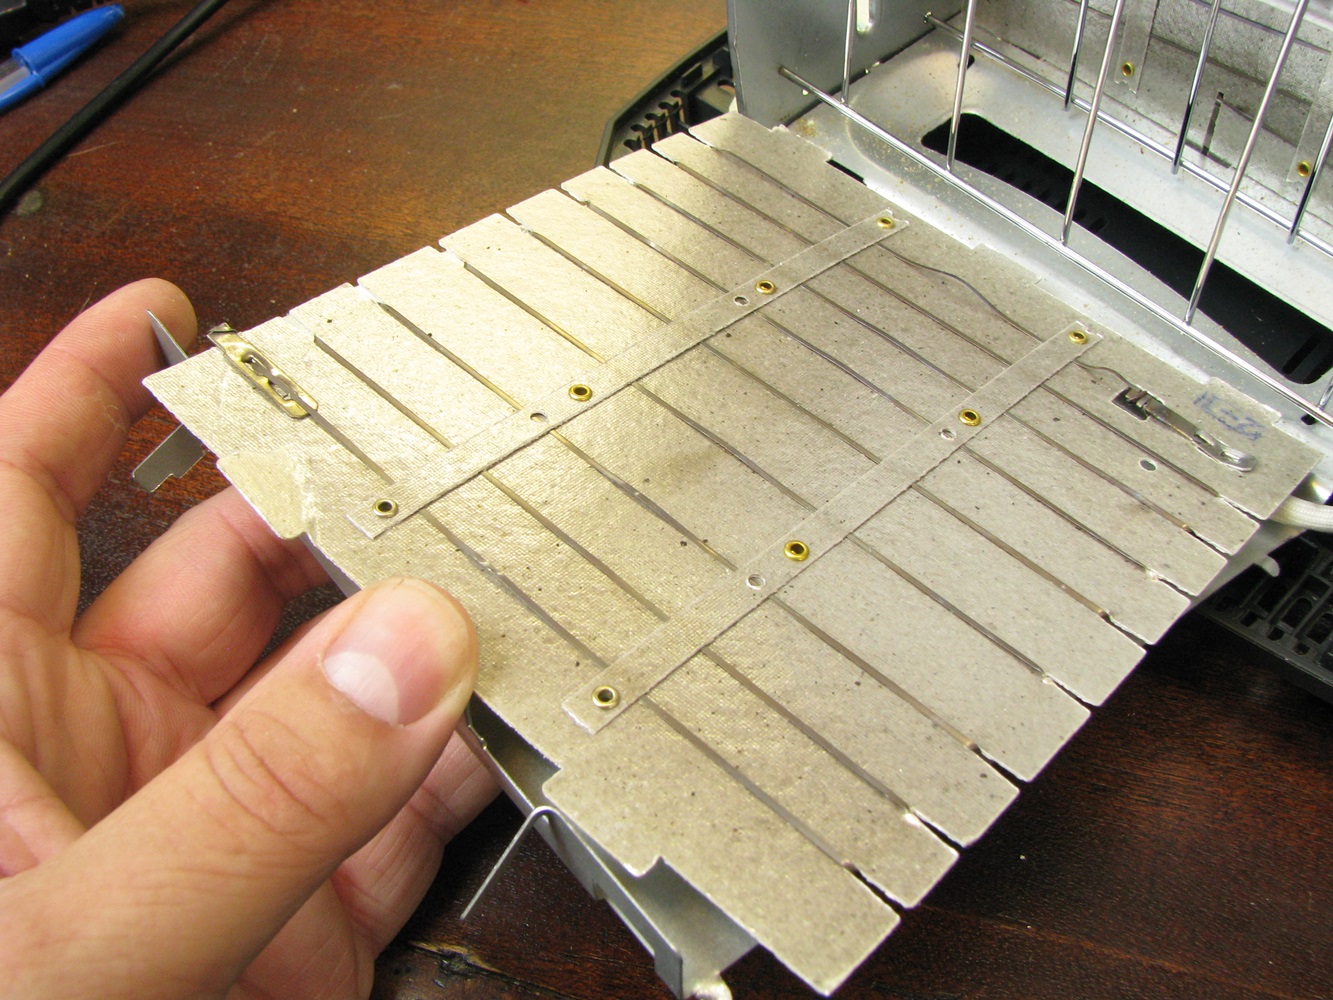
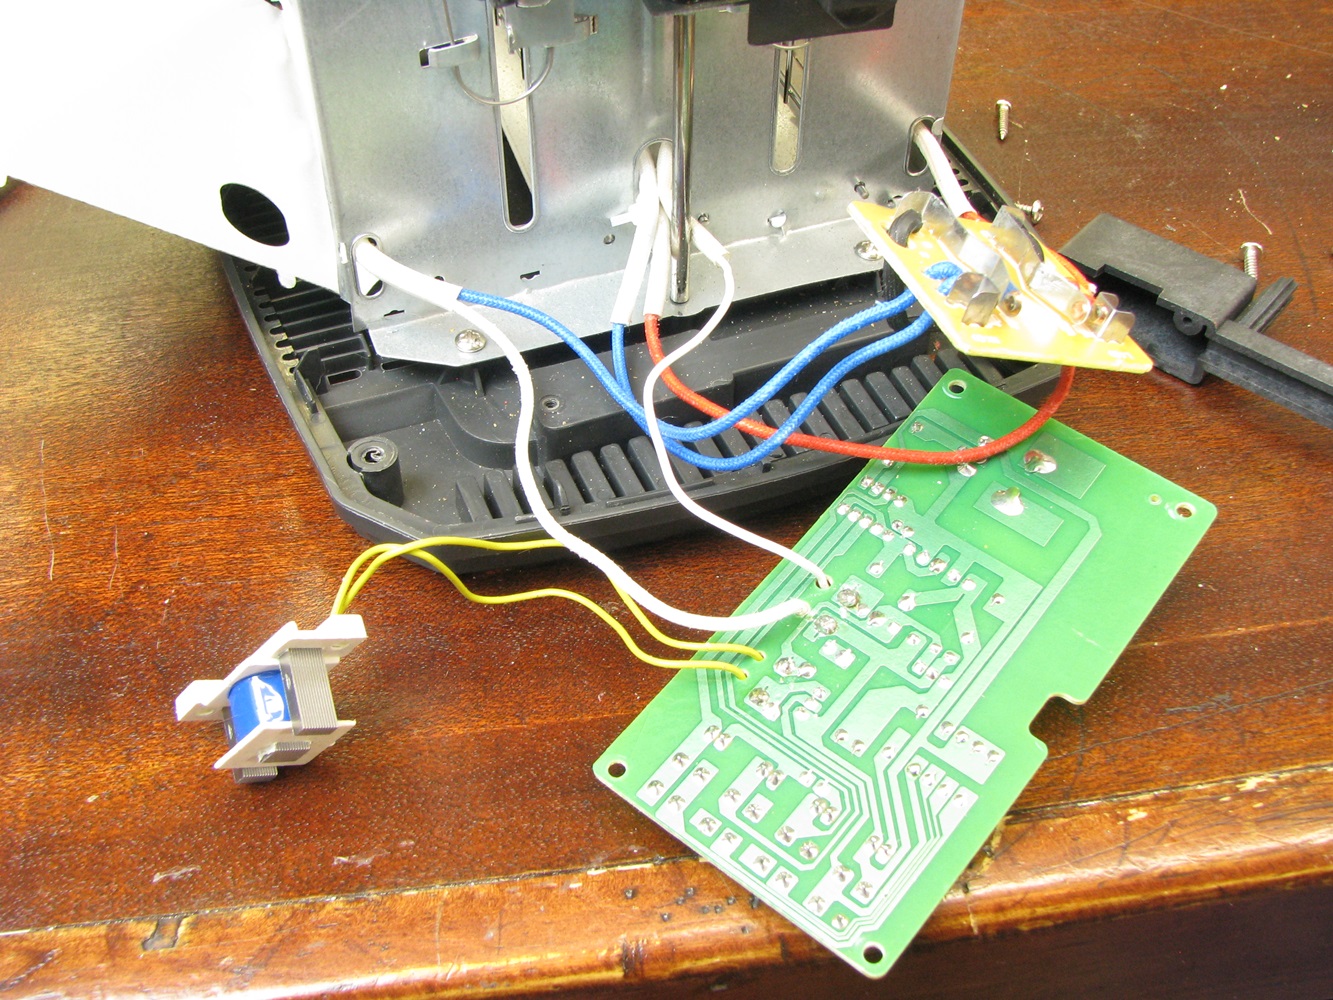
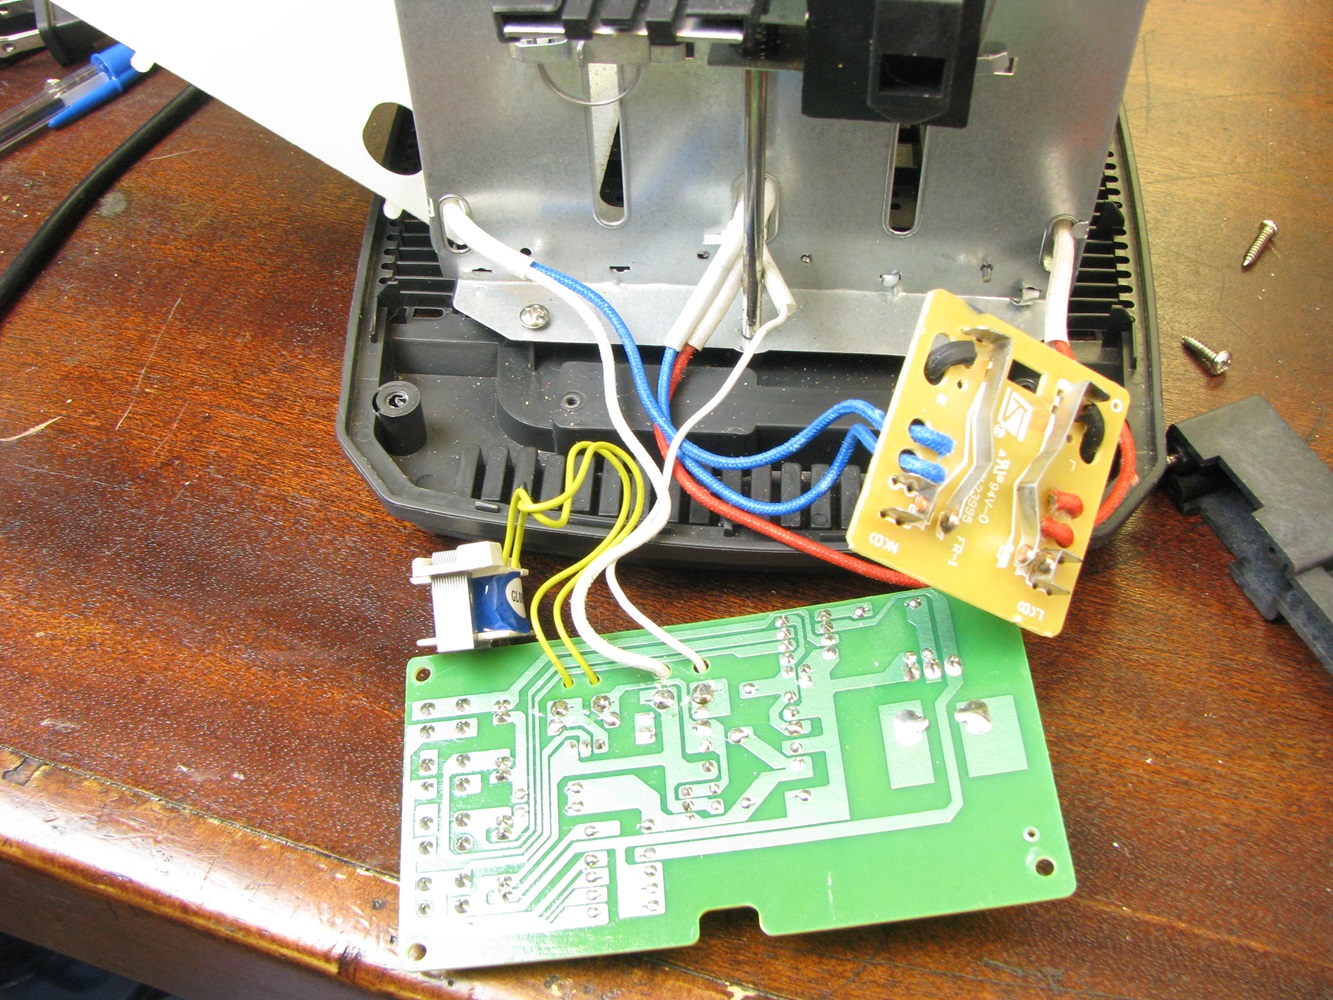
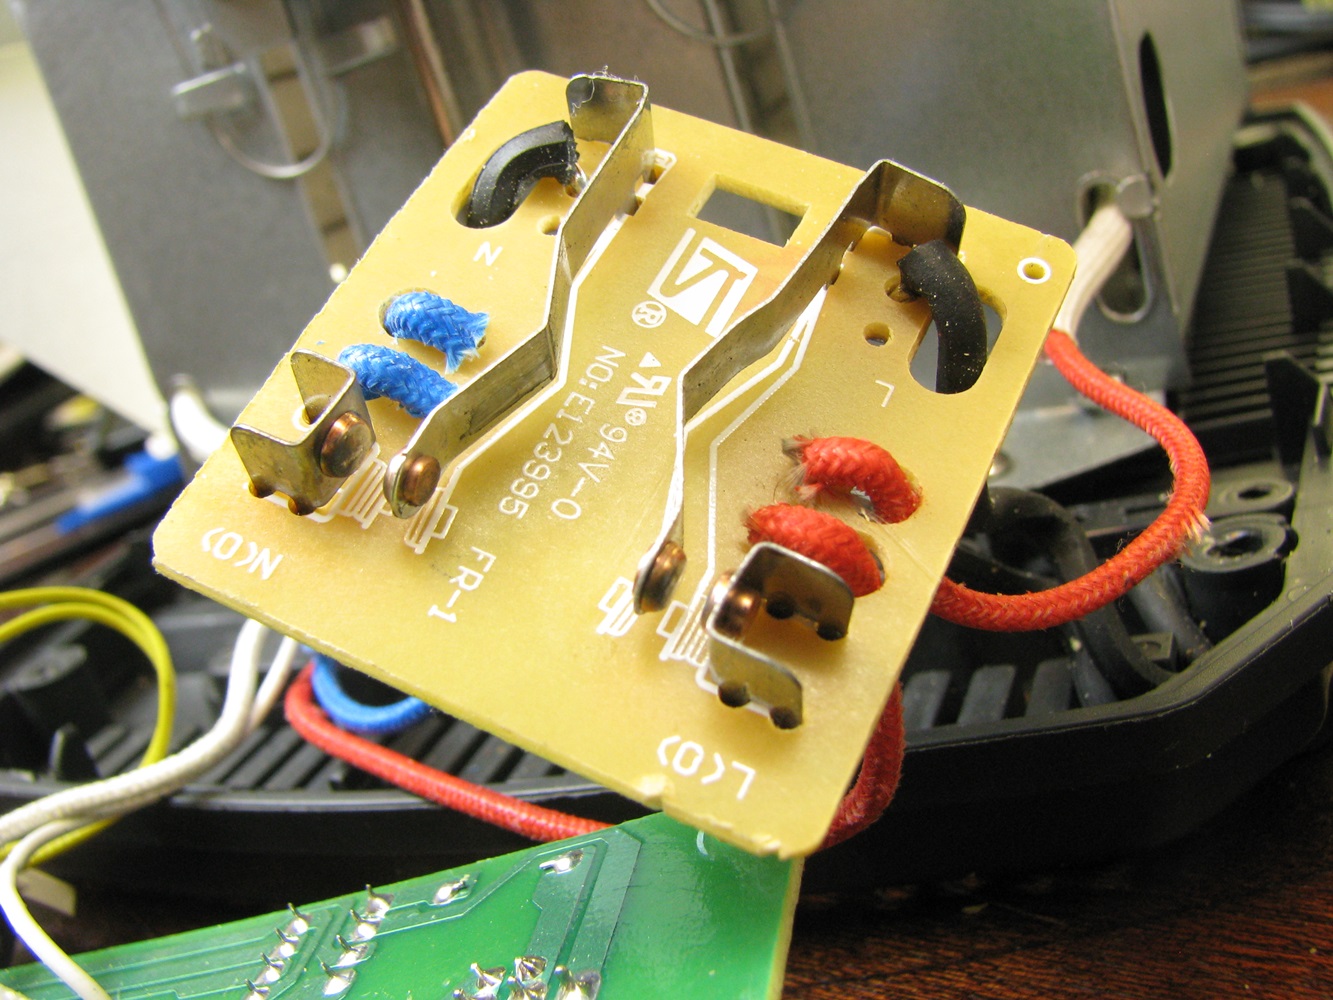
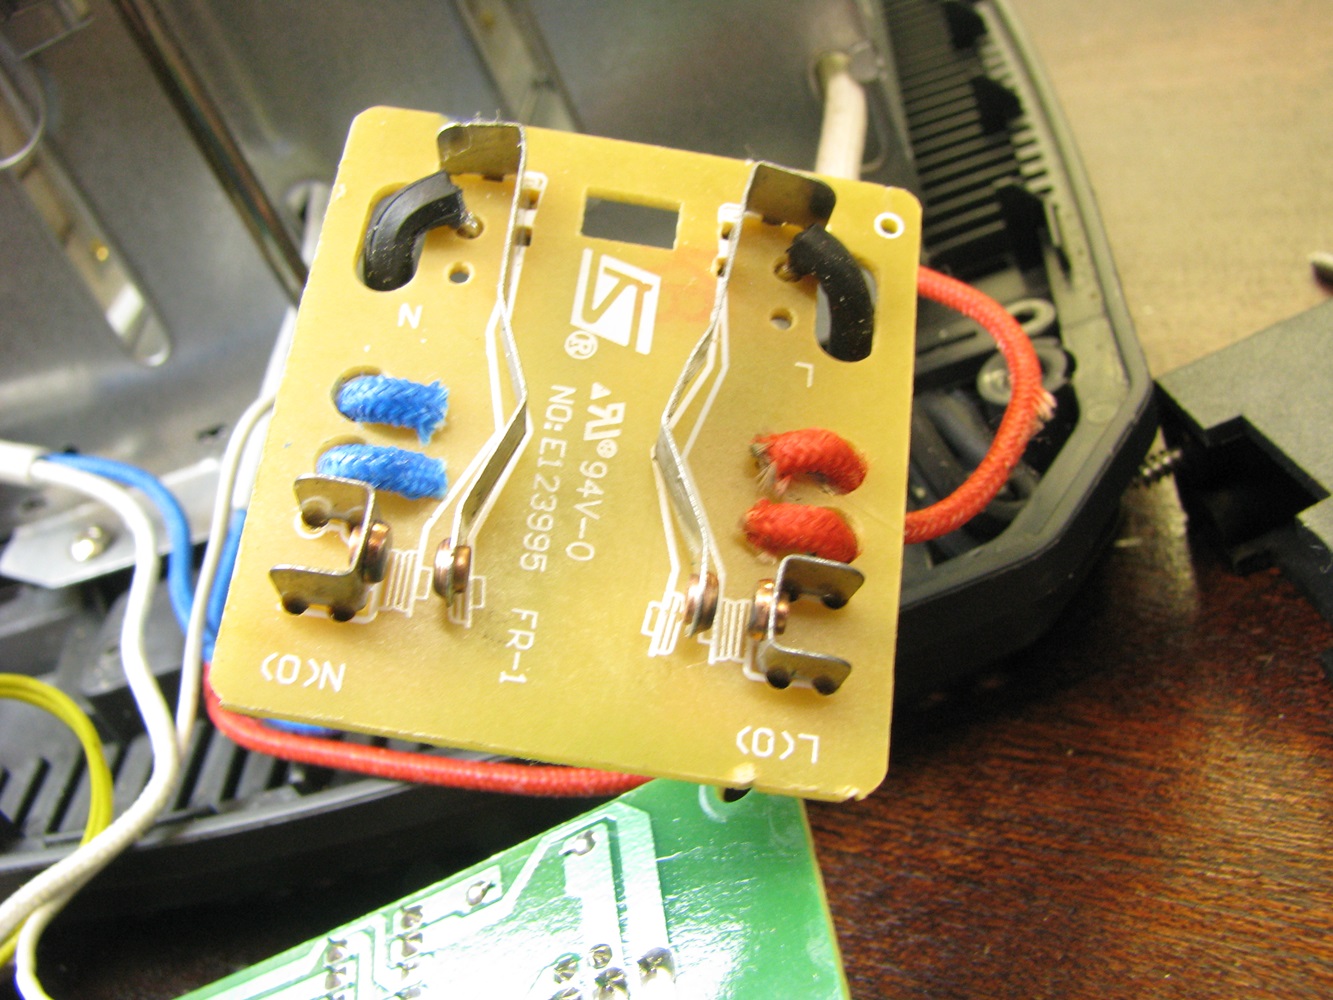
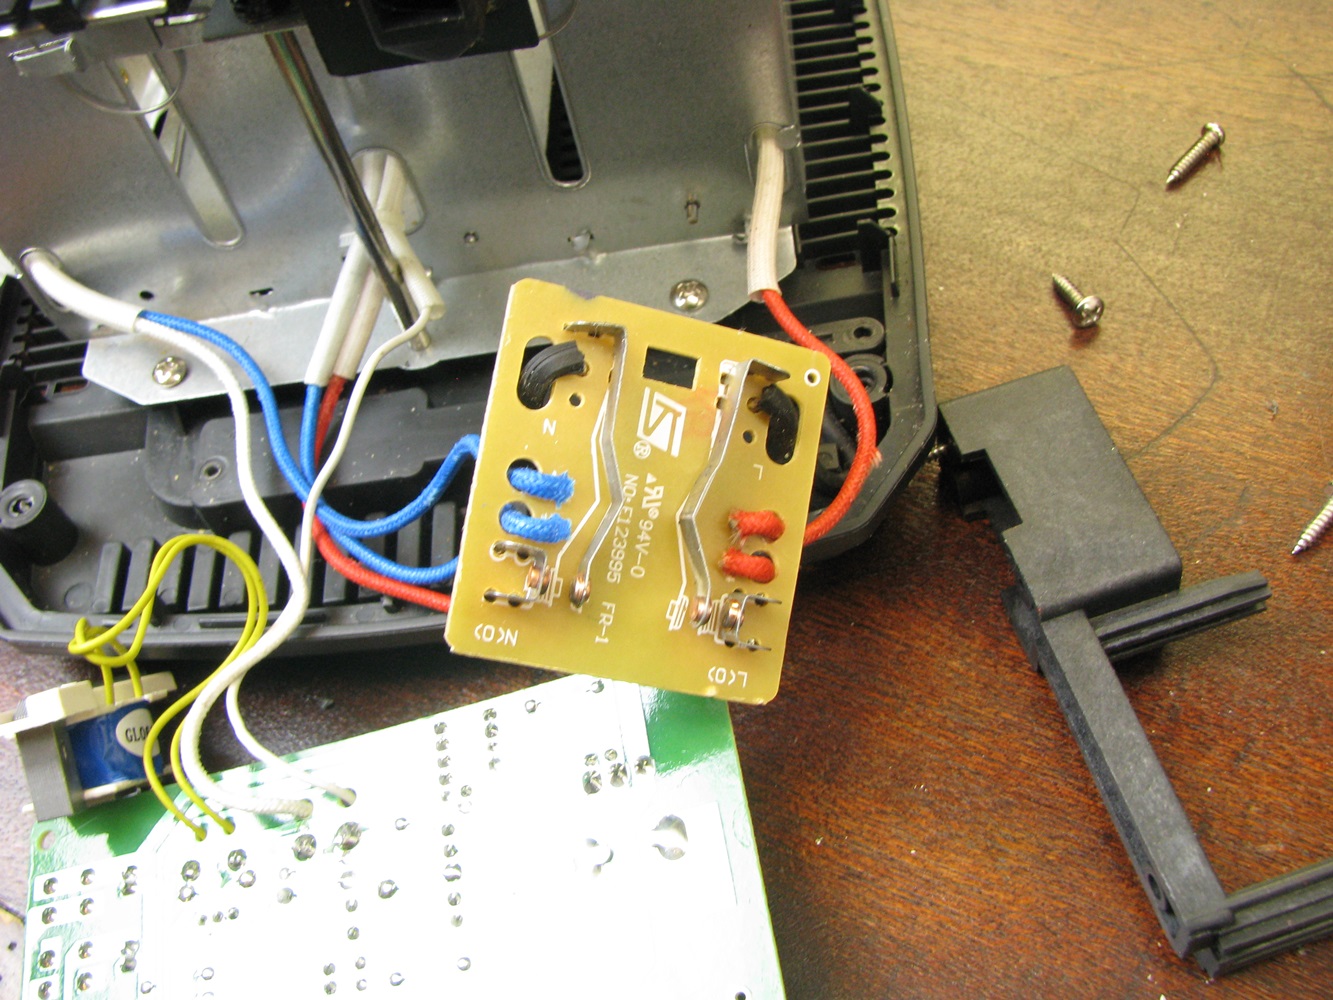
Turns out the design of the toaster is both quite simple and more complex than I would have expected. Let me explain… The actual electrical design of the basic toaster is very simply. There is a large plastic plunger that is connected to the handle that gets pressed down by the user to push the toast down. When pressed there are 2 contacts that are made which transfers the electrical connection from both neutral and hot AC lines to the heating elements. The heating elements consist of one circuit for the outer heating and one for inner heating. Turns out that the inner one was working and the outer one was not.
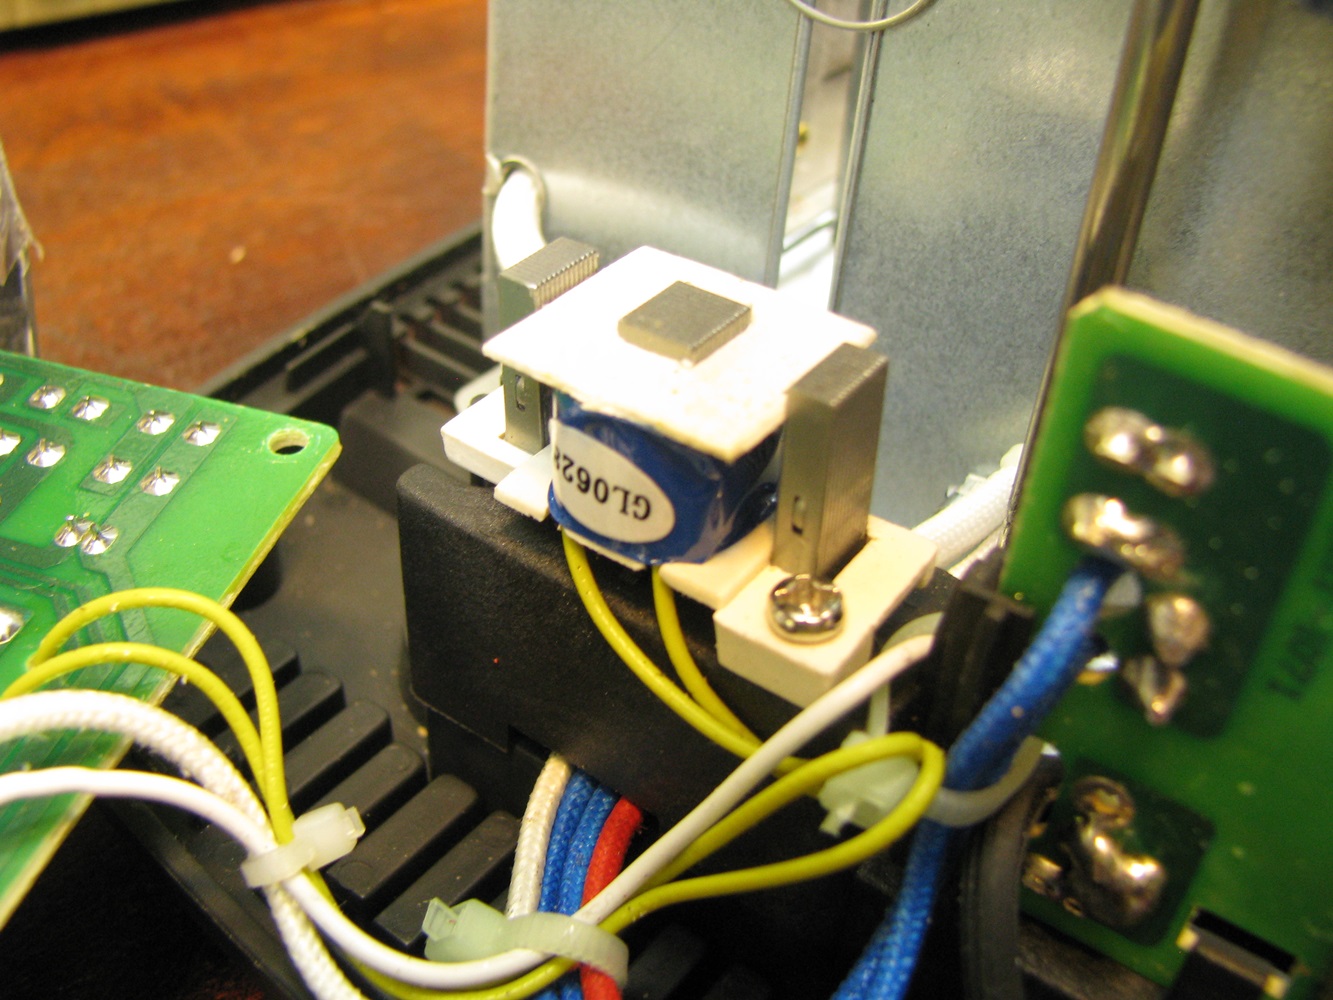
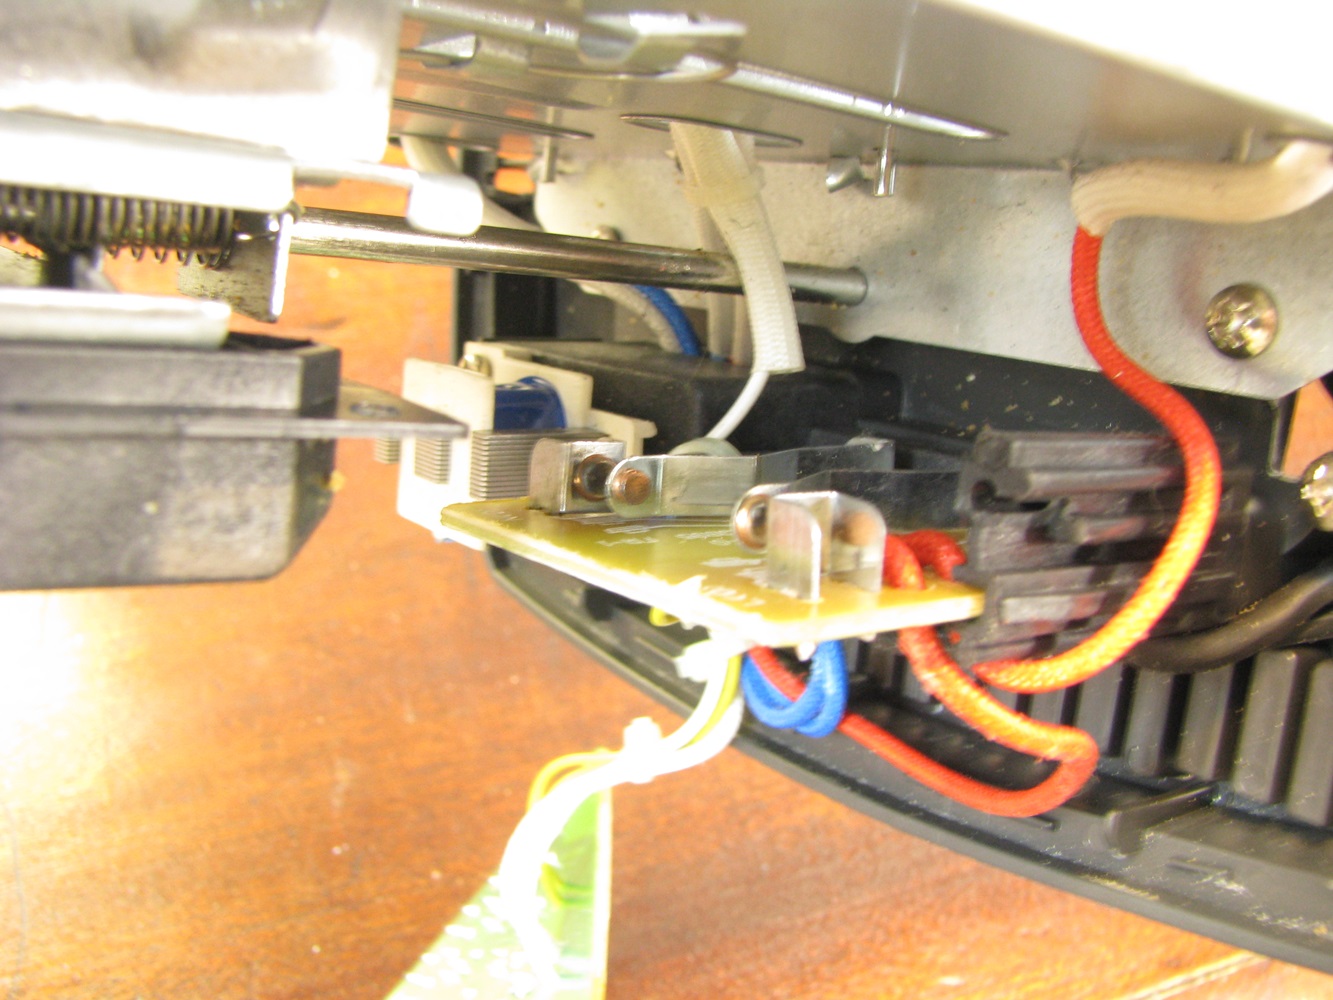
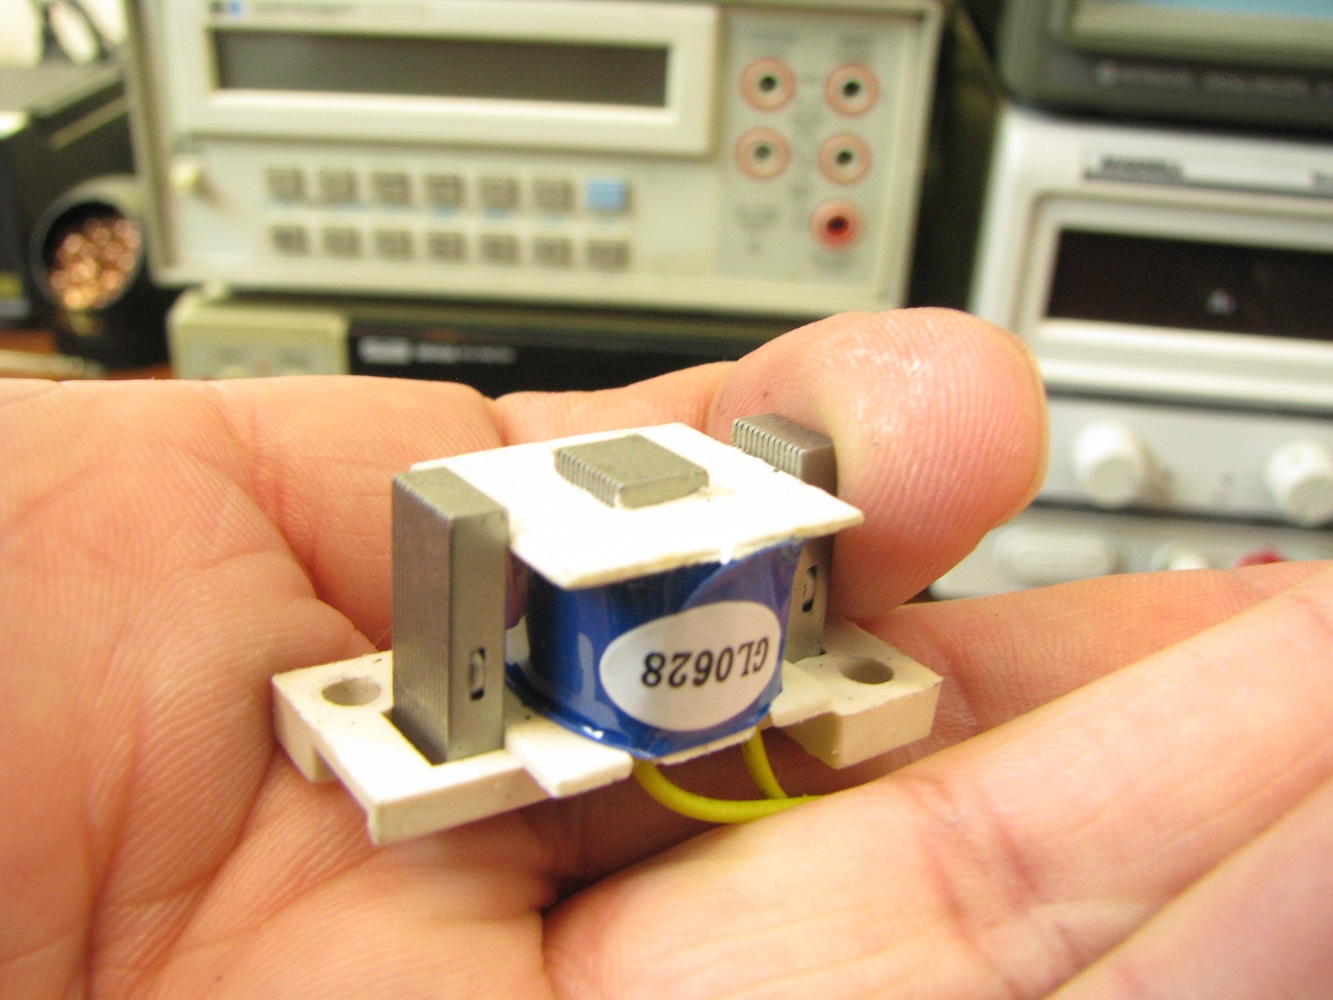
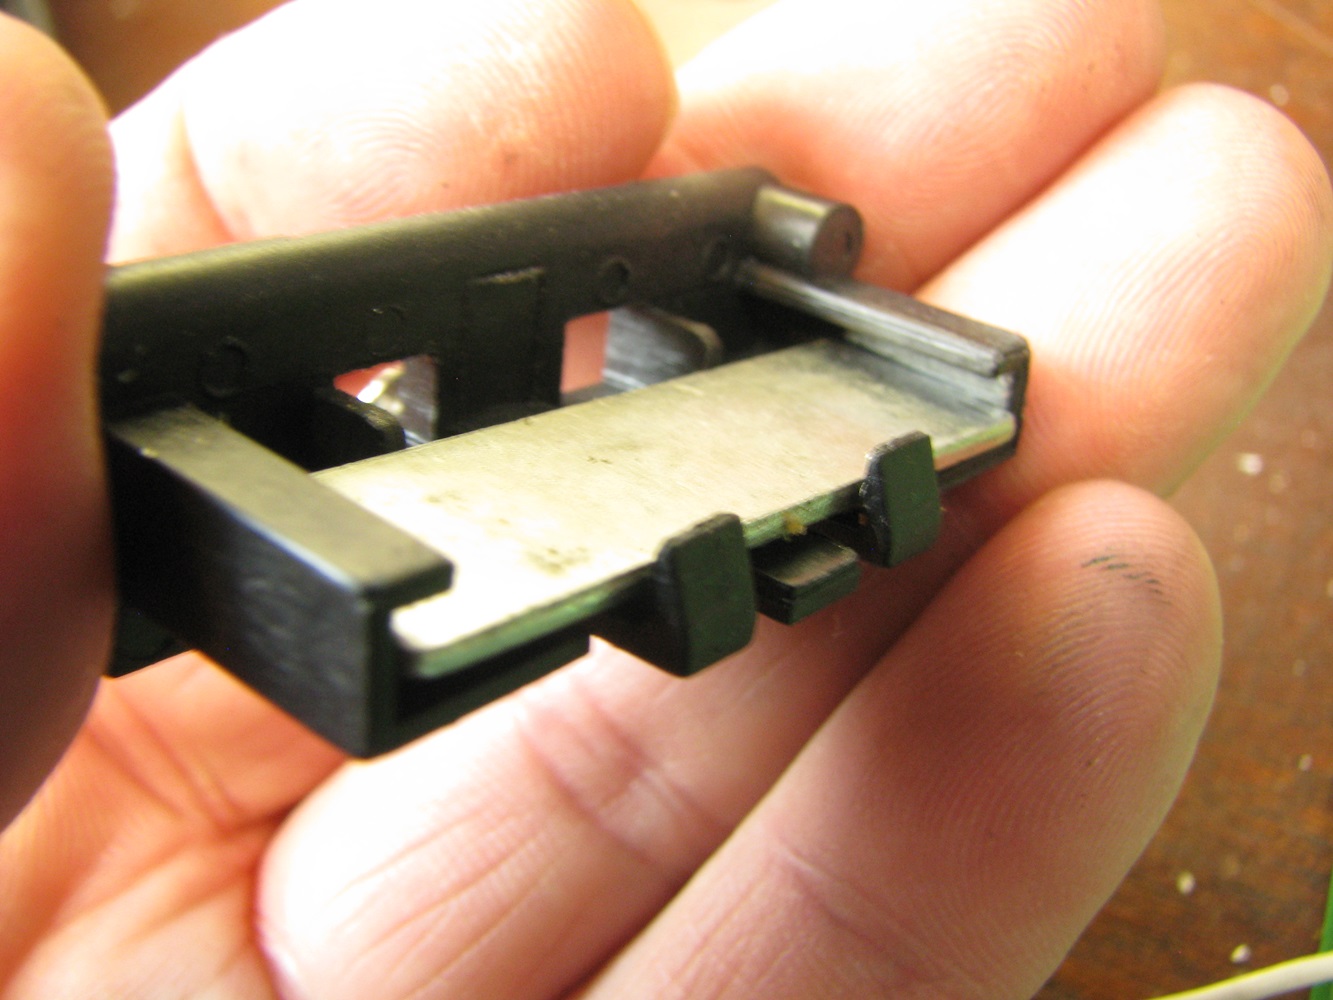
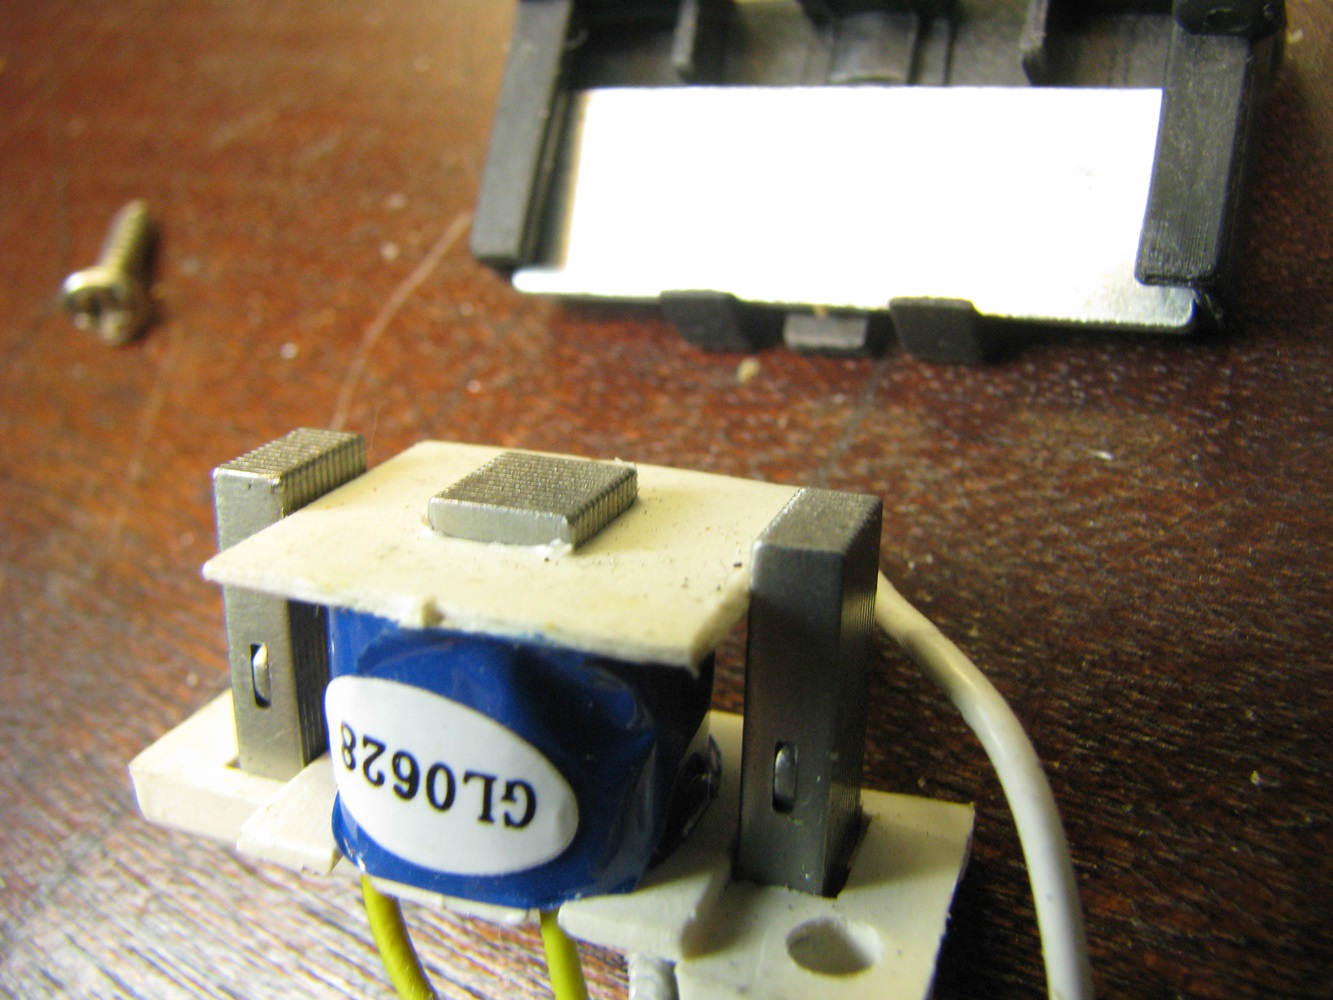
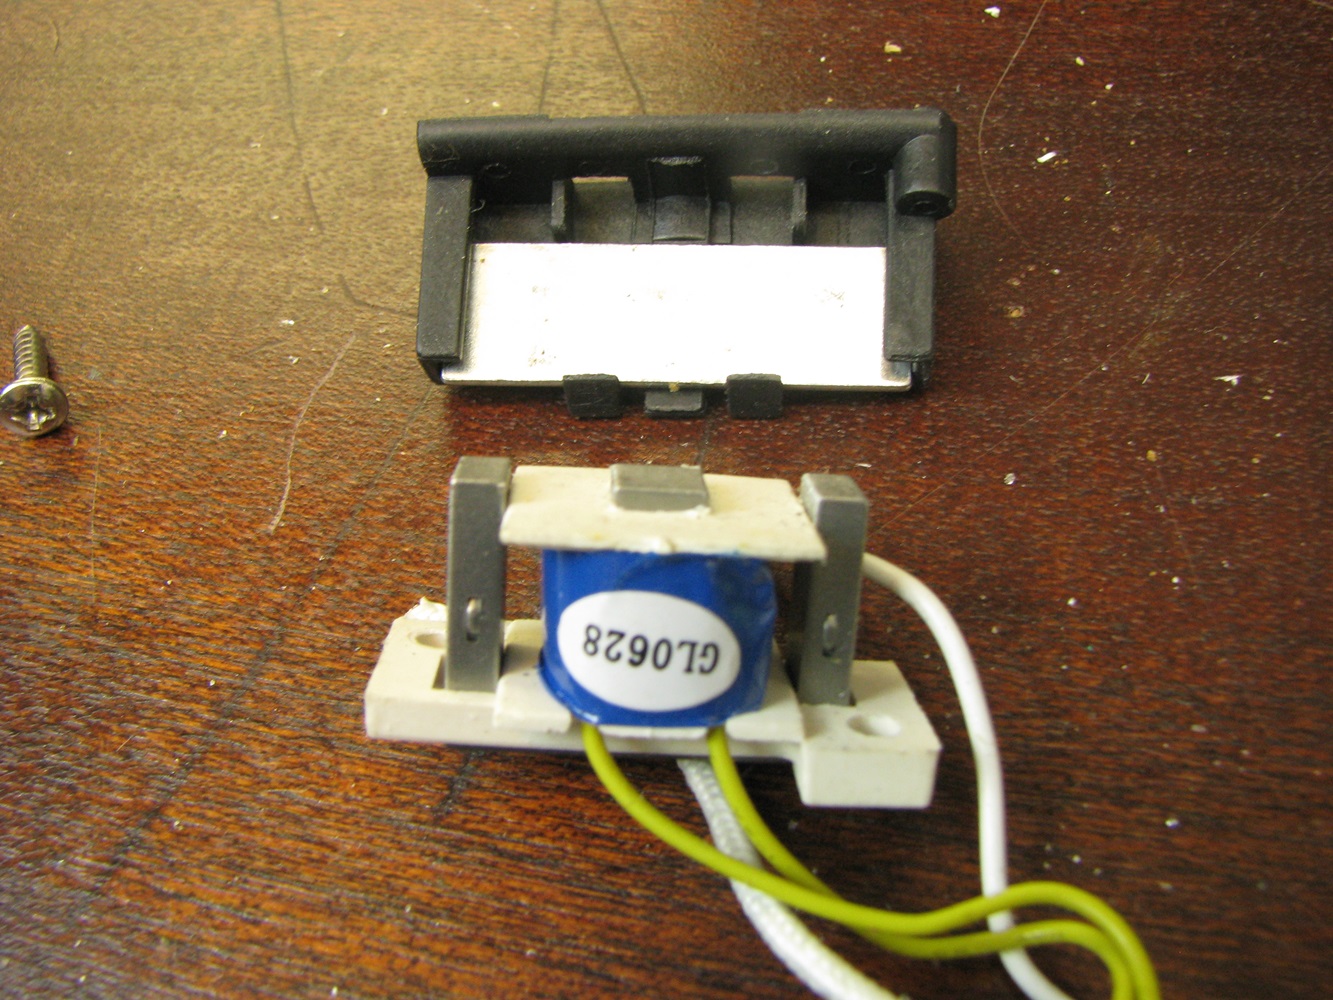
There is an electromagnet that is used to hold the spring loaded mechanism in the depressed (toasting) position and when de-energized the toast pops up and automatically kills the power to the entire circuit.
There is not much in the way of protection in this device, the chassis is not grounded like many other devices like this. This means that if there is a stray connection from one of the heating lines to an internal metal component the case could be energized. The construction is quite well designed to prevent this though. I would have felt safer if there was a ground connection to the exposed metal housing though. There is also no over temperature sensors that could be seen in this device. Most high wattage devices that generate lots of heat have an internal in line heat sensor that opens at a pre-determined temperature to prevent an over heating issue from becoming dangerous. For example if something accidentally jammed the toaster in the depressed position it would eventually reach a temperature to turn off. I guess with this design the actual heating wires might fail after a short enough time to prevent any dangerous conditions.
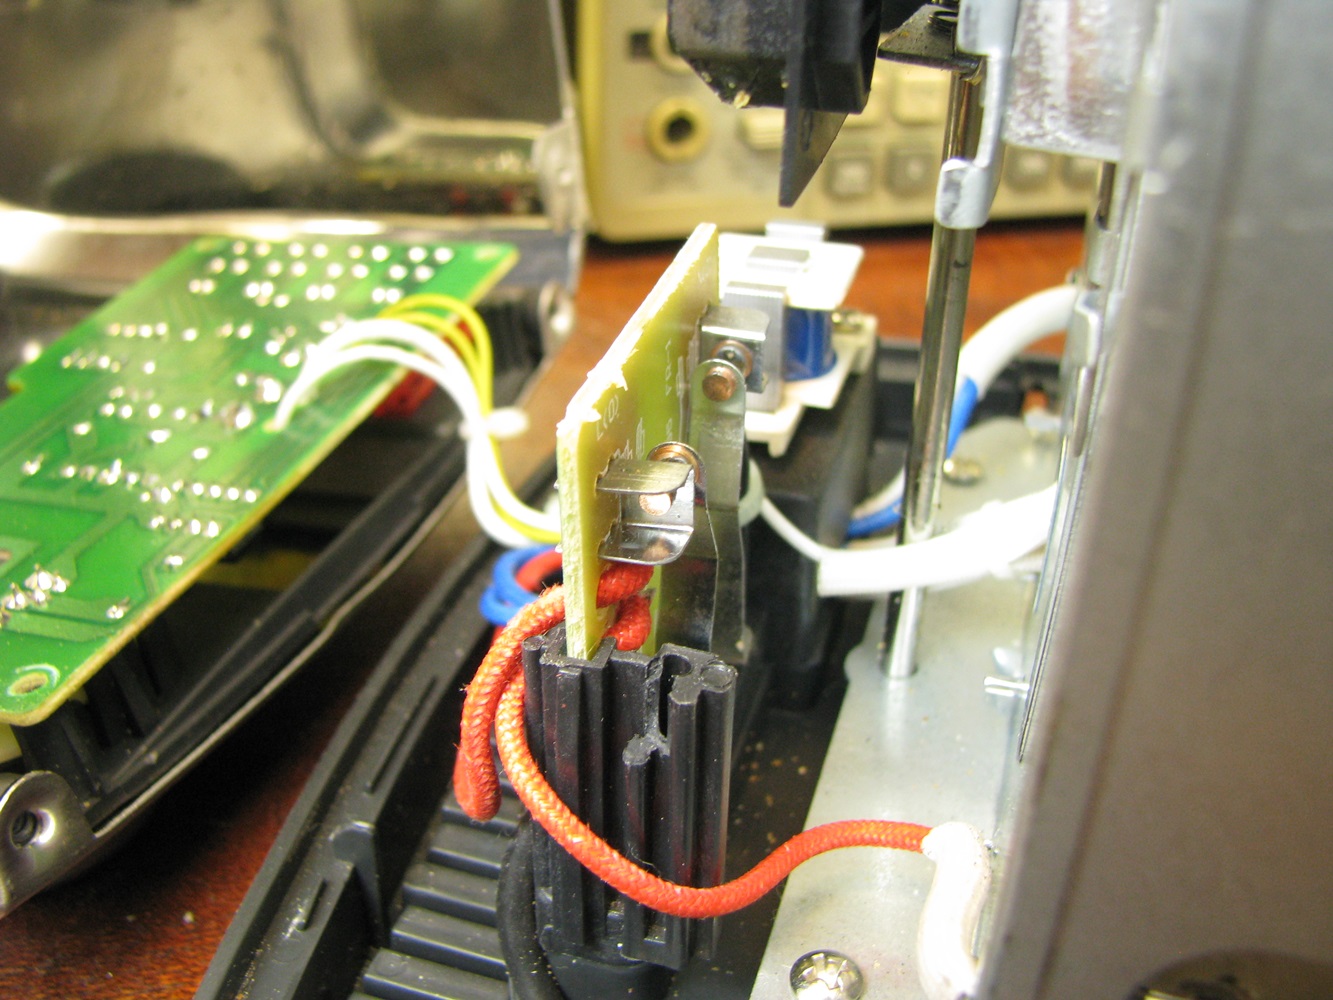
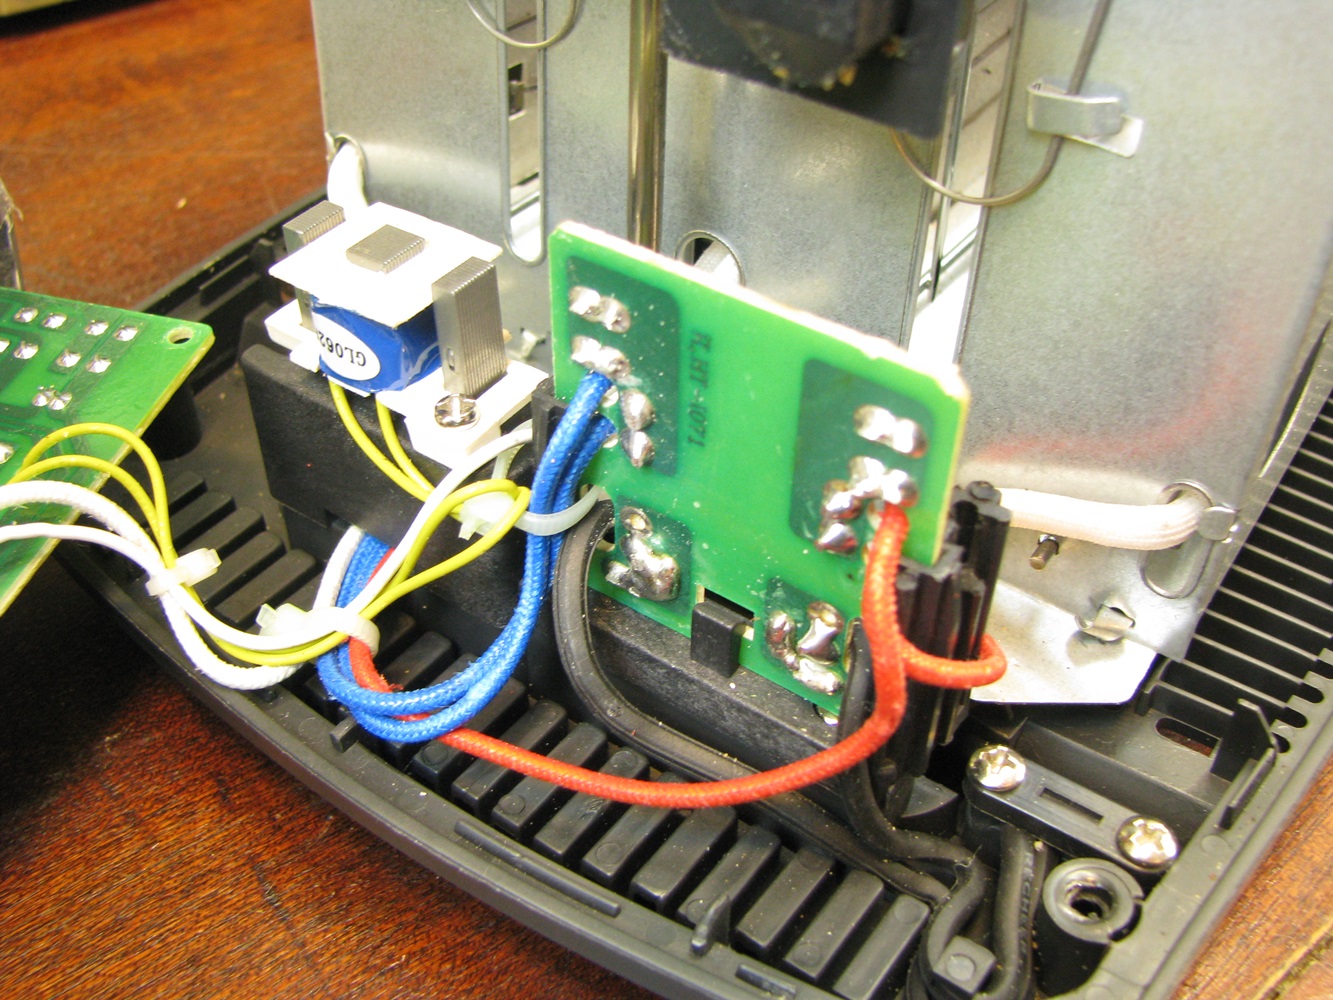
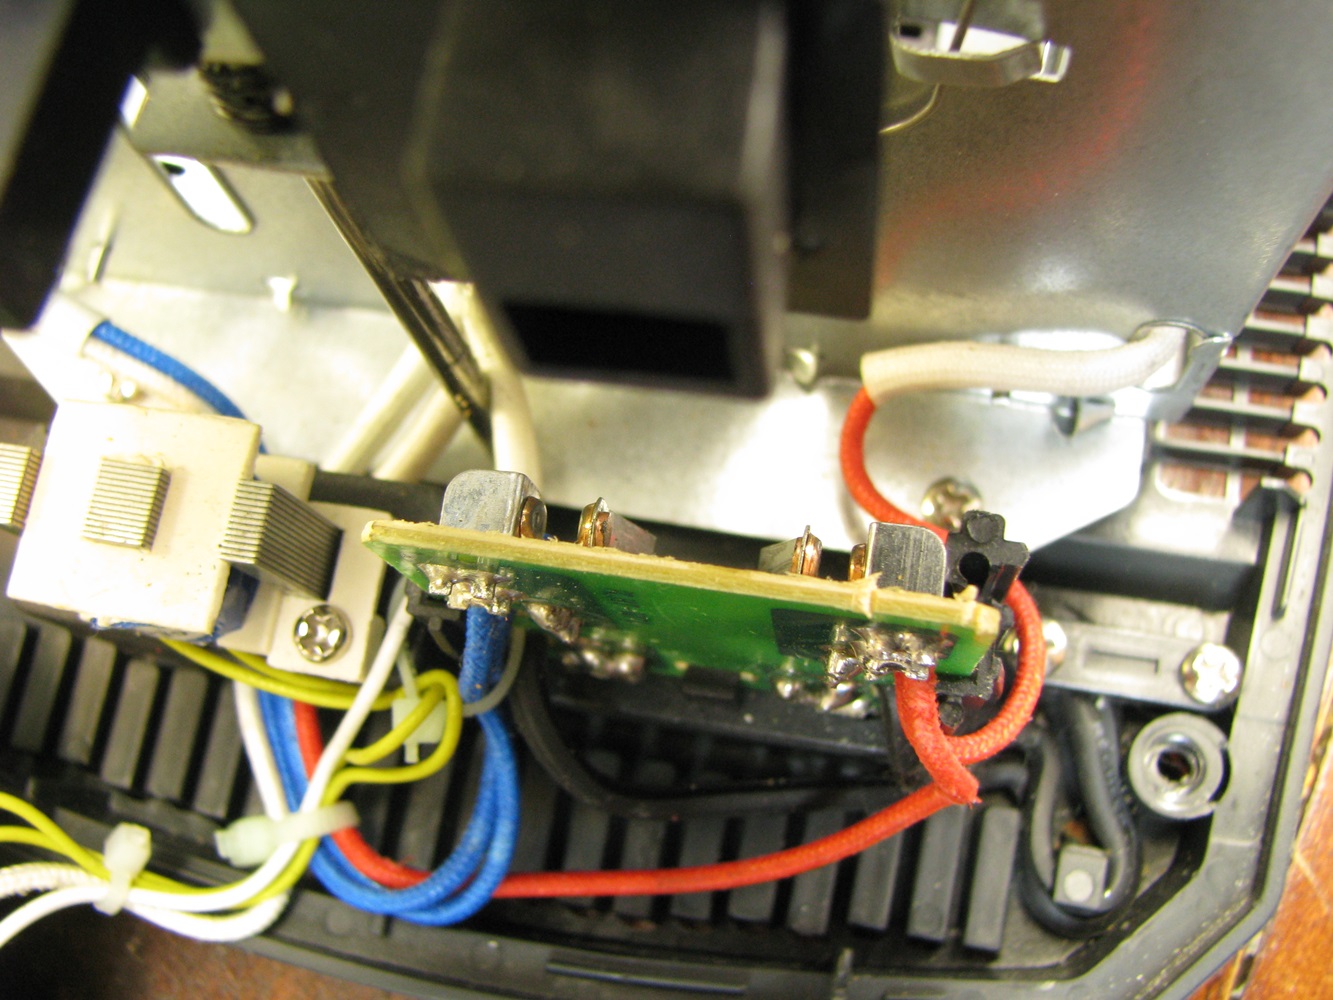
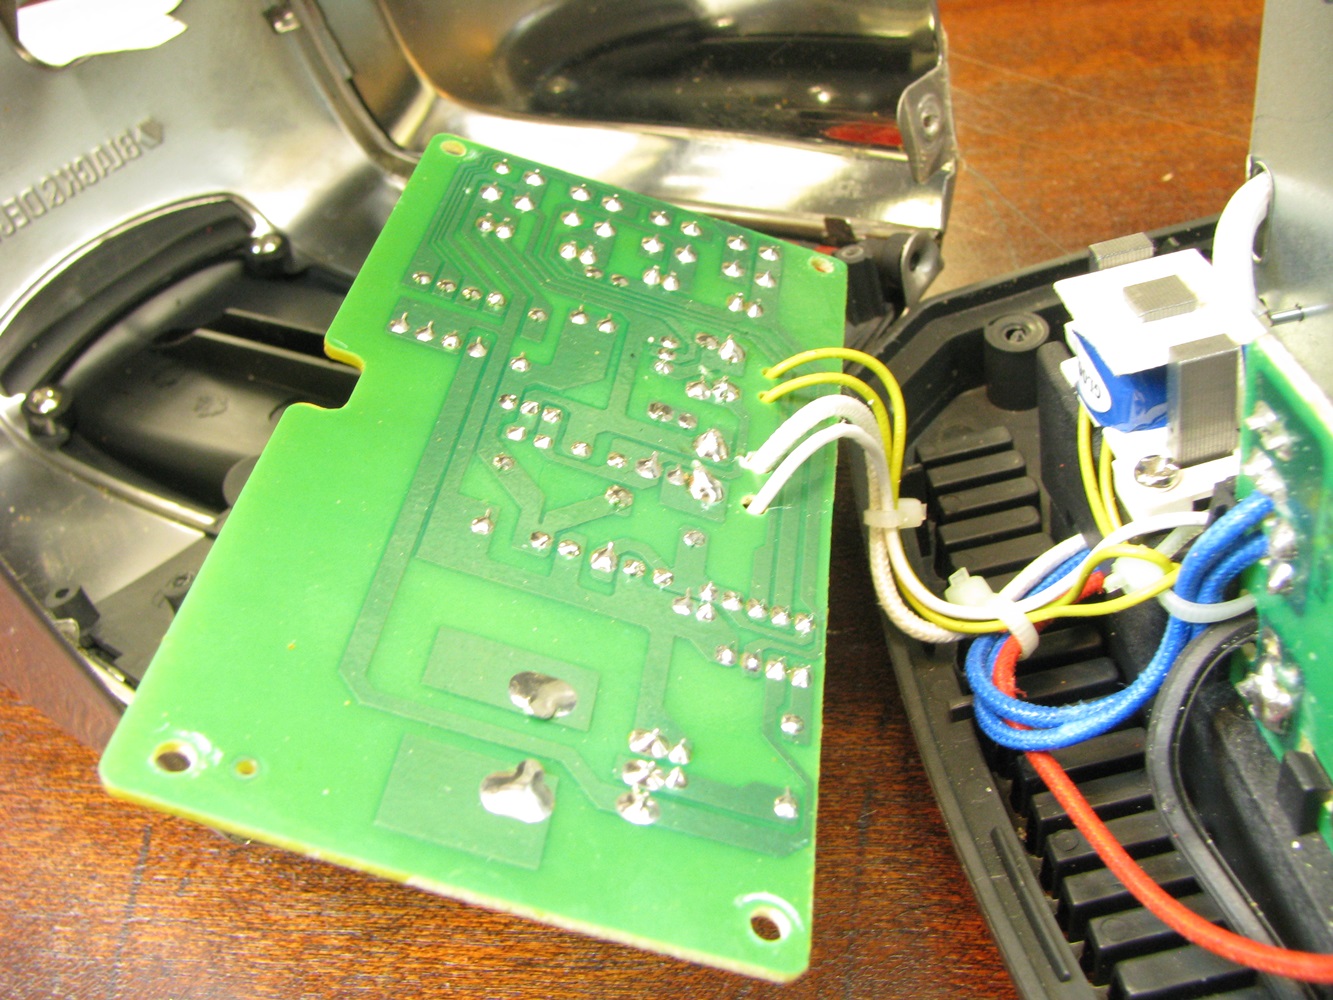
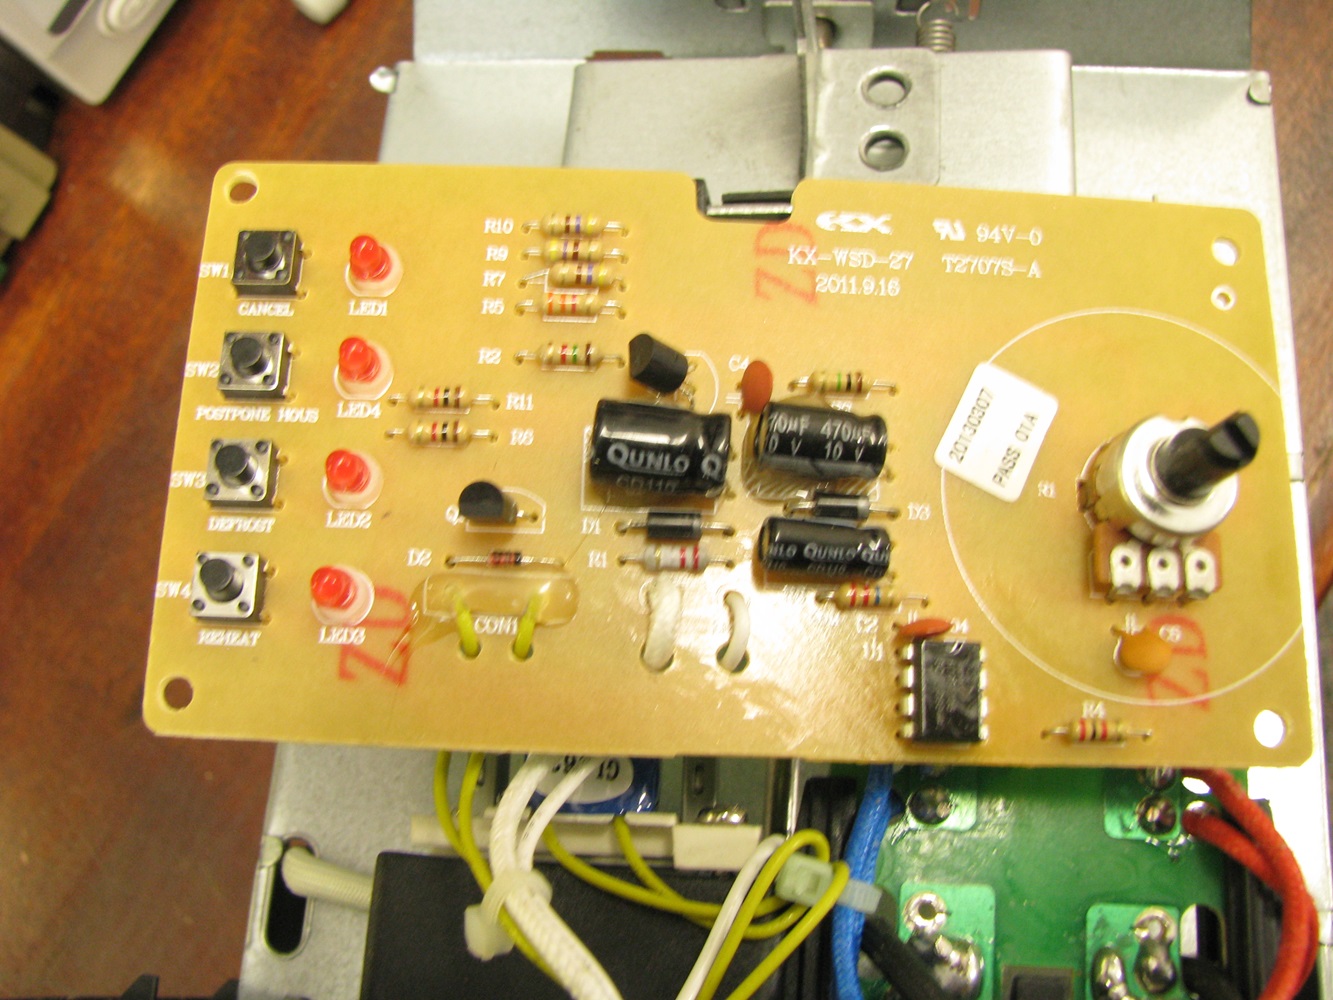
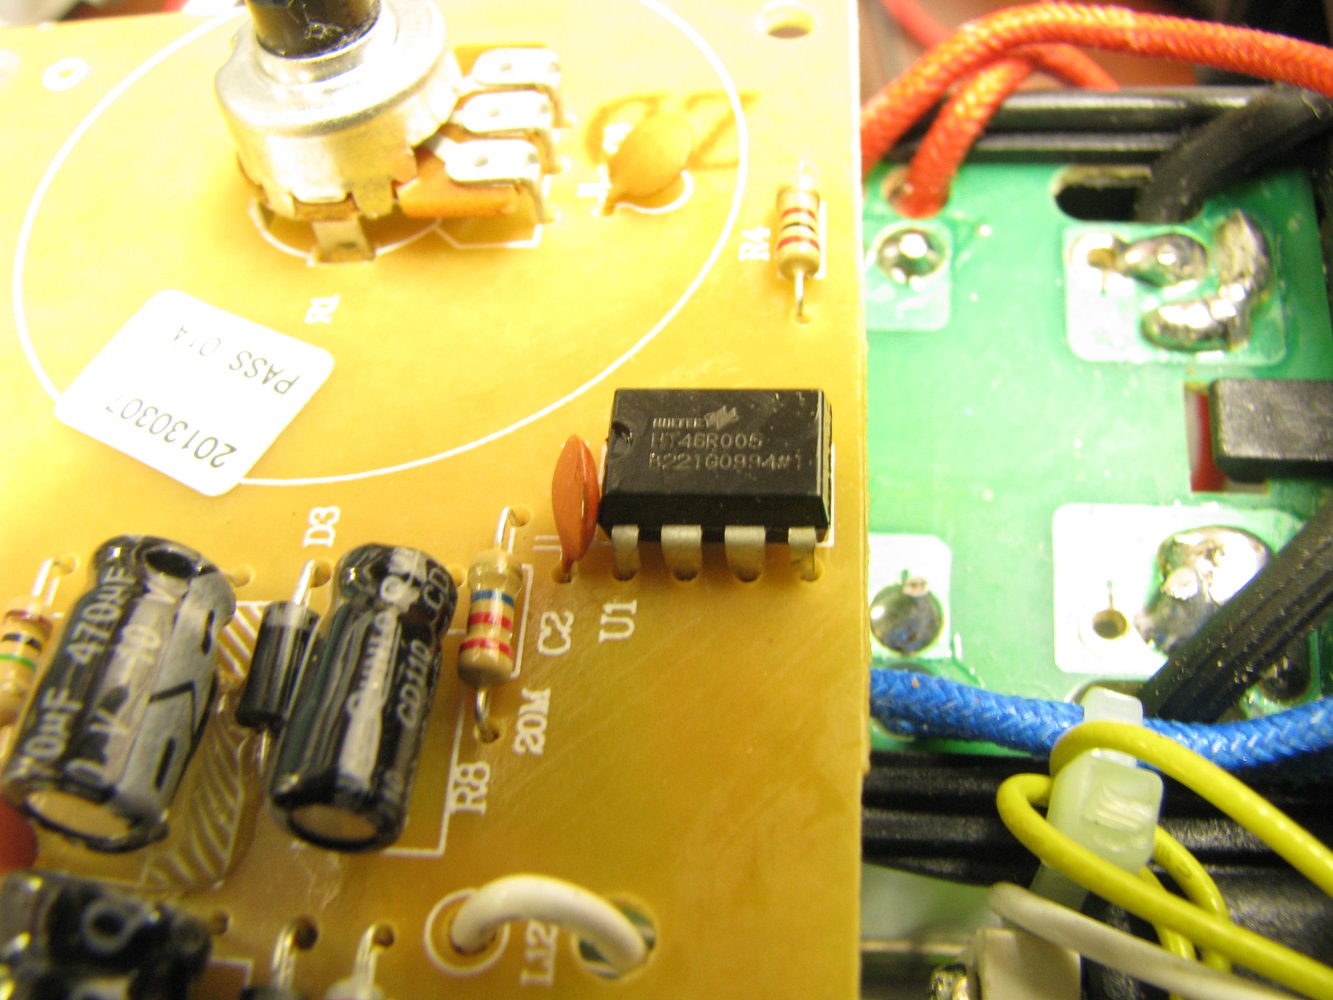
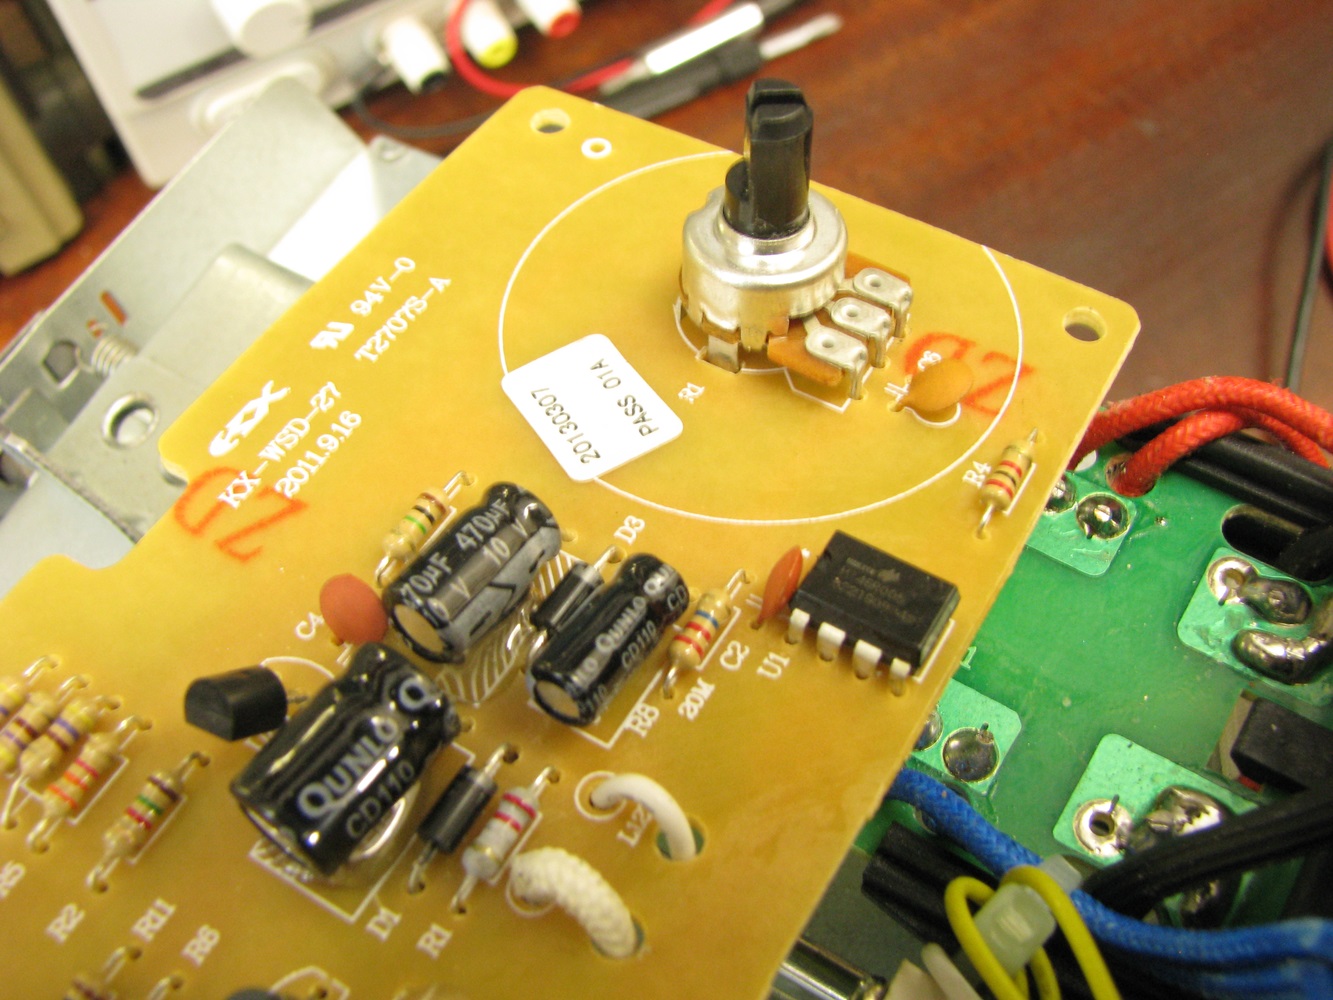
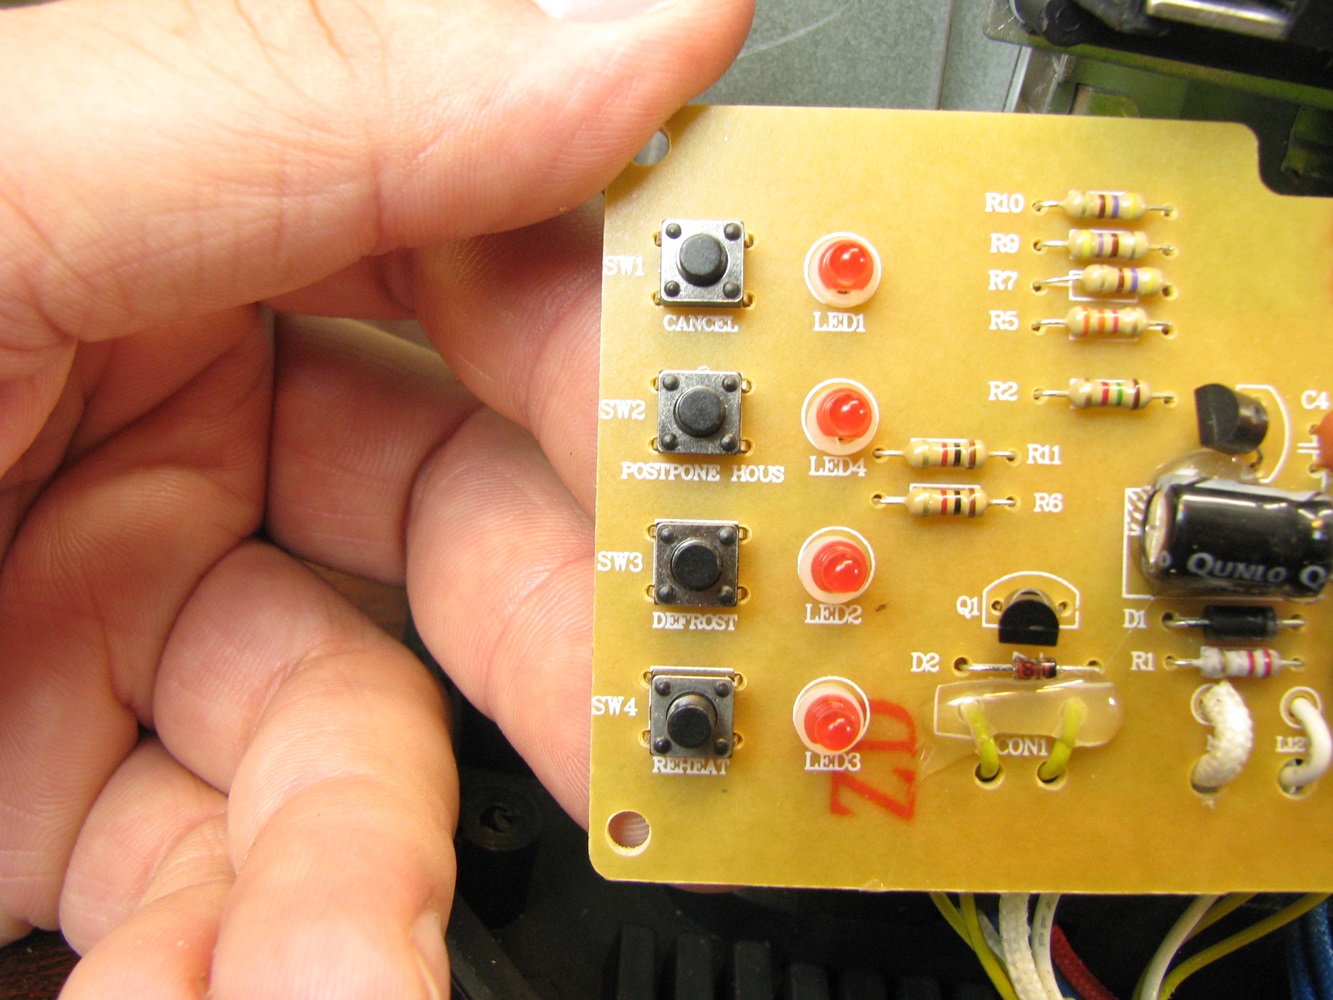
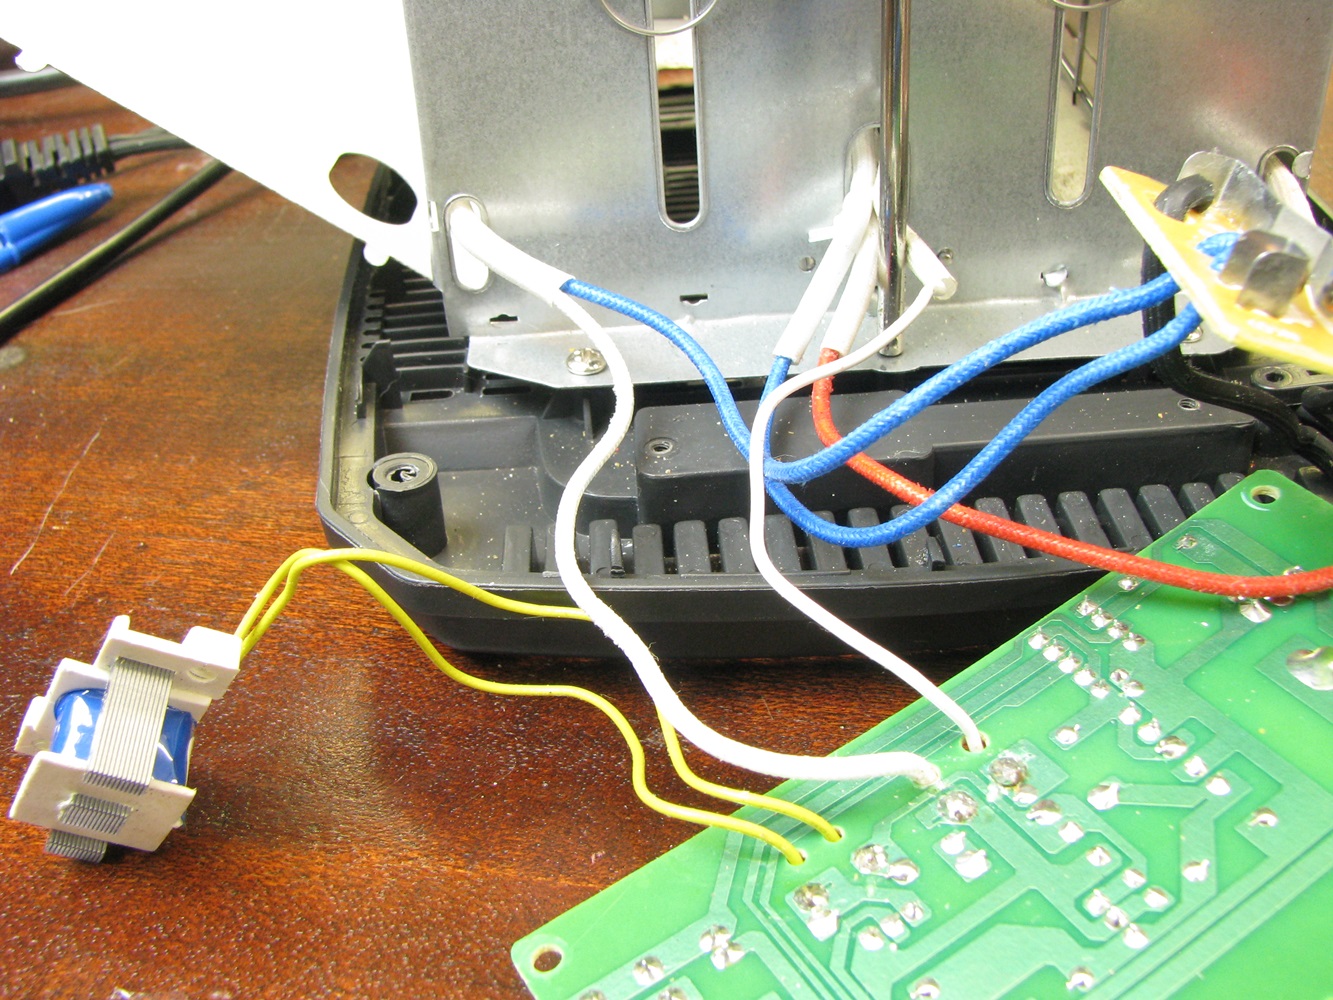
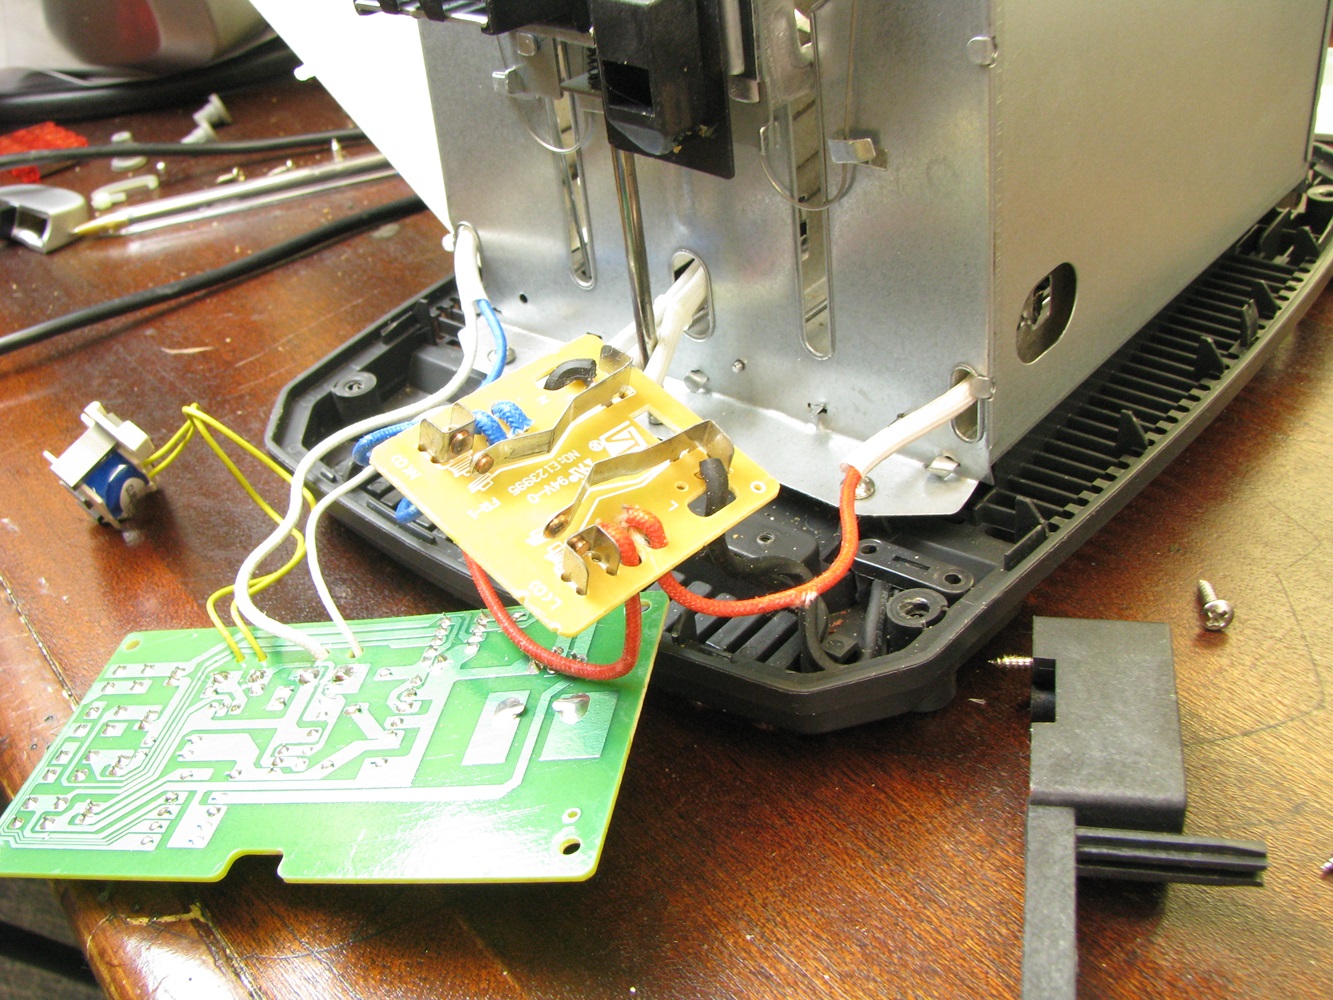
The control board is powered in an interesting way. The heating coil for the internal section is tapped at around 12 volts to power the control board, this prevents them needing to design a circuit that first needs to reduce the 110V AC to a usable voltage. The only method of control that the control board has is to energize and de-energize the electromagnet that holds the toast tray down. There is no temperature feedback and the only output that the controller can provide is how long the heat is on. There is a large temperature dial and 4 push buttons but in the end all these do is vary the on time blindly. For some reason I felt that there was going to be some additional smarts in place here. **UPDATE** Alex left a comment about the control chip. I didn’t take a second look at it, I figured it would have been some type of generic timer chip. Was I ever wrong, the chip is a Holtek HT46R005 which is a microcontroller!
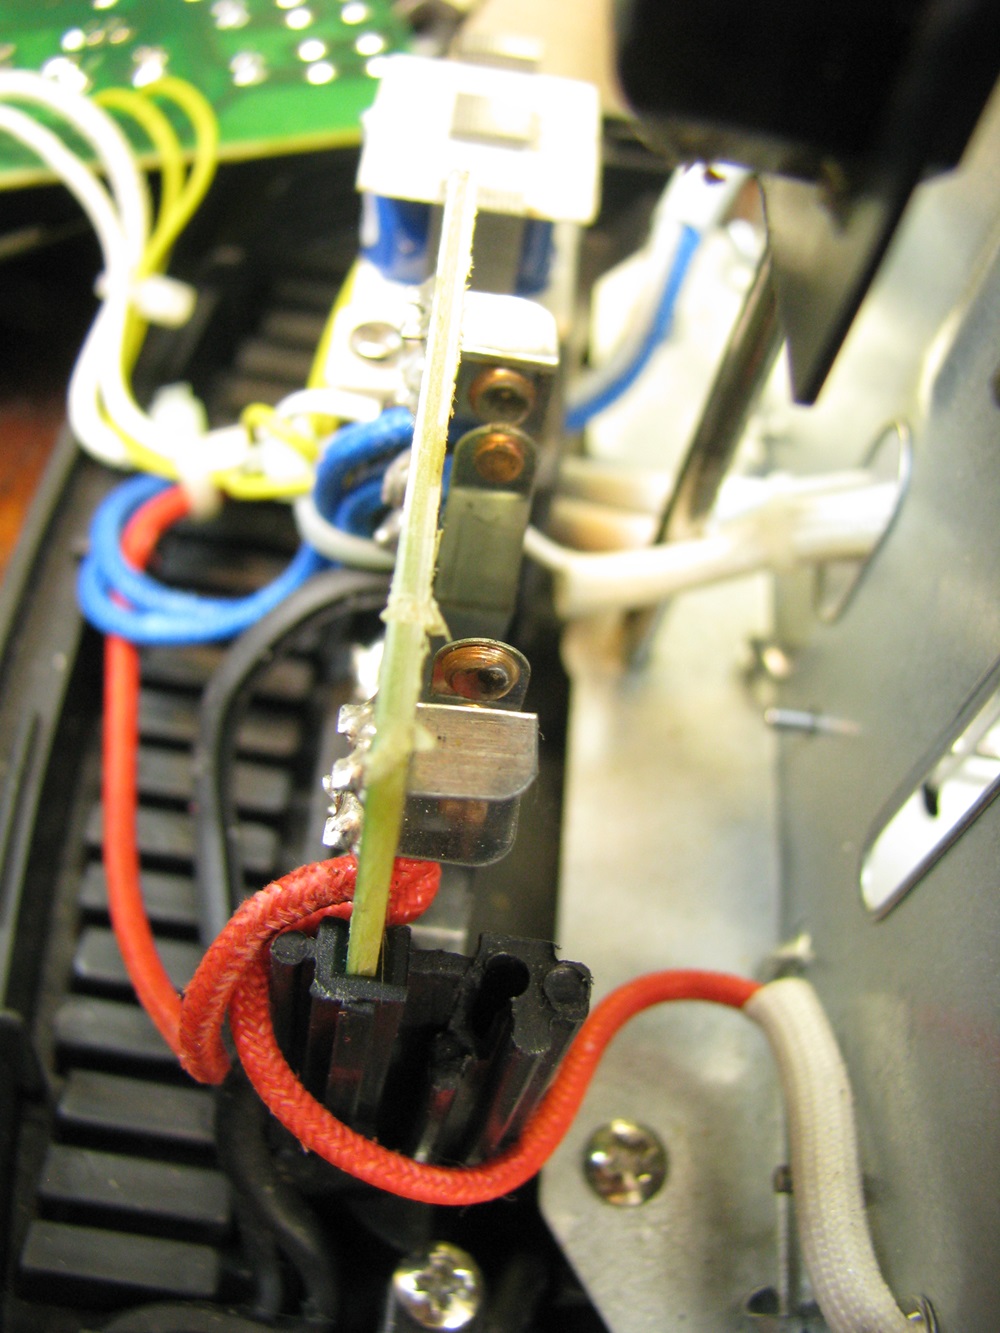
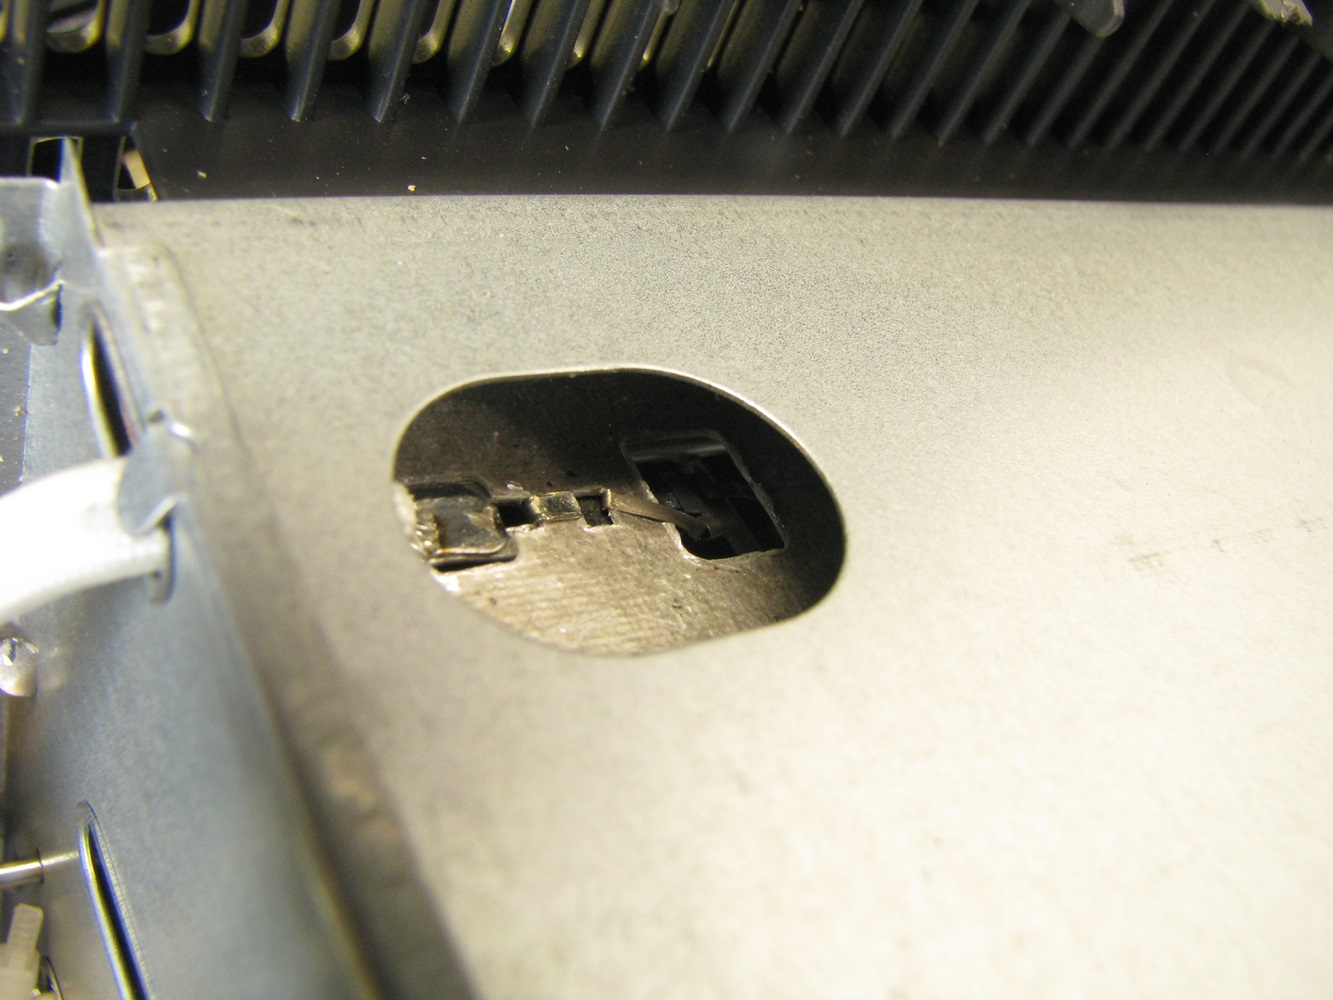
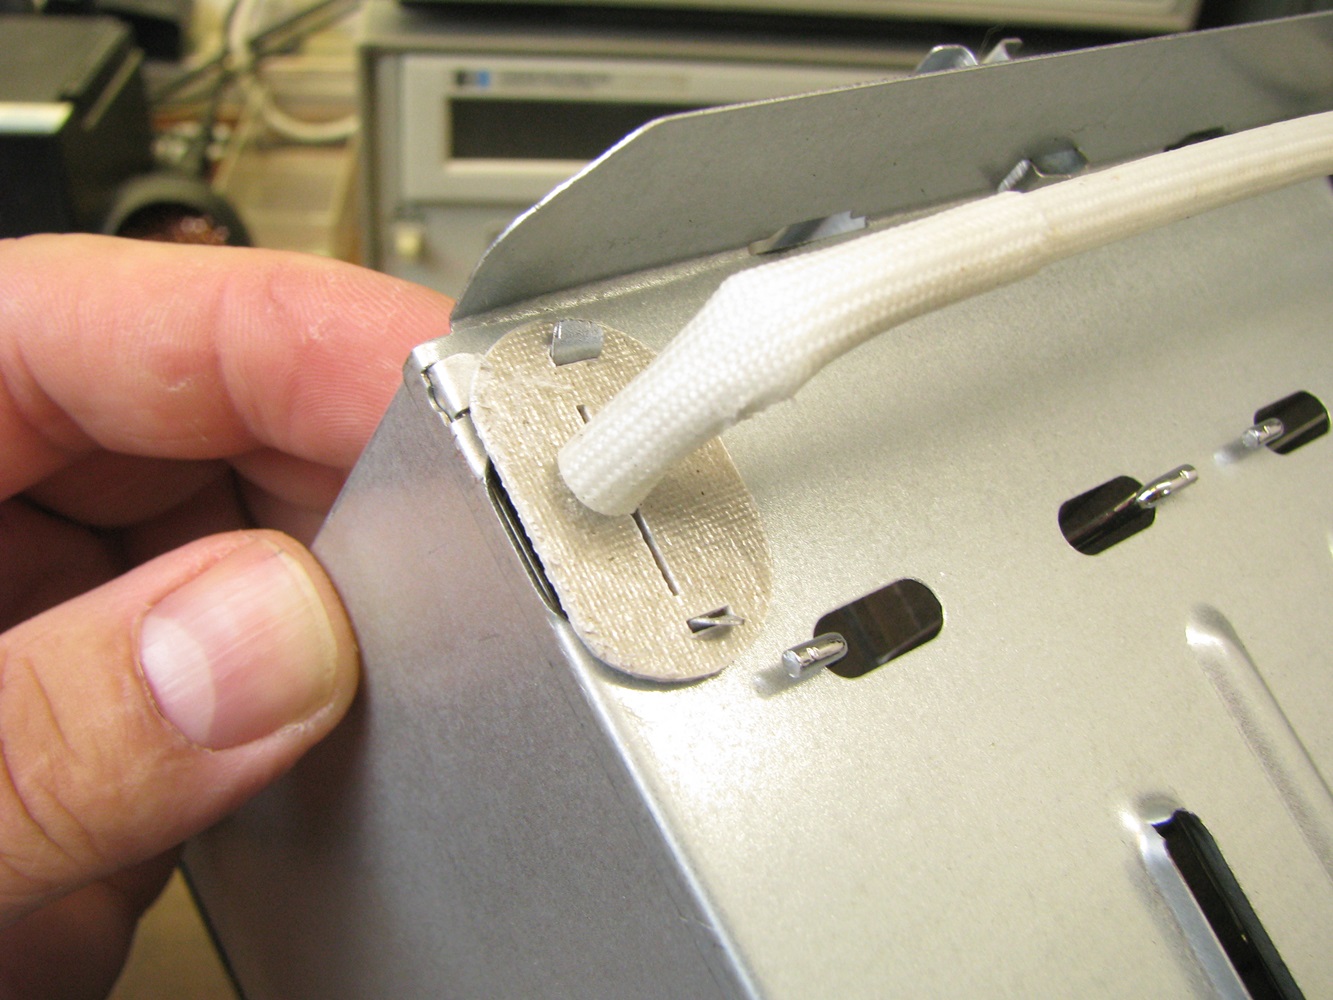
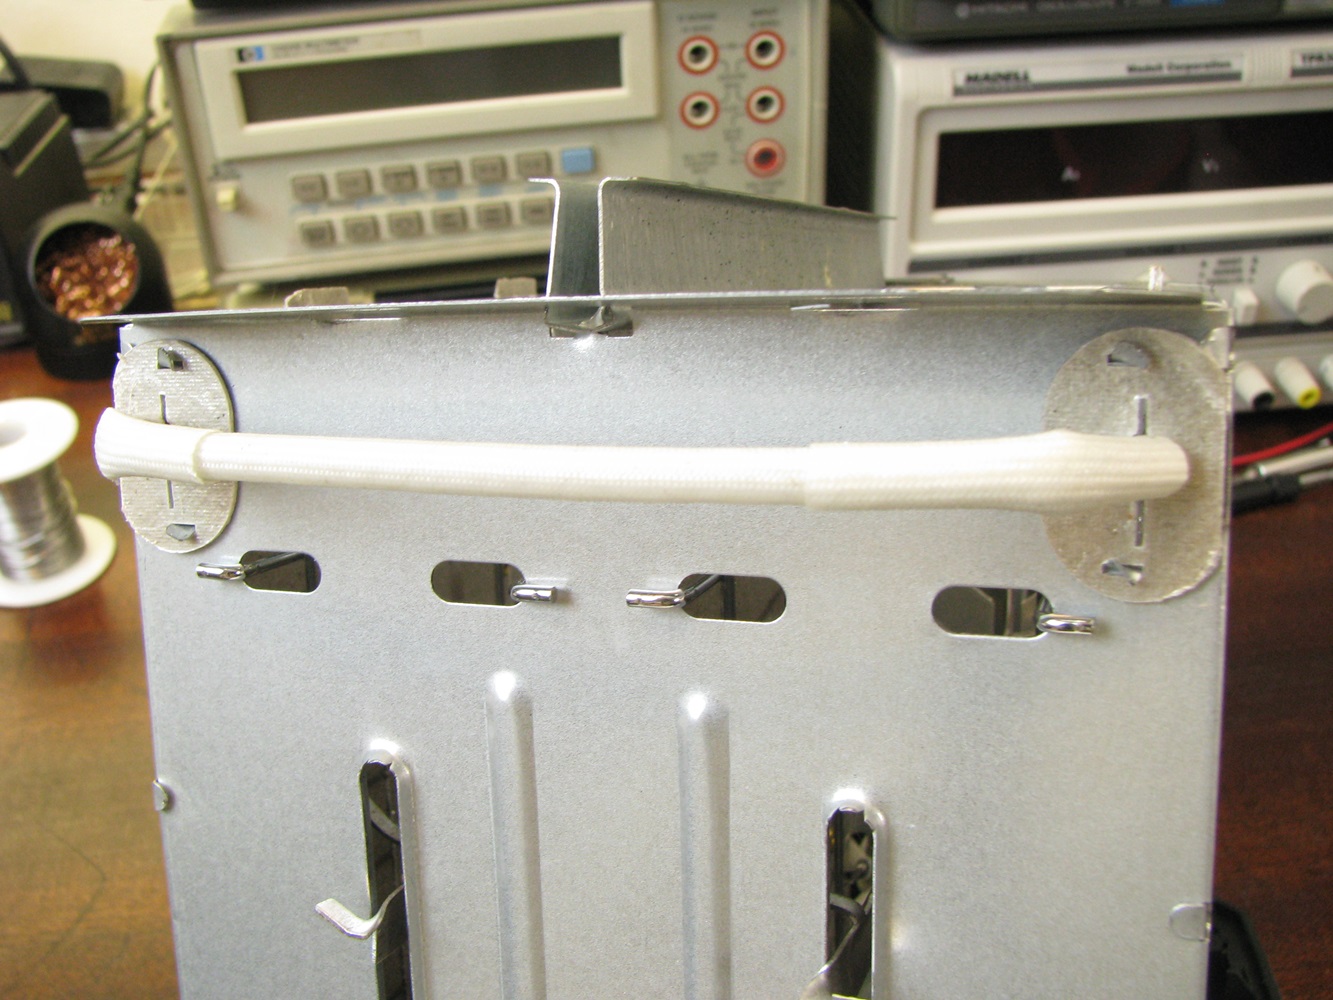
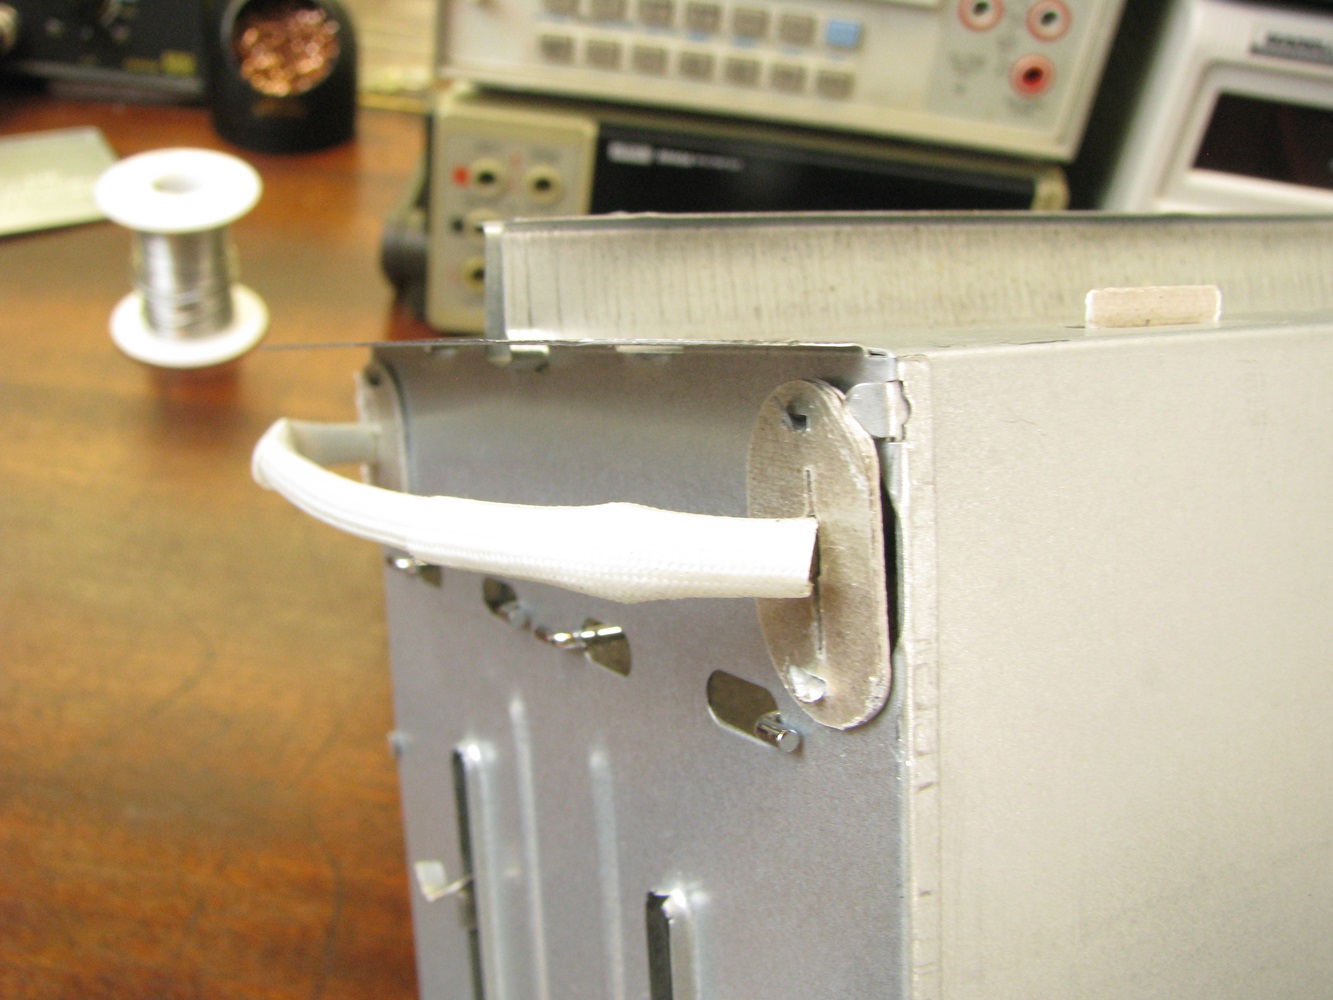
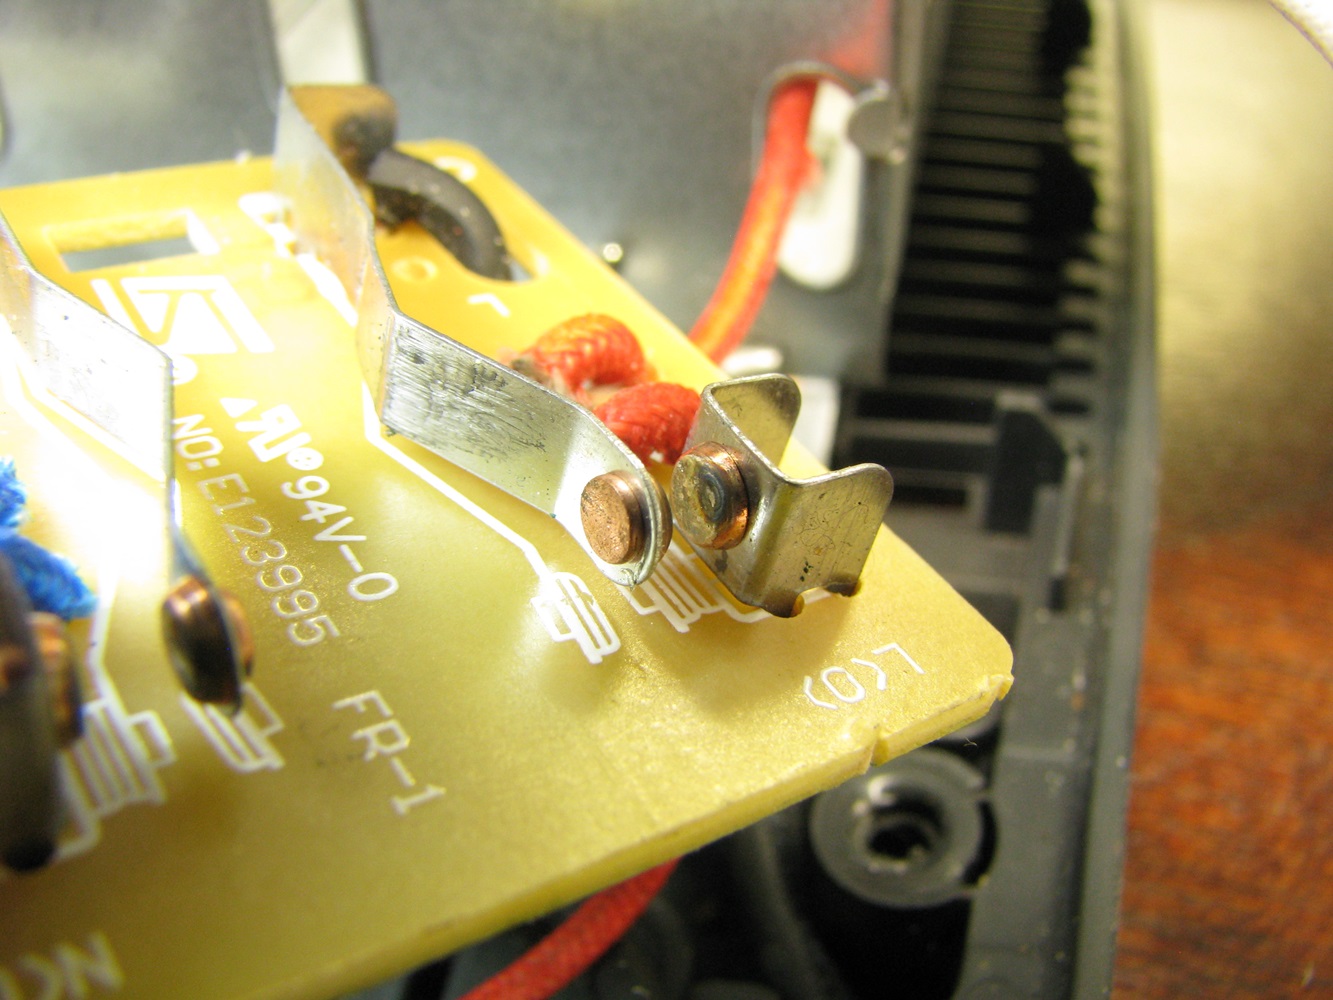
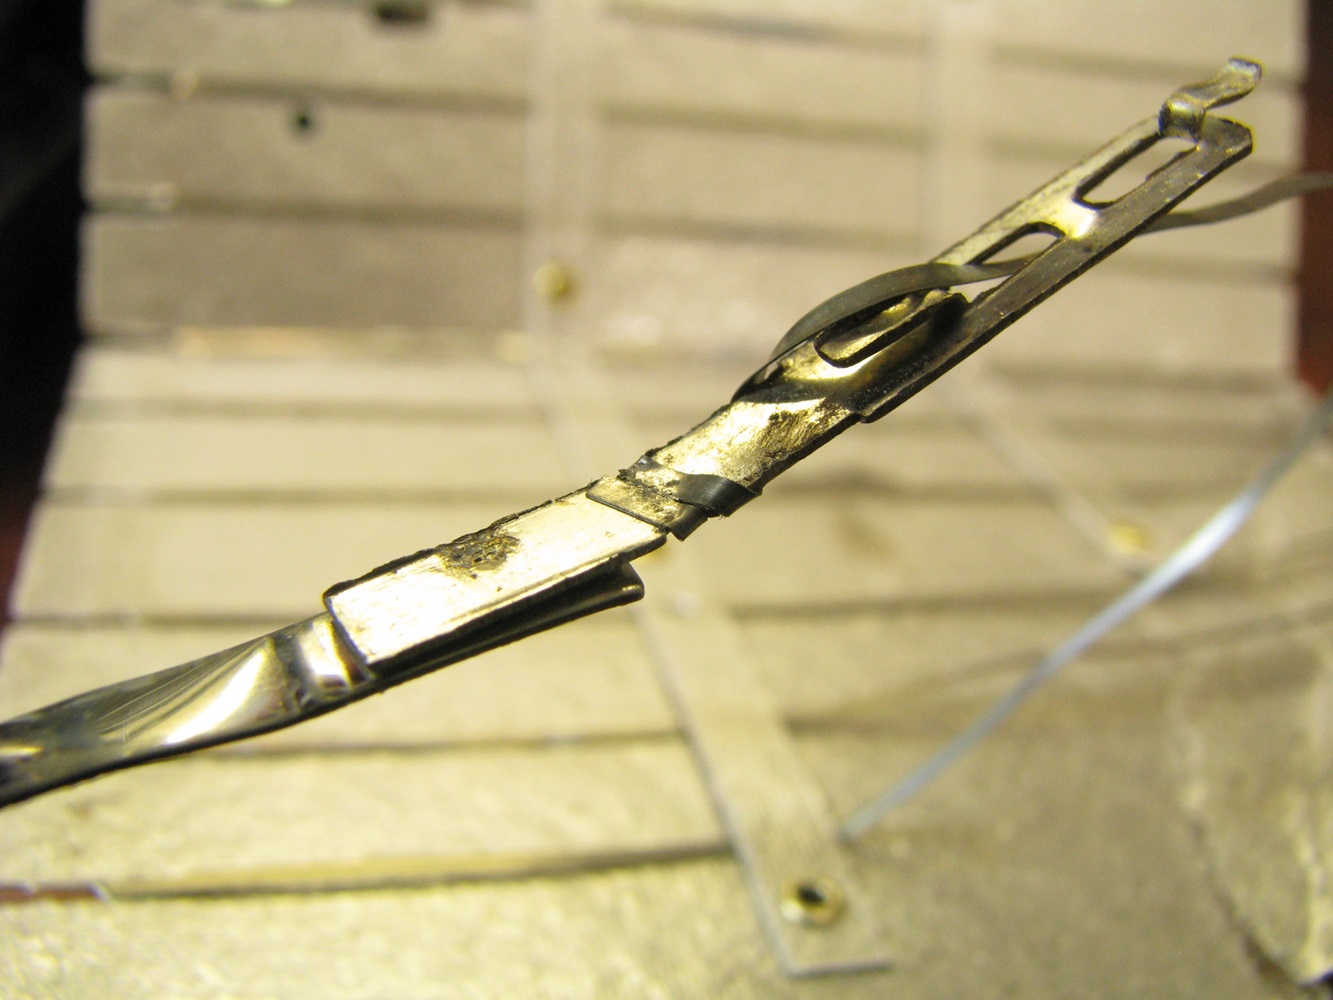
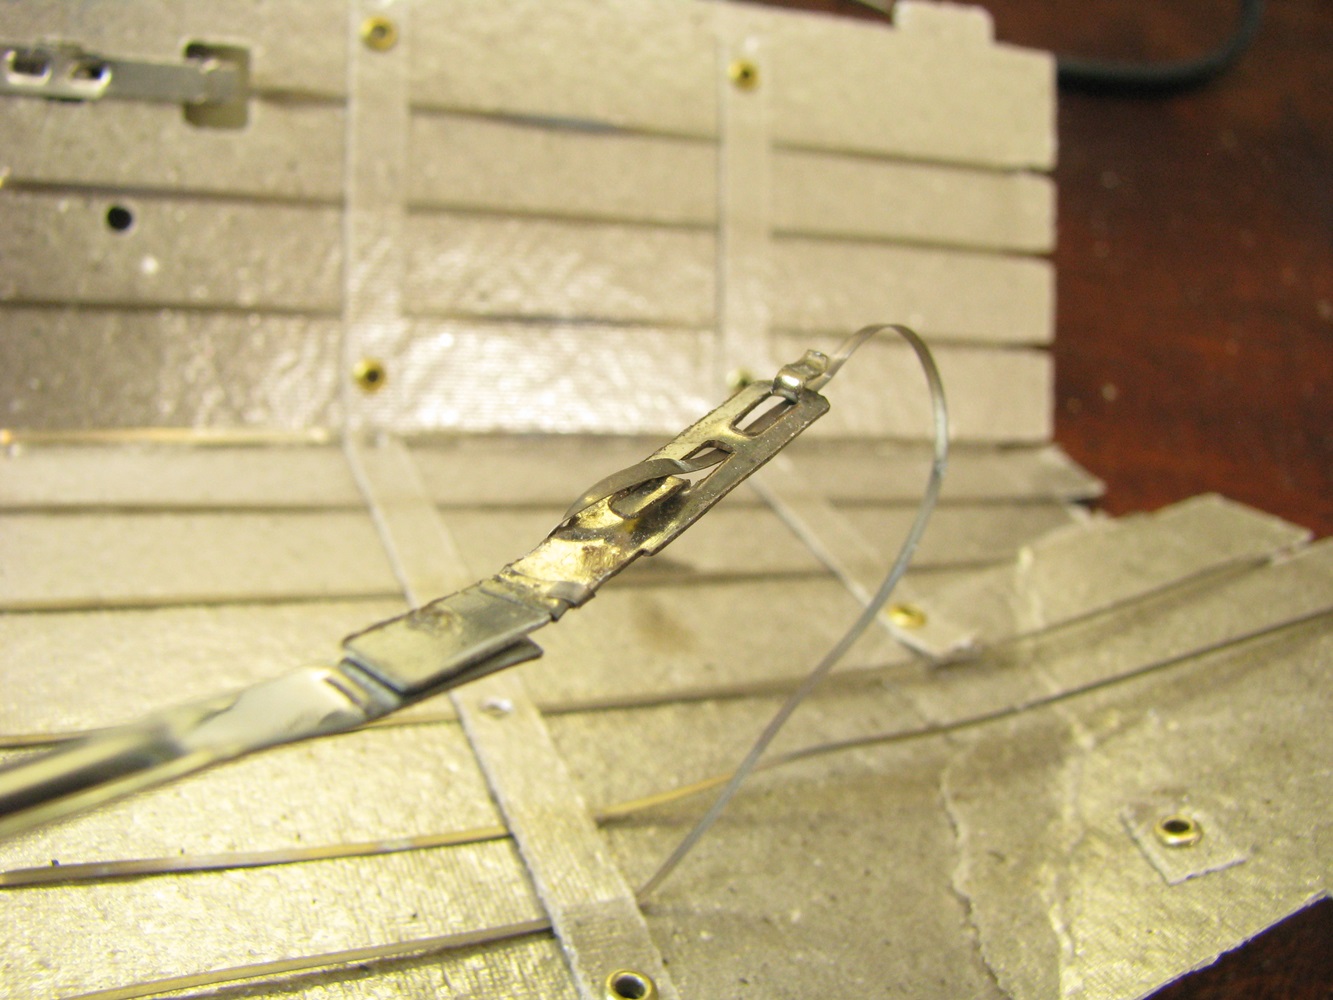
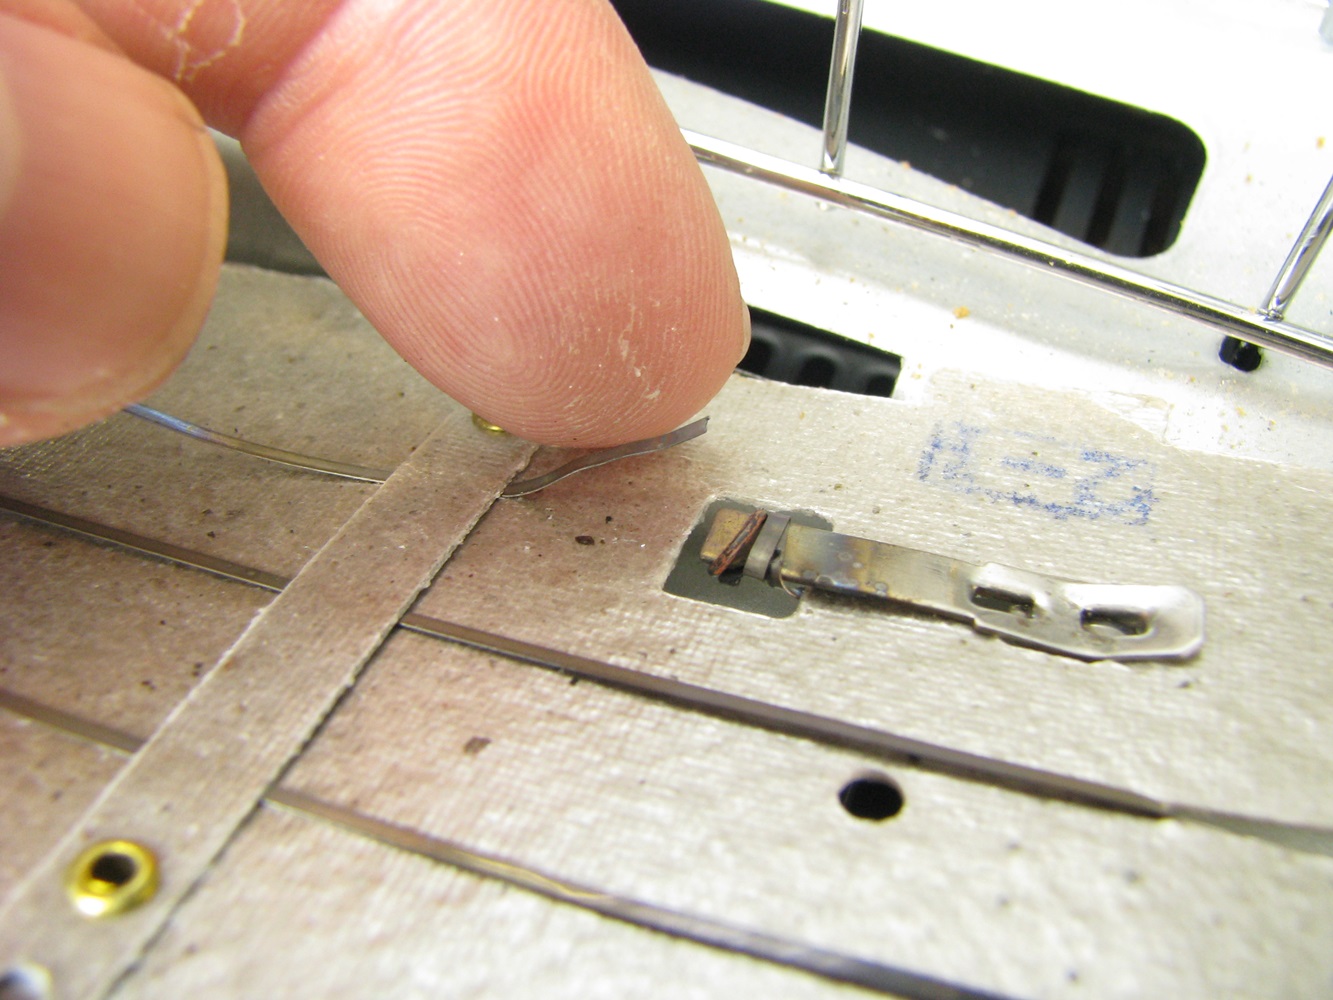
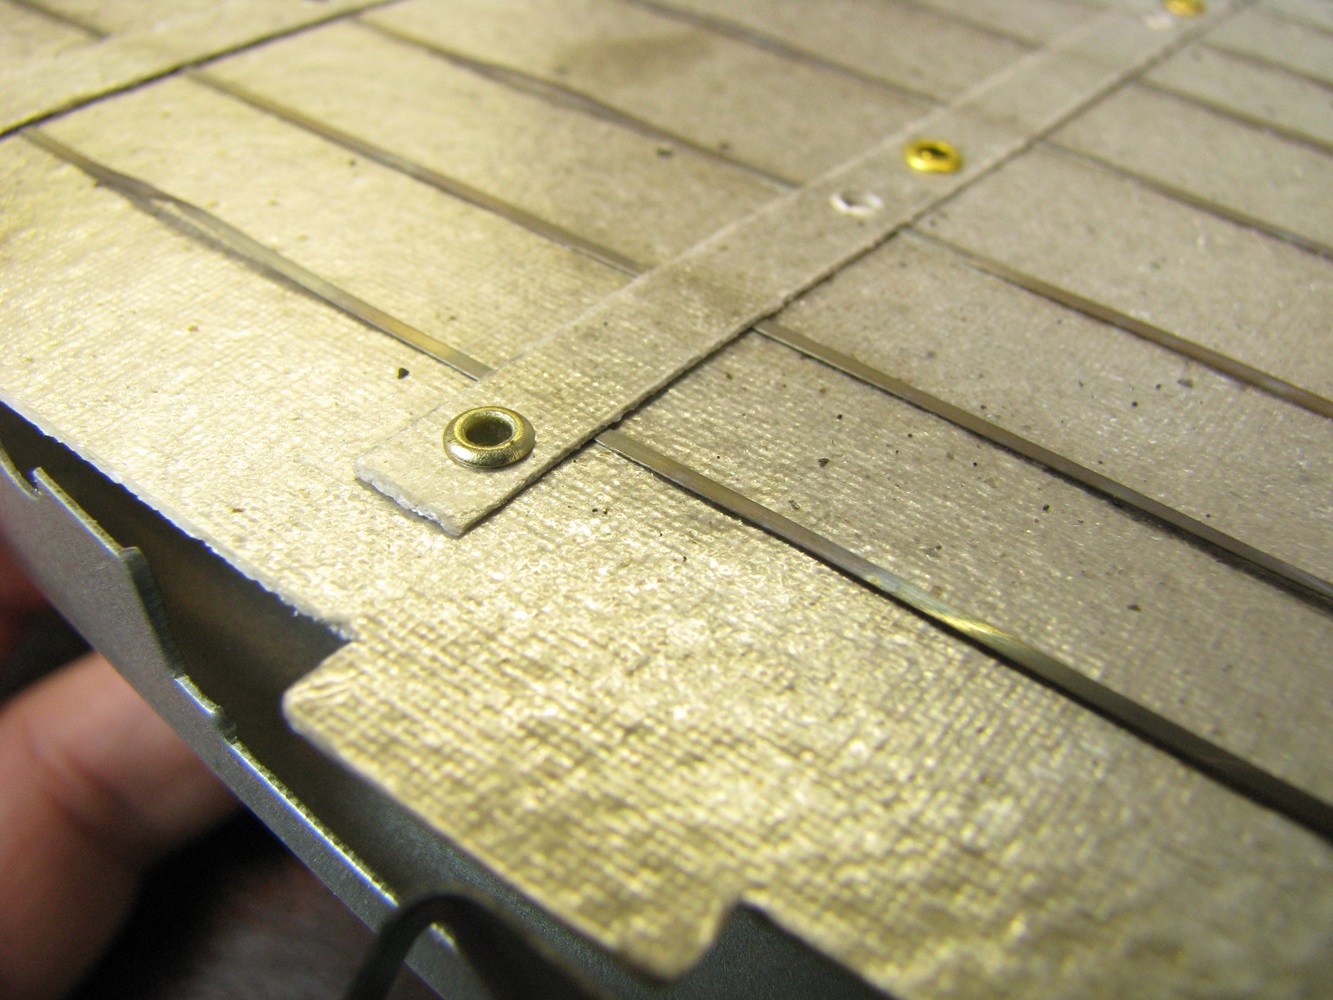
Turns out that one of the connections between the heating element and crimp connection was where it failed. This is a failure that can’t be repaired since this connection can’t be soldered due to the natural high temperatures of the connection. It would need to be spot welded or crimped. I don’t have a spot welding machine and there is no room to re-crimp so I simply temporarily twisted a binding wire around the broken connection using some light gauge solid copper wire to allow the system to be tested before it was thrown out.
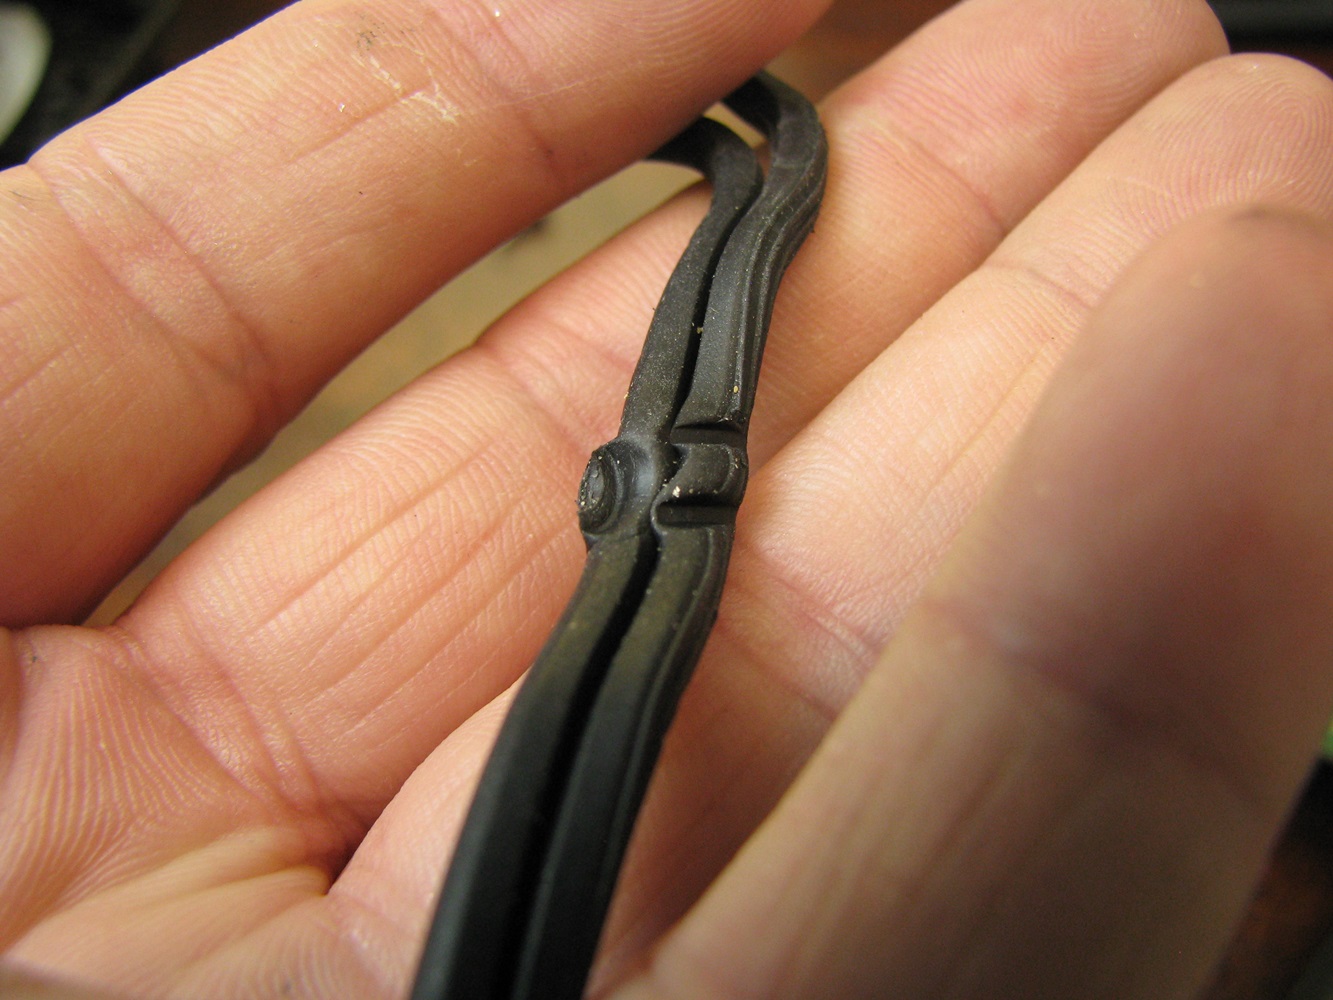
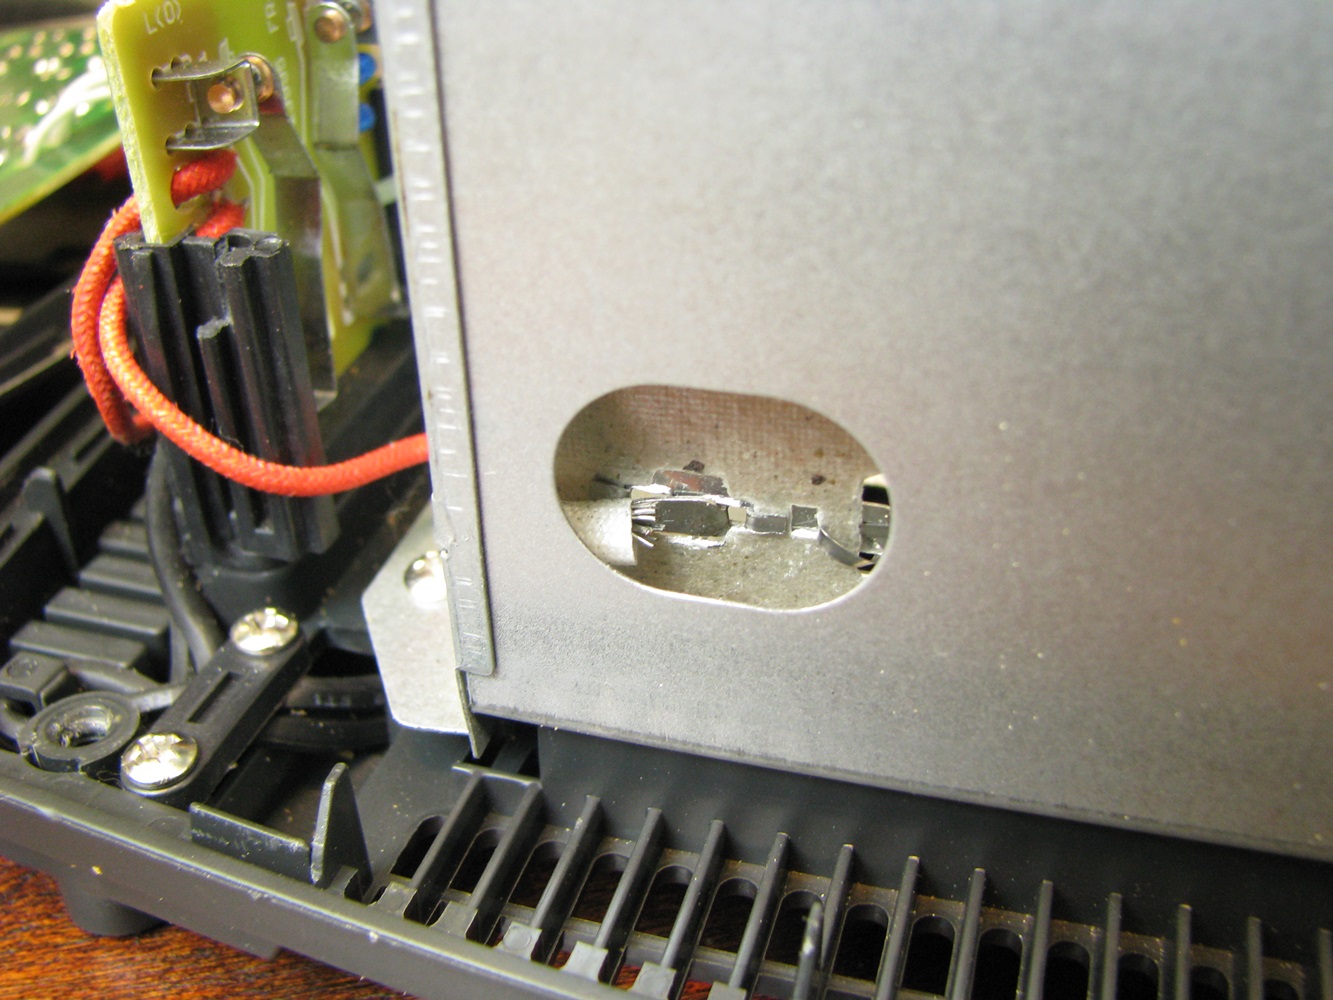
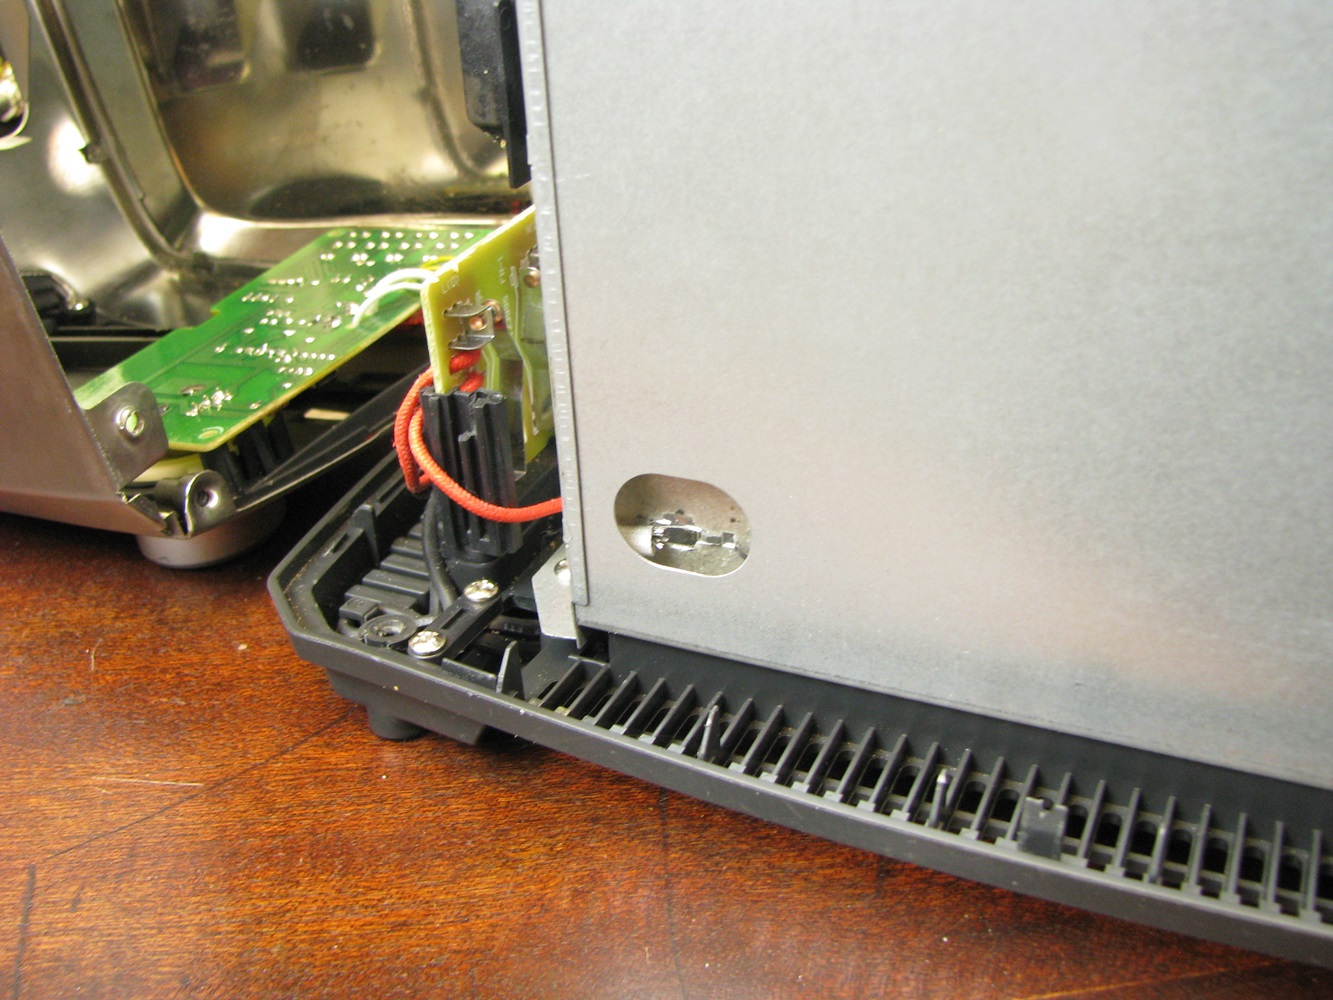
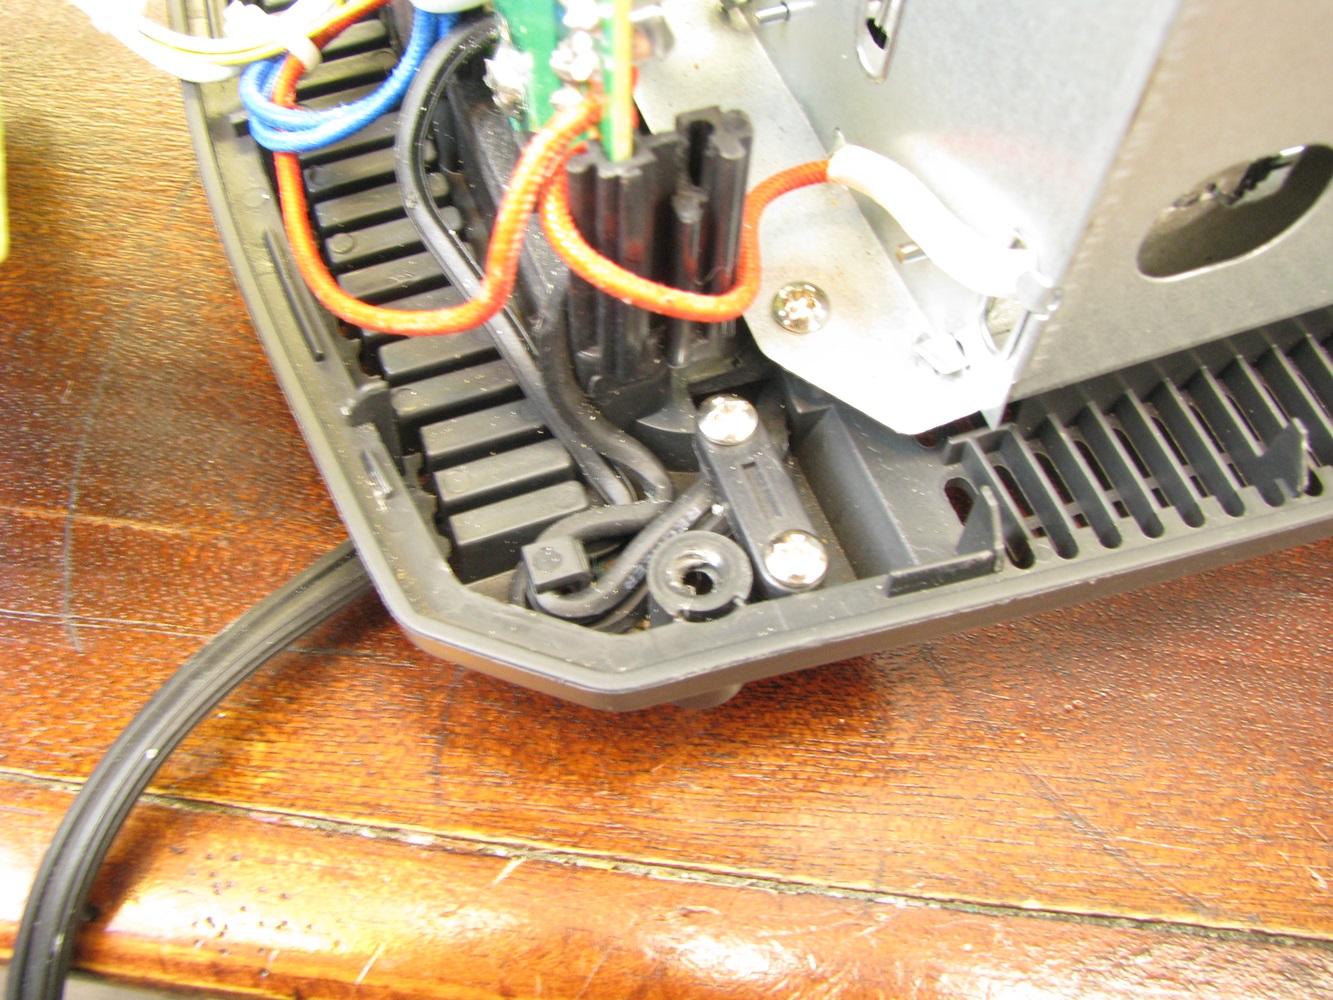
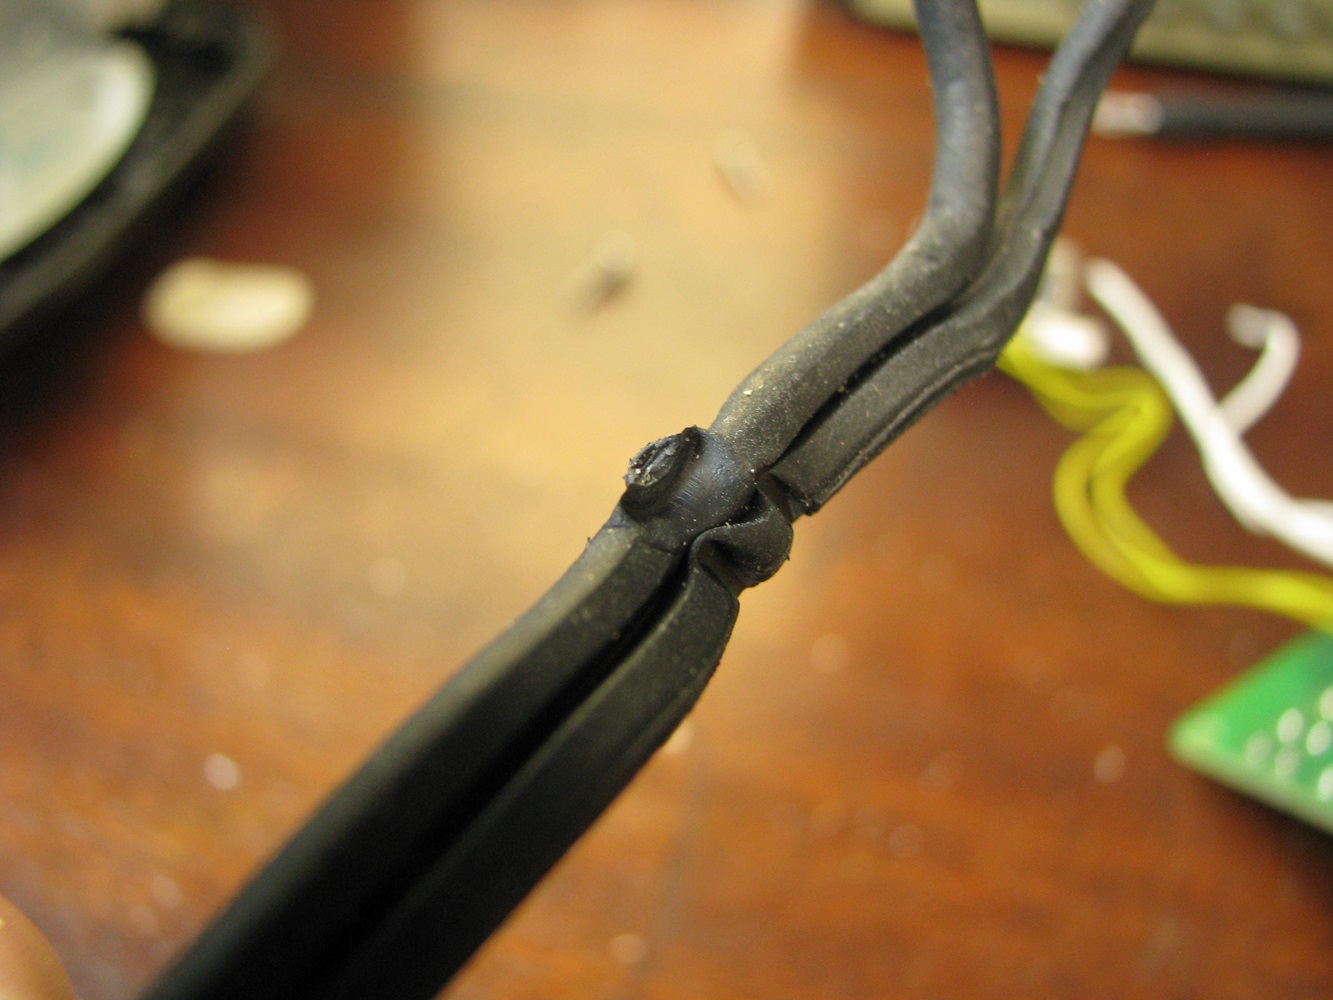
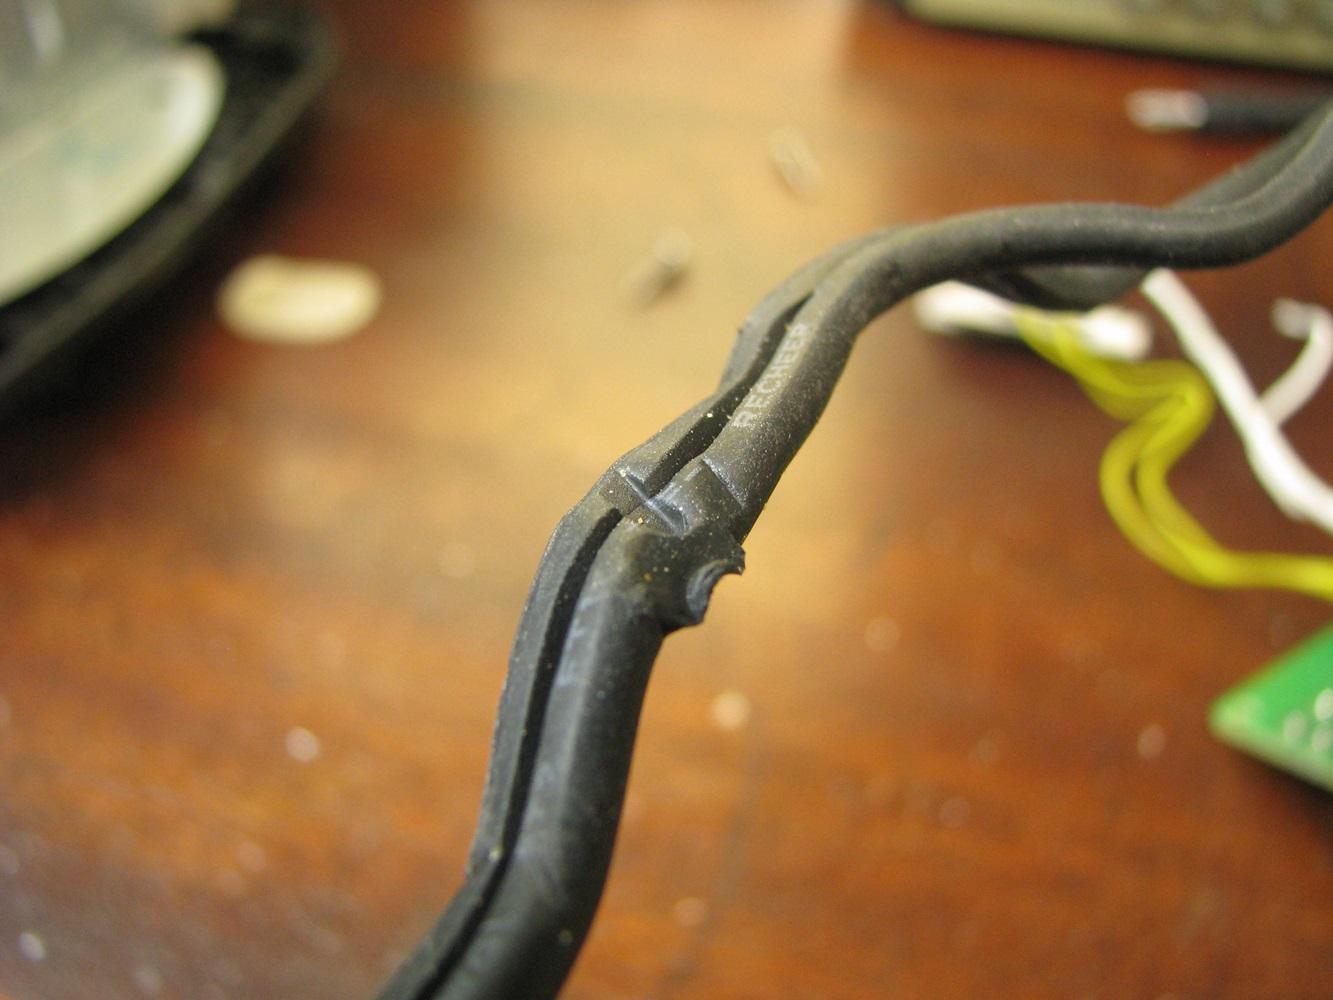
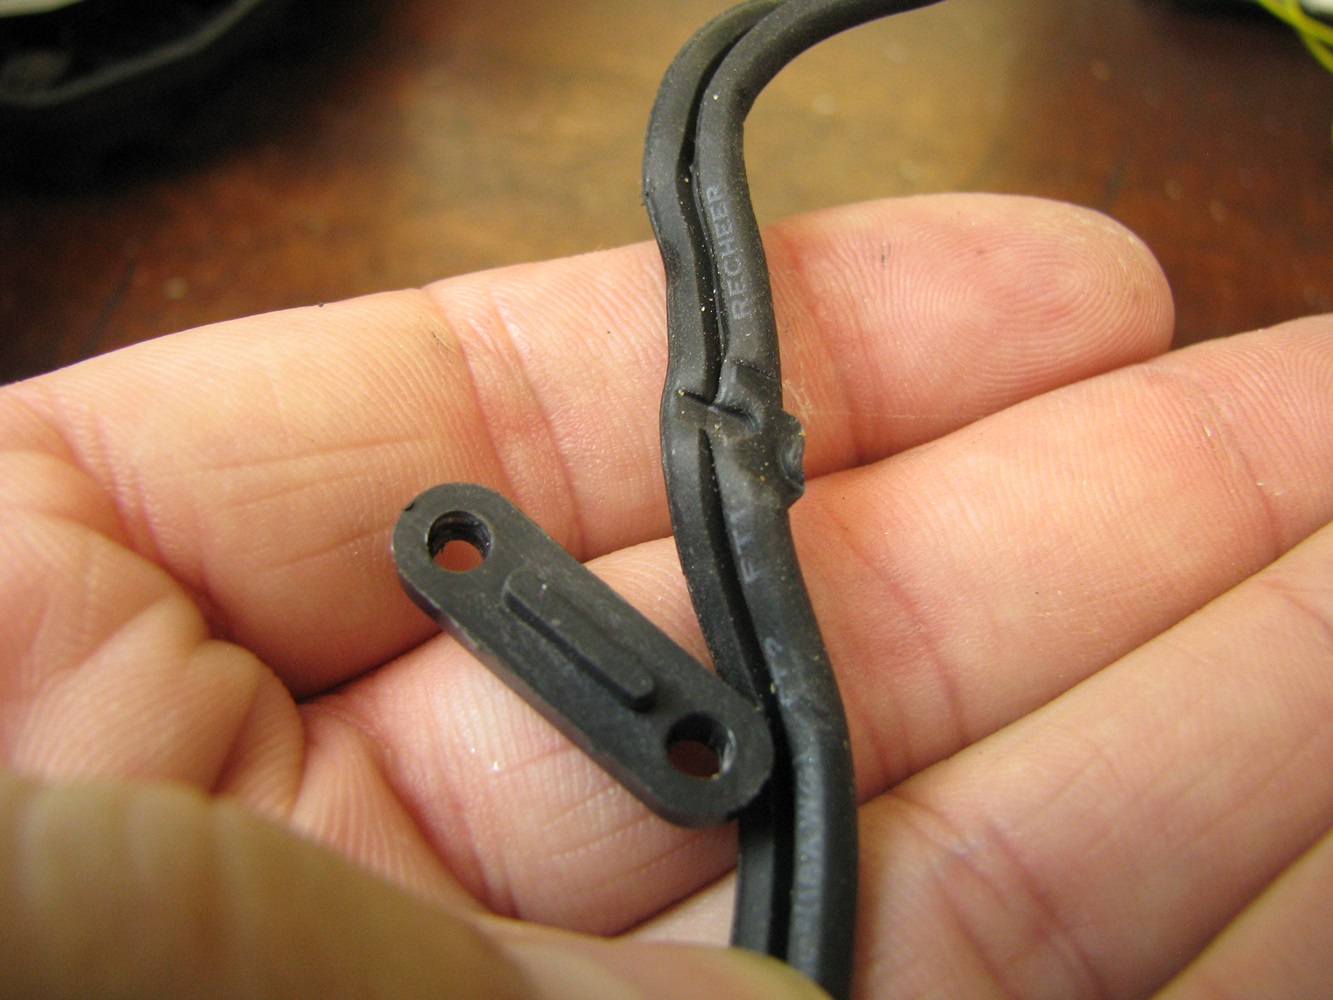
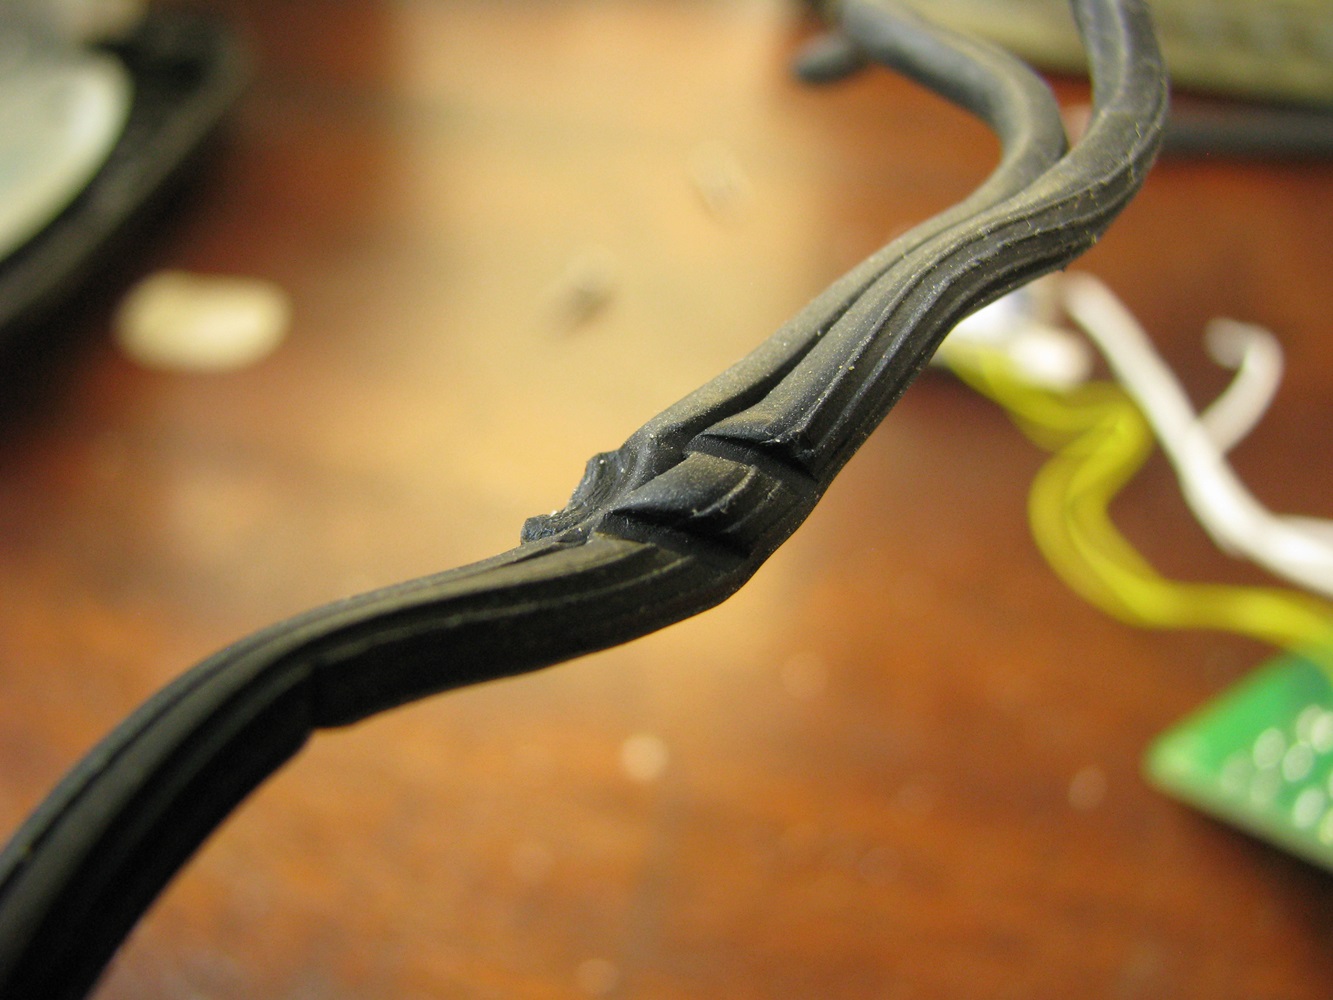
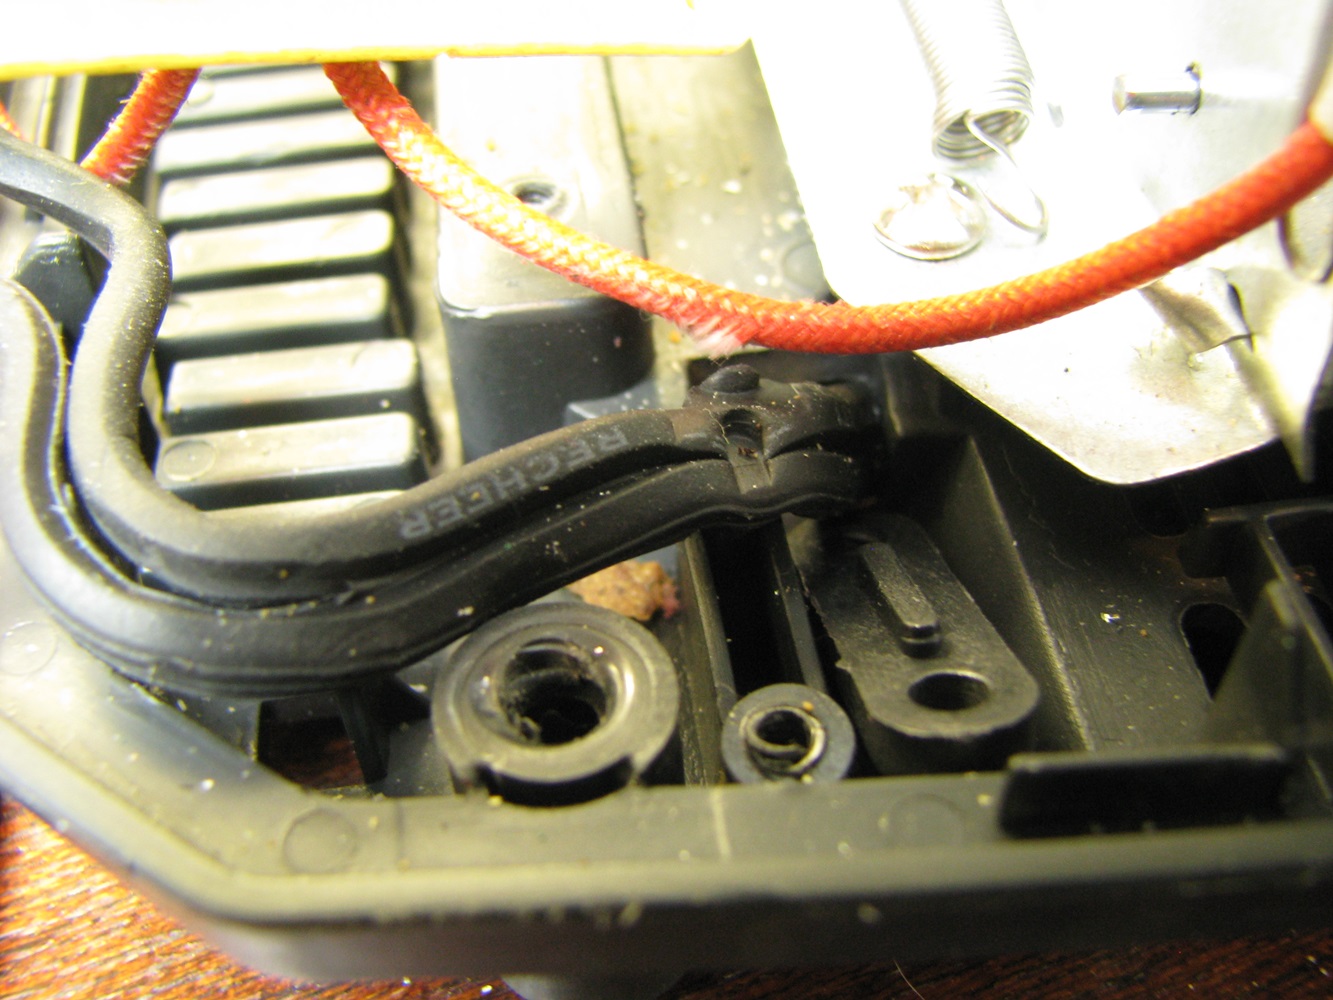
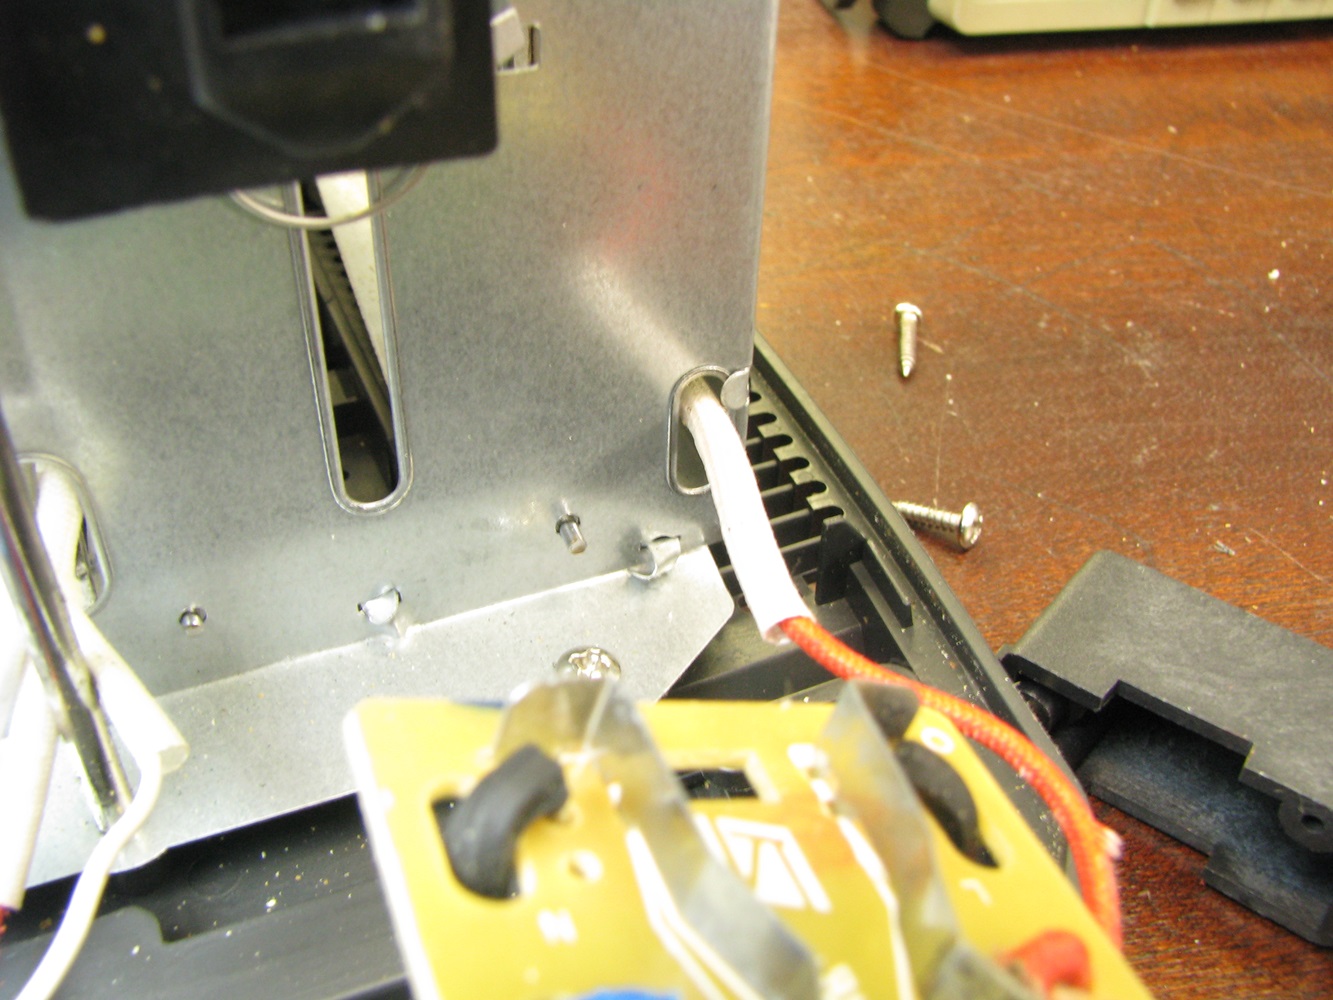
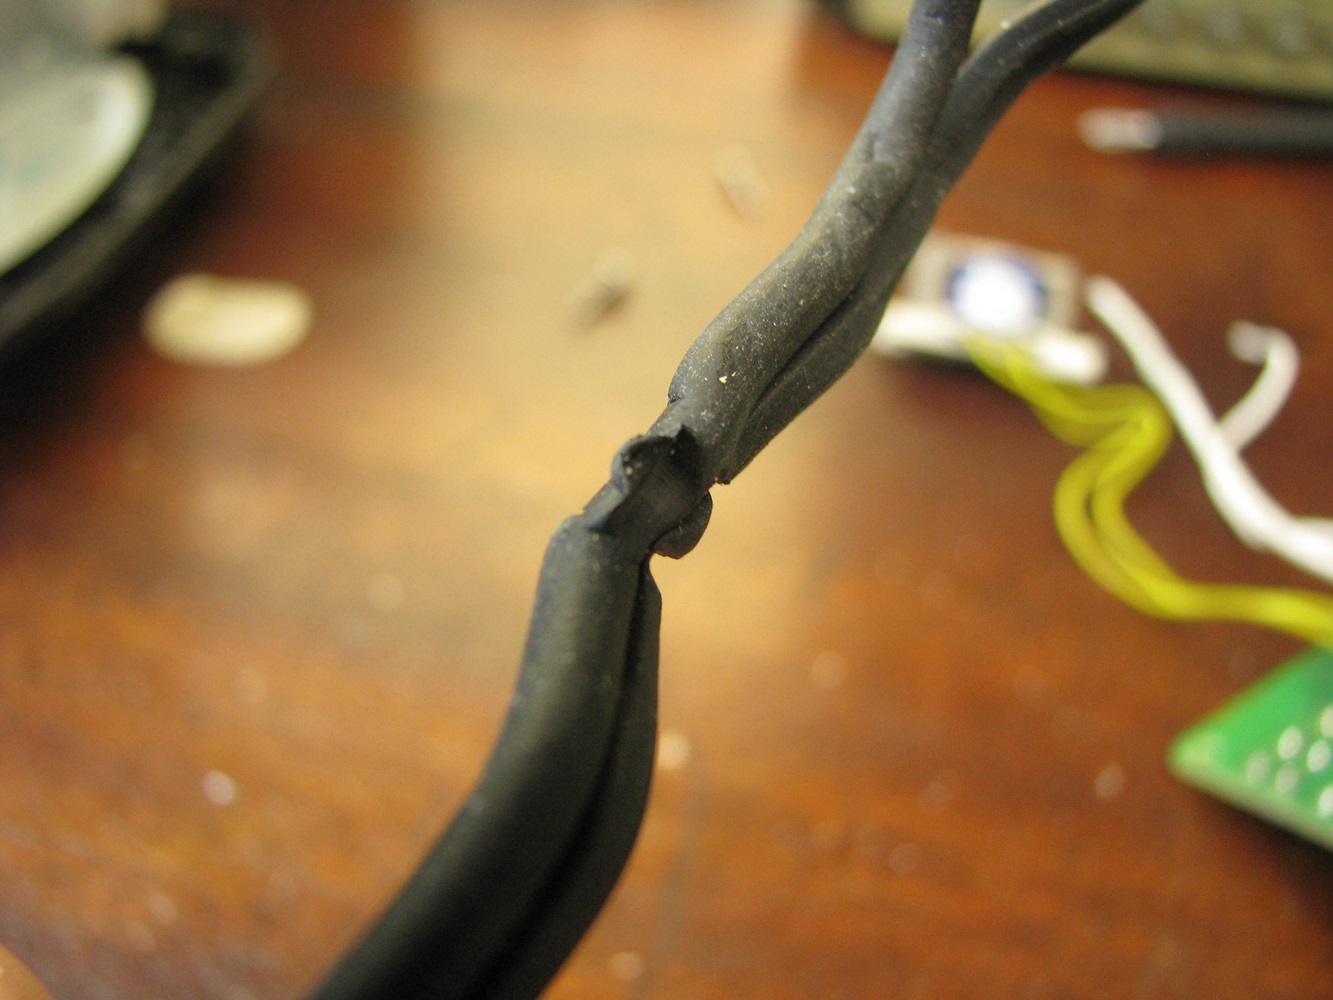
During the teardown of the unit it was noticed that the AC power cord was squished quite badly in the strain relief clamp. This clamp is a simple piece of plastic that is held in place over a notch in the molded plastic base by 2 screws. I am not sure if this is an isolated incident where the cord is damaged to this extent by being held in place or if this is how most of the cables look after being squished in place. You can see some pictures of this below.
Unfortunately there isn’t much in this unit that can be scavenged. The electromagnet and timer board is the only thing that is of any interest.
Hi resolution pictures can be found here.
You can see the damaged cord below, this was damaged by the strain relief clamp! See additional pictures of the damage in the picture gallery below.
  Â