

|
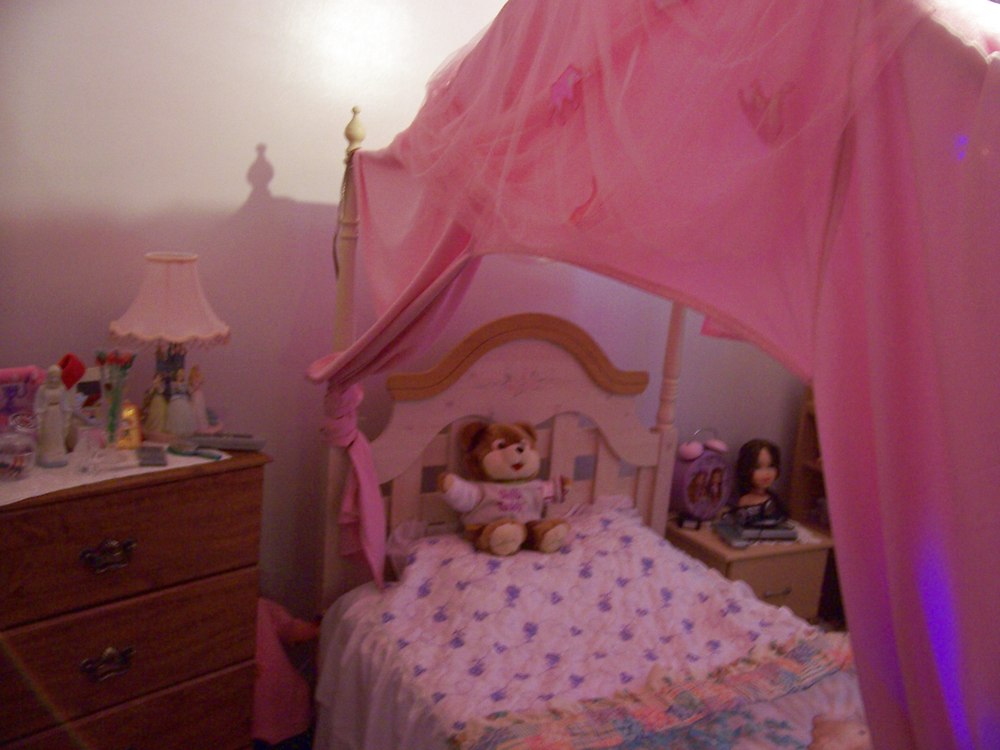
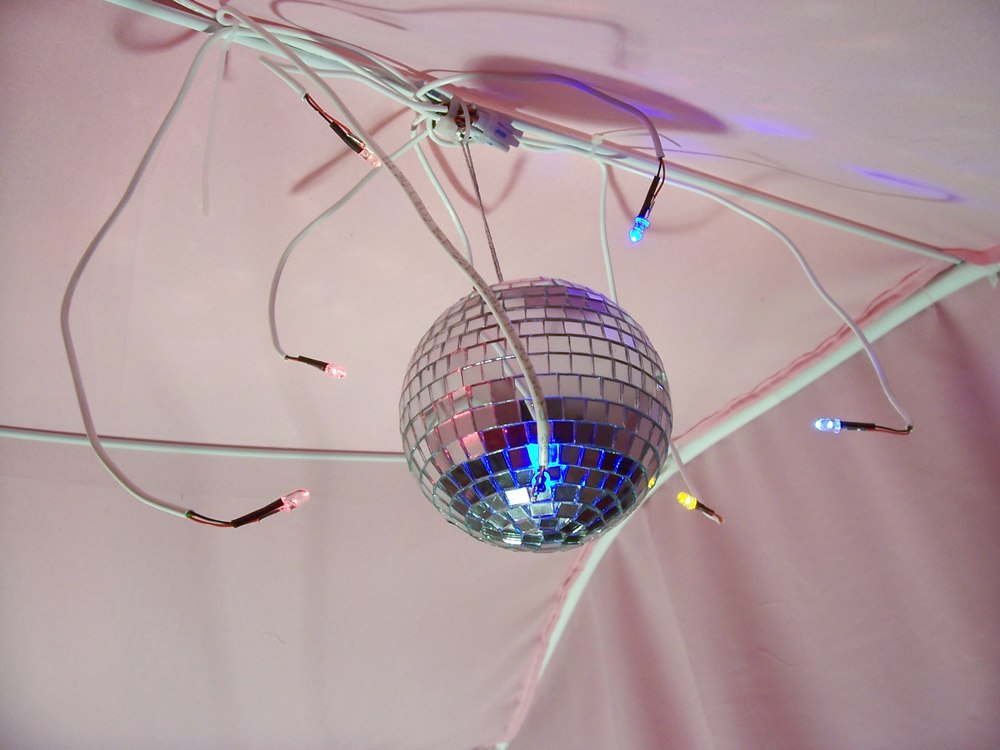
Here is a simple LED mirror ball project that can be completed in less that an hour and should not cost much money. My daughter is getting interested in electronics and she wanted to make something for her room. |
Steps:
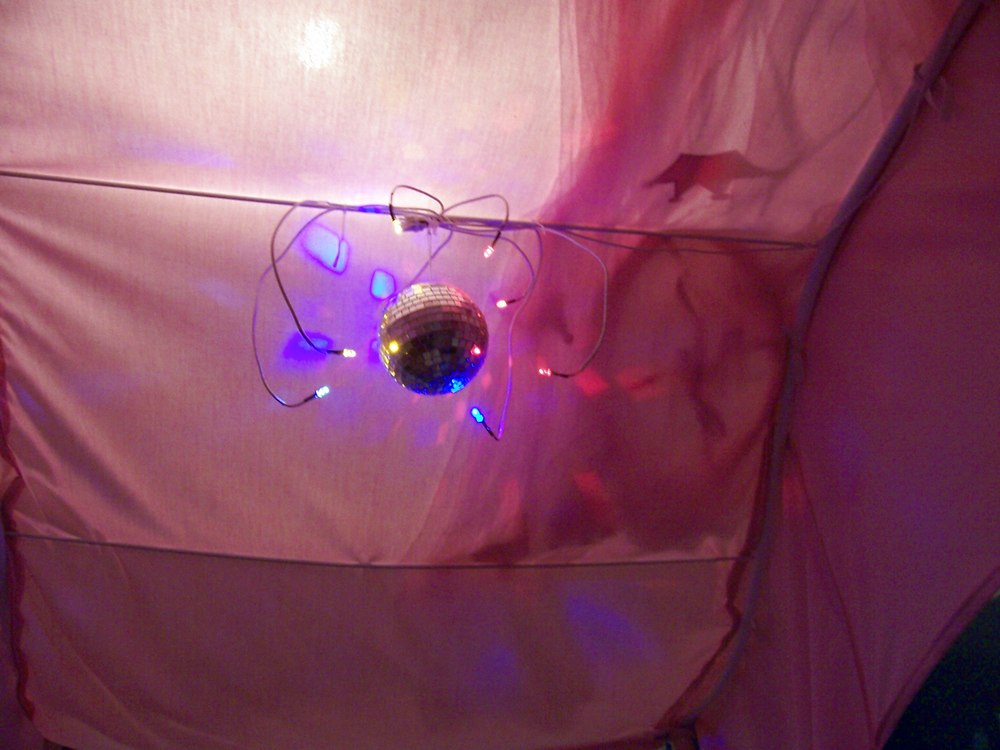
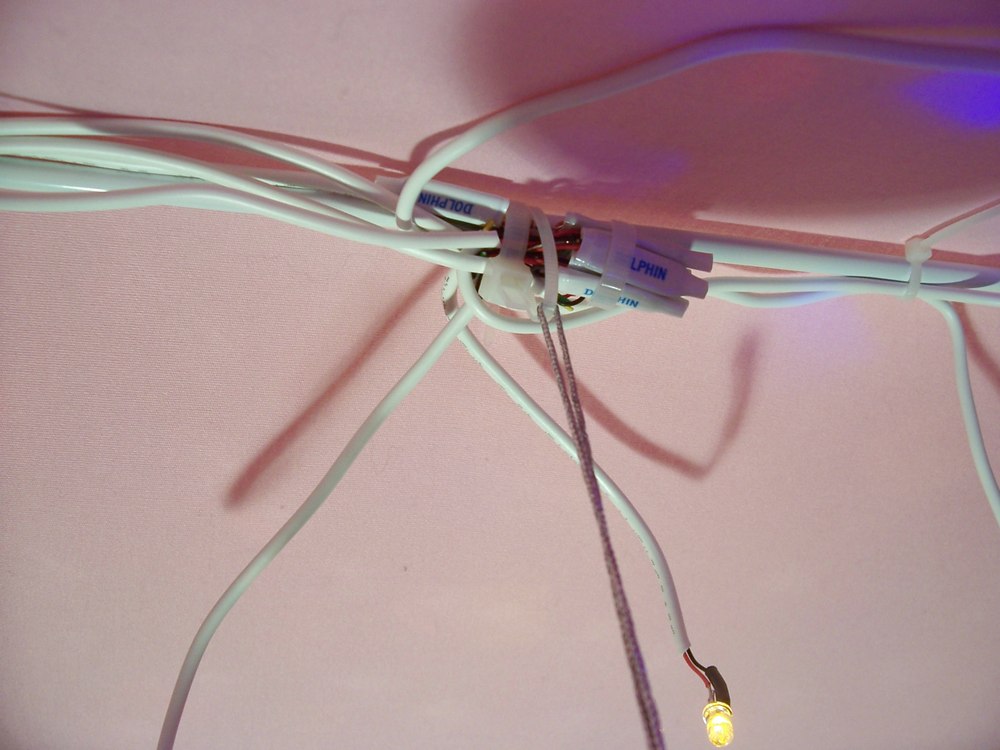
– Cut some lengths of wire that will connect to the hanging LEDs.
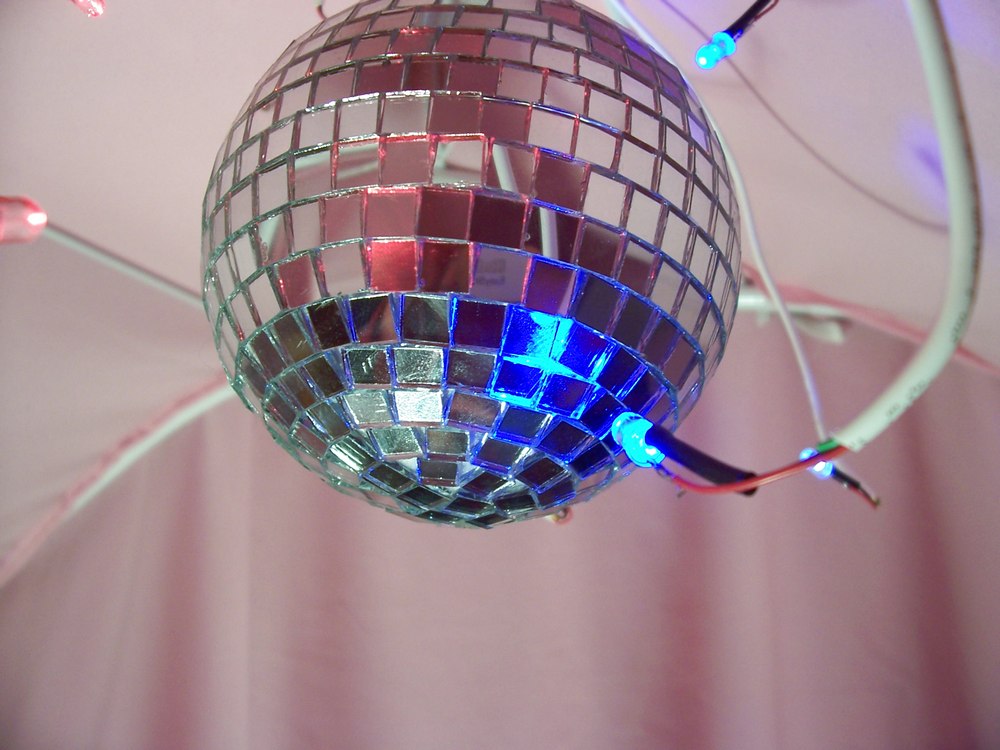
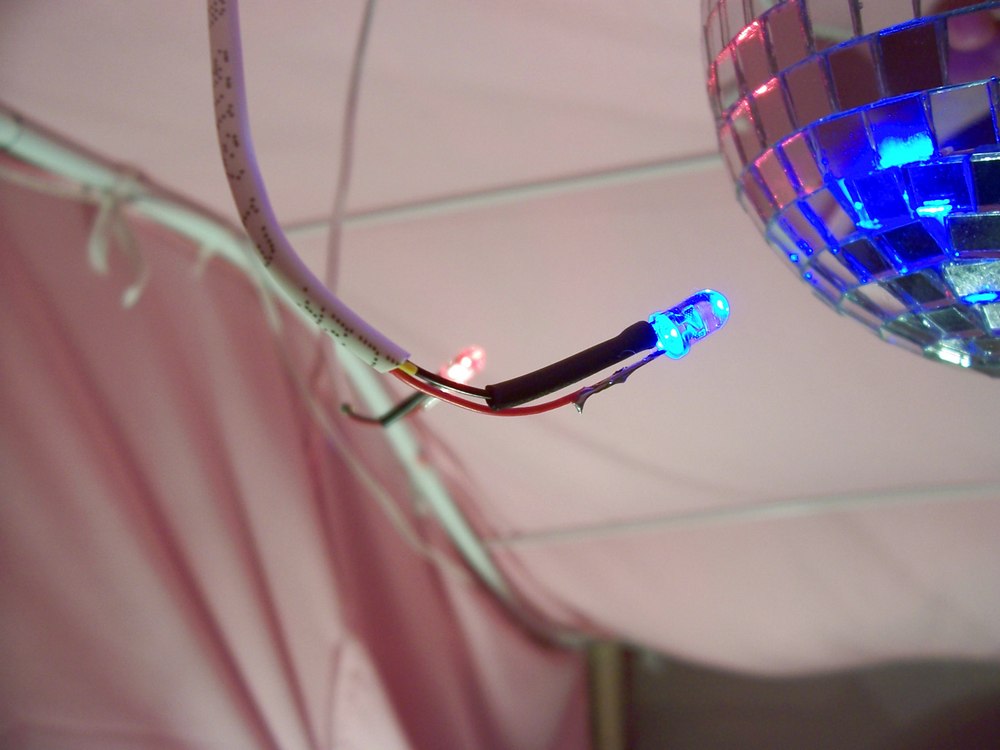
– Strip the ends of the wire and solder on LEDs, heat shrink one connection to prevent shorting.
– Use wire connectors and resistors to connect the LED wires together.
– Run a long wire from the plug-in transformer to the lights (install switch if desired)
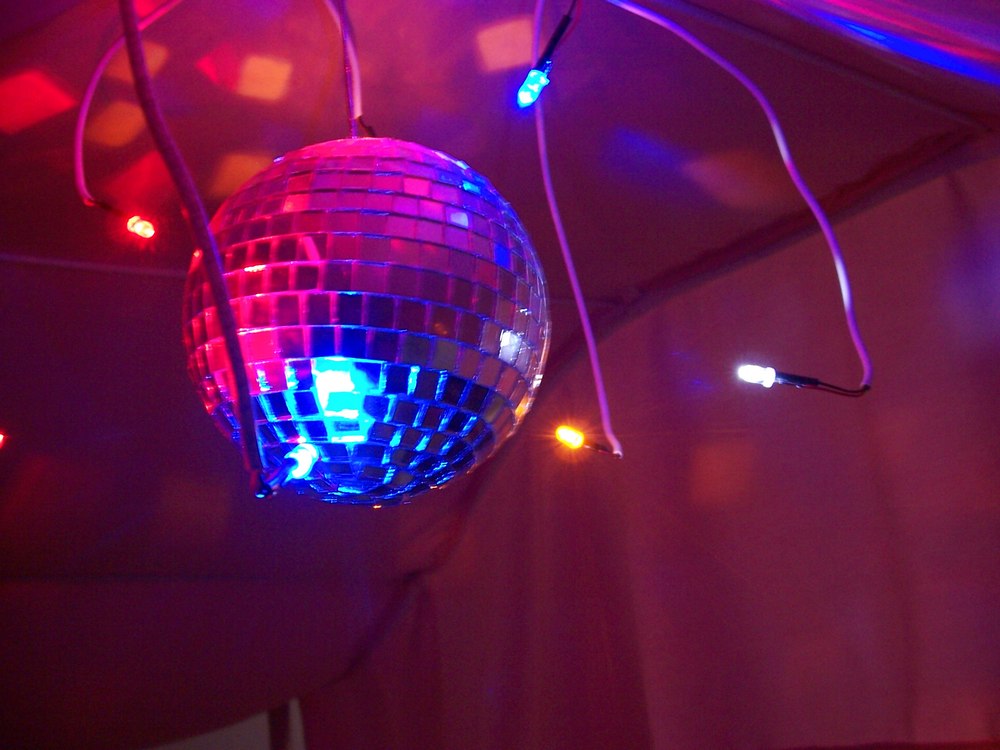
– Watch your son or daughter smile when you turn it on and kill the lights. 🙂


Permalink
great kids project dude here is just s thought that would make it a lot kooler since your already useing low voltage to run the led’s add a small motor with a 1k ohm resister to slow it down to slow spin the disco ball and get some small funnels and glue alluminum foil on the inside incert the led’s through the spout anyou’ll get better light projection and be able to hide the wires better i bet your daughter will love it even more with theese little additions hope you like it
Permalink
Adding a motor is a good idea, currently she just gives it a spin whenever she wants the effect. She uses it as a night light quite often.
Permalink
Permalink
That kid is going to grow up to be a party girl. Great idea and I bet there is a market for this kind of stuff.
Permalink
Permalink
Permalink
http://www.instructables.com/id/CD-disco/